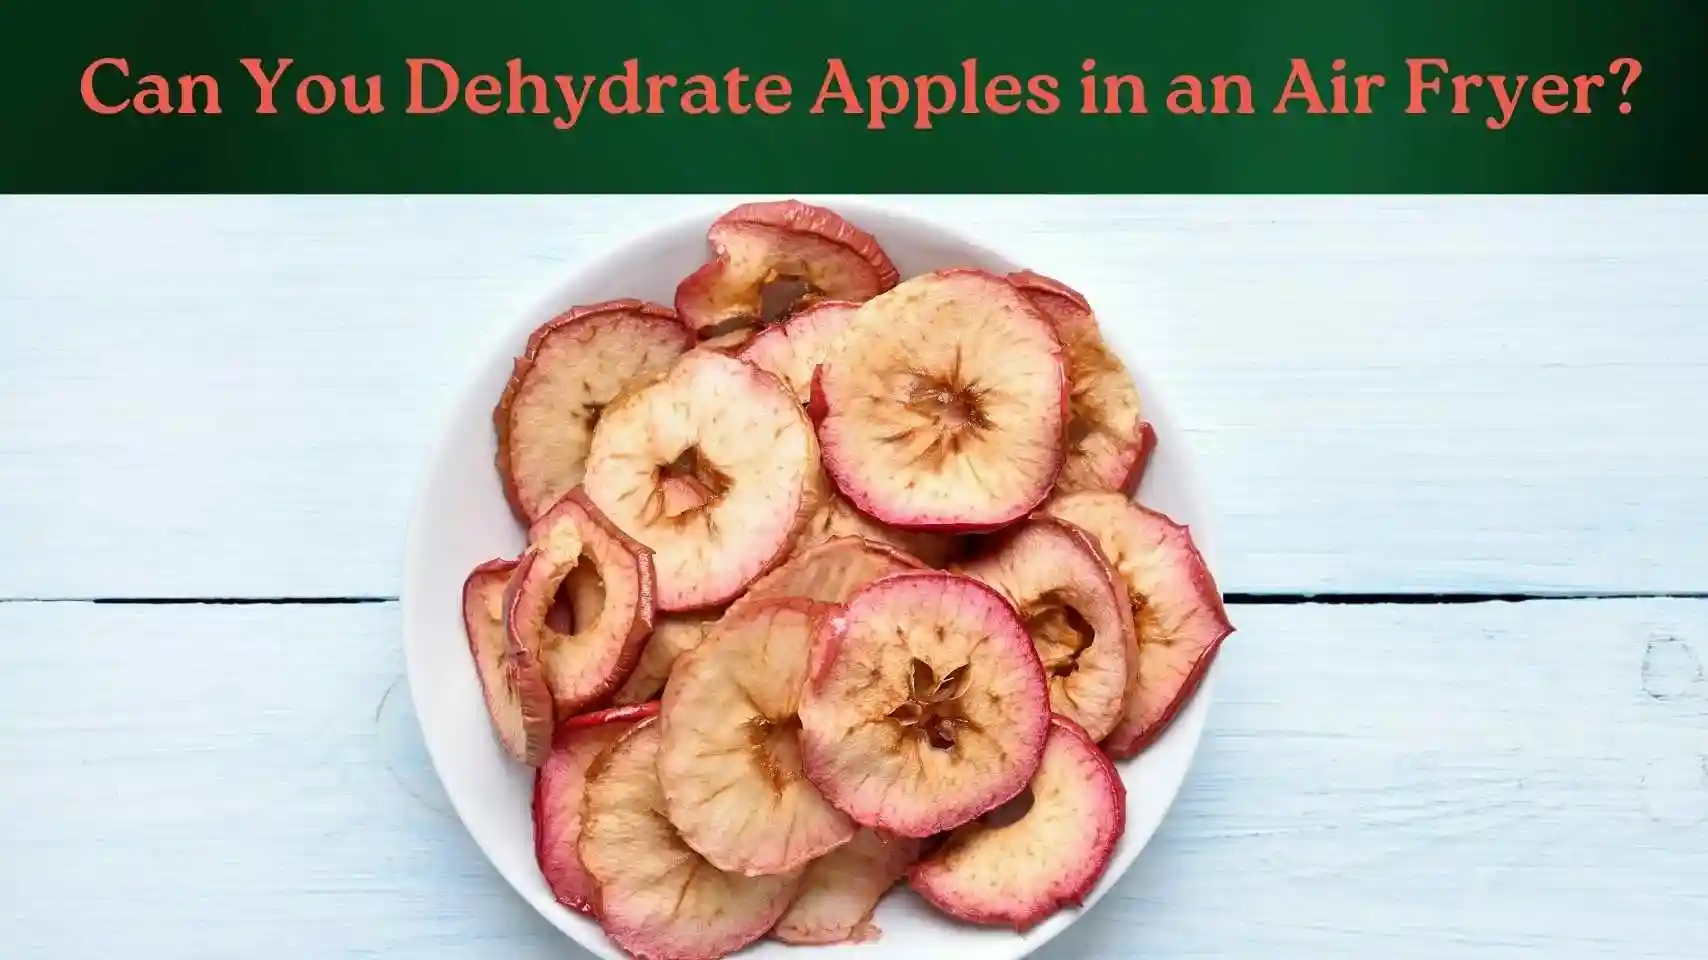
Dehydrated apples are one of the smartest snacks you can make at home. They're naturally sweet, shelf-stable, and far cheaper than the store-bought bags. But when you use an air fryer instead of a traditional dehydrator, timing gets tricky.
So, how long to dehydrate apples in an air fryer? The short answer: 2 to 3 hours for thin, crisp chips and 4 to 6 hours for thicker, chewier slices, all at a low temperature between 130°F and 140°F. But nailing the exact time comes down to five key hacks that separate perfect dried apples from leathery, burnt, or soggy failures. You can also read our guide on do air fryers use a lot of electricity.
This guide walks through everything—from choosing the right apple variety to storing your finished chips so they last for months. No guesswork, just a reliable process you can repeat.
Why Use an Air Fryer for Dehydrating Apples?
Traditional dehydrators take 8 to 12 hours and demand dedicated counter space. An air fryer does the job in a fraction of the time thanks to its built-in fan, which circulates hot air continuously around the food. That forced airflow pulls moisture from the apple slices far more efficiently than still air ever could.
There's also the cost angle. Air fryers are generally more energy-efficient than full-size ovens, and you don't need to heat an entire kitchen to dry a single batch of fruit. For small-batch drying, an air fryer is genuinely the most practical tool on most countertops.
That said, air fryers have a limitation you need to respect: capacity. A standard basket fits only a few cups of sliced apples at a time. Plan to dry in batches rather than expecting to process a peck of apples in one go.
Best Apple Varieties for Dehydrating
Not all apples dry the same way. Water content, sugar levels, and natural acidity all affect the final texture and flavor. Here's how common varieties behave when dried:
| Apple Variety | Flavor After Drying | Texture | Best Use |
|---|---|---|---|
| Fuji | Very sweet | Crisp, light | Snacking chips |
| Gala | Sweet, mild | Crisp, tender | Everyday chips |
| Honeycrisp | Sweet-tart | Firm, crunchy | Chips that hold shape |
| Granny Smith | Tart, bold | Sturdy, chewy | Baking additions, savory pairings |
| Pink Lady | Sweet-crisp | Firm, snappy | Chips with personality |
Avoid soft, bruised, or mealy apples. They dry unevenly and can turn mushy in the dehydrator. "You get what you pick" is the rule here—firm, fresh apples produce dramatically better results.
How to Prepare Apples for Dehydration
Preparation is where most home dryers go wrong. It's not complicated, but each step affects the drying time and final quality.
Washing and Slicing
Rinse apples under cold water to remove dirt and surface residue. Peeling is optional—keep the skin on for extra fiber and nutrients, or peel for a smoother, more delicate chip. Use a mandoline or sharp knife to slice apples evenly at 1/8 to 1/4 inch thickness. A mandoline is safer and more consistent; hand-sliced apples of uneven thickness dry at uneven rates.
Preventing Browning
Apple slices brown quickly when exposed to air. While this is purely cosmetic—it doesn't affect flavor or safety—it makes the final product look less appealing. The simplest fix: soak slices in a bowl of cold water with a few tablespoons of lemon juice for 10 minutes before drying.
This step does two things: it slows oxidation and adds a subtle tart note that complements sweet apple varieties. Pat the slices completely dry afterward. Excess surface moisture just adds to drying time.
Air Fryer Settings: Temperature and Accessories
The right temperature is the difference between dehydrated and cooked apples. Set your air fryer between 130°F and 140°F. Staying in this low range draws moisture out slowly without browning the sugars or burning the edges.
Most air fryers don't have an explicit "dehydrate" preset. If yours does, use it. If not, set the temperature manually to the lowest available setting and monitor closely—your unit may hold 150°F even on the "low" dial.
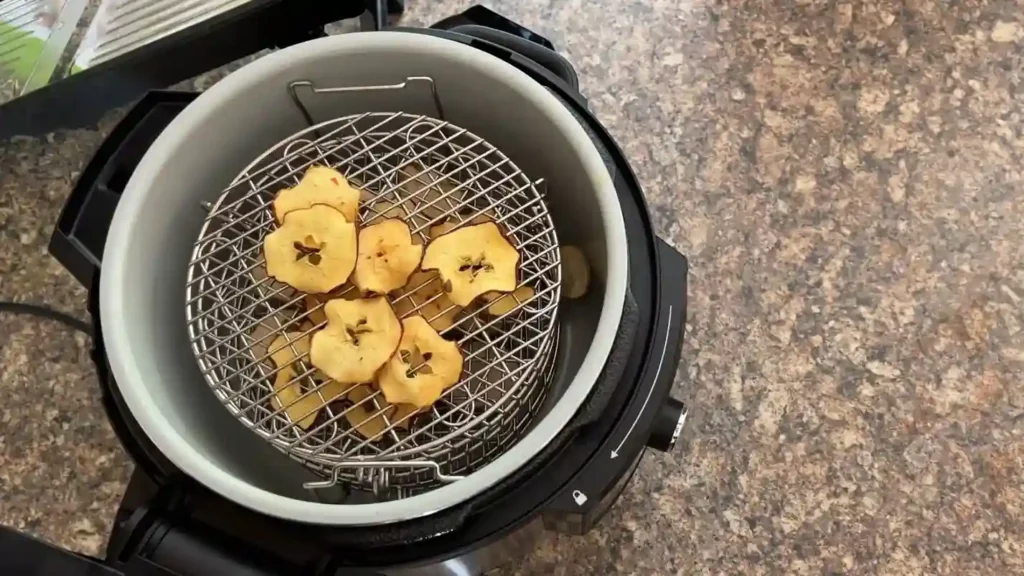
Accessories matter more than people think. A flat mesh tray or rack sits in the basket and allows airflow underneath each slice, which speeds drying and prevents soggy spots. Many air fryers ship with this accessory; if yours didn't, a round silicone mesh mat made for air fryer baskets works well.
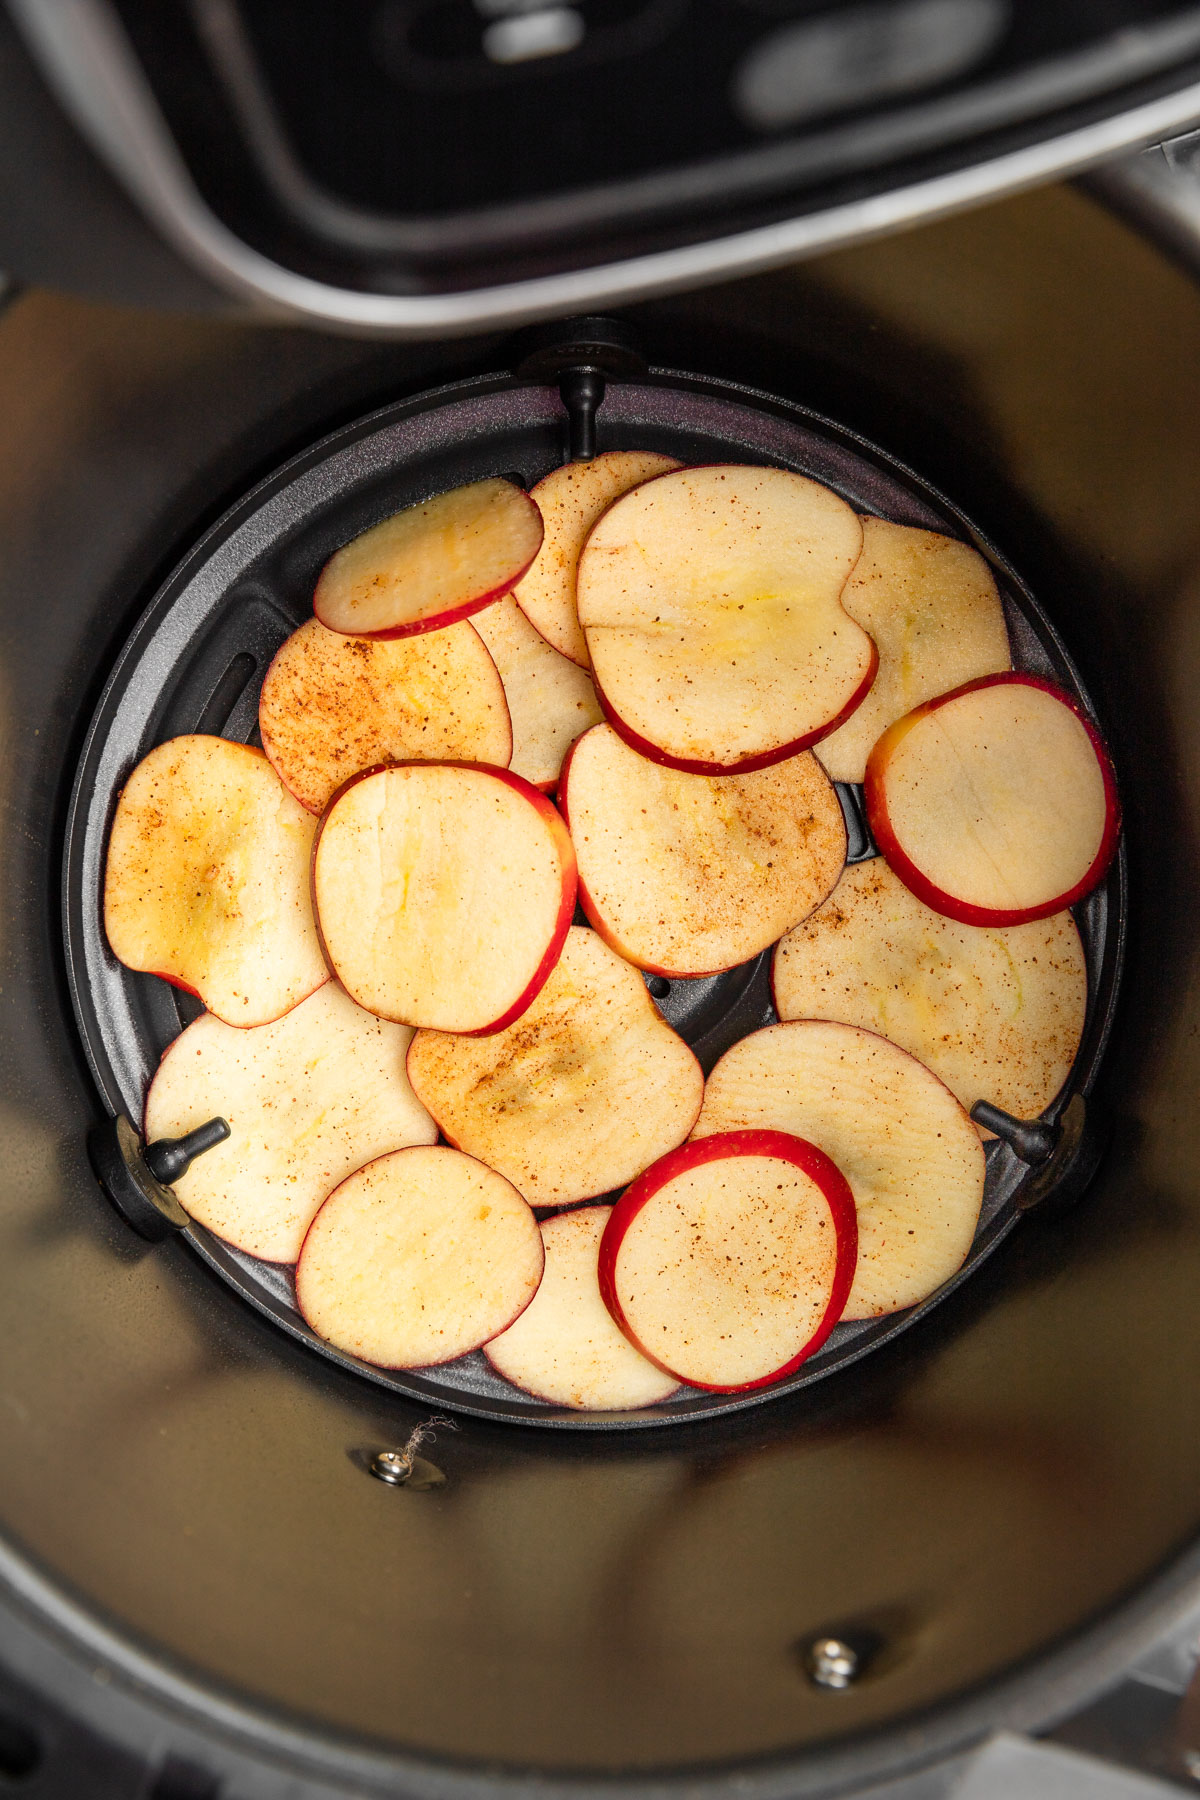
The golden rule: never overlap slices. Hot air has to reach every exposed surface. Overlapping creates soggy, unevenly dried pieces that take hours longer.
The 5 Essential Hacks for Perfectly Dehydrated Apples
Here is the core of this guide—the five techniques that turn "okay" dried apples into consistently excellent ones.
Hack #1: Slice Thin and Uniform
Thickness is the single biggest factor in drying time. Slices at 1/8 inch dry in roughly half the time of 1/4 inch slices. A mandoline eliminates the guesswork and ensures every slice dries at the same rate. If you're slicing by hand, aim for consistency over perfection—and check the thickest pieces last when testing for doneness.
Hack #2: Use a Lemon Water Soak
The 10-minute lemon water soak from the prep section serves triple duty. It prevents browning, adds a touch of tartness, and—when the slices are properly drained—creates a slightly tackier surface that dries to a pleasant crispness. Skip this step, and you risk gray-brown chips that look unappealing in the jar.
Hack #3: Rotate Trays or Shake the Basket
Hot air circulates unevenly in most air fryers. The slices near the fan dry faster than those at the edges. Flip or shake the basket every 45 to 60 minutes. This takes seconds but prevents the frustration of finding half your batch over-dried and the other half still soft. Some air fryers have a "flip reminder" alert—use it.
Hack #4: Test by Bending, Not by Eye
Appearance alone won't tell you if apples are done. The reliable test is tactile: a properly dehydrated slice bends without breaking and springs back when released. If it snaps cleanly, it's overdone. If it feels sticky or wet in the center, it needs more time. This test is worth practicing on a single slice before pulling an entire batch.
Hack #5: Store Immediately in Airtight Containers
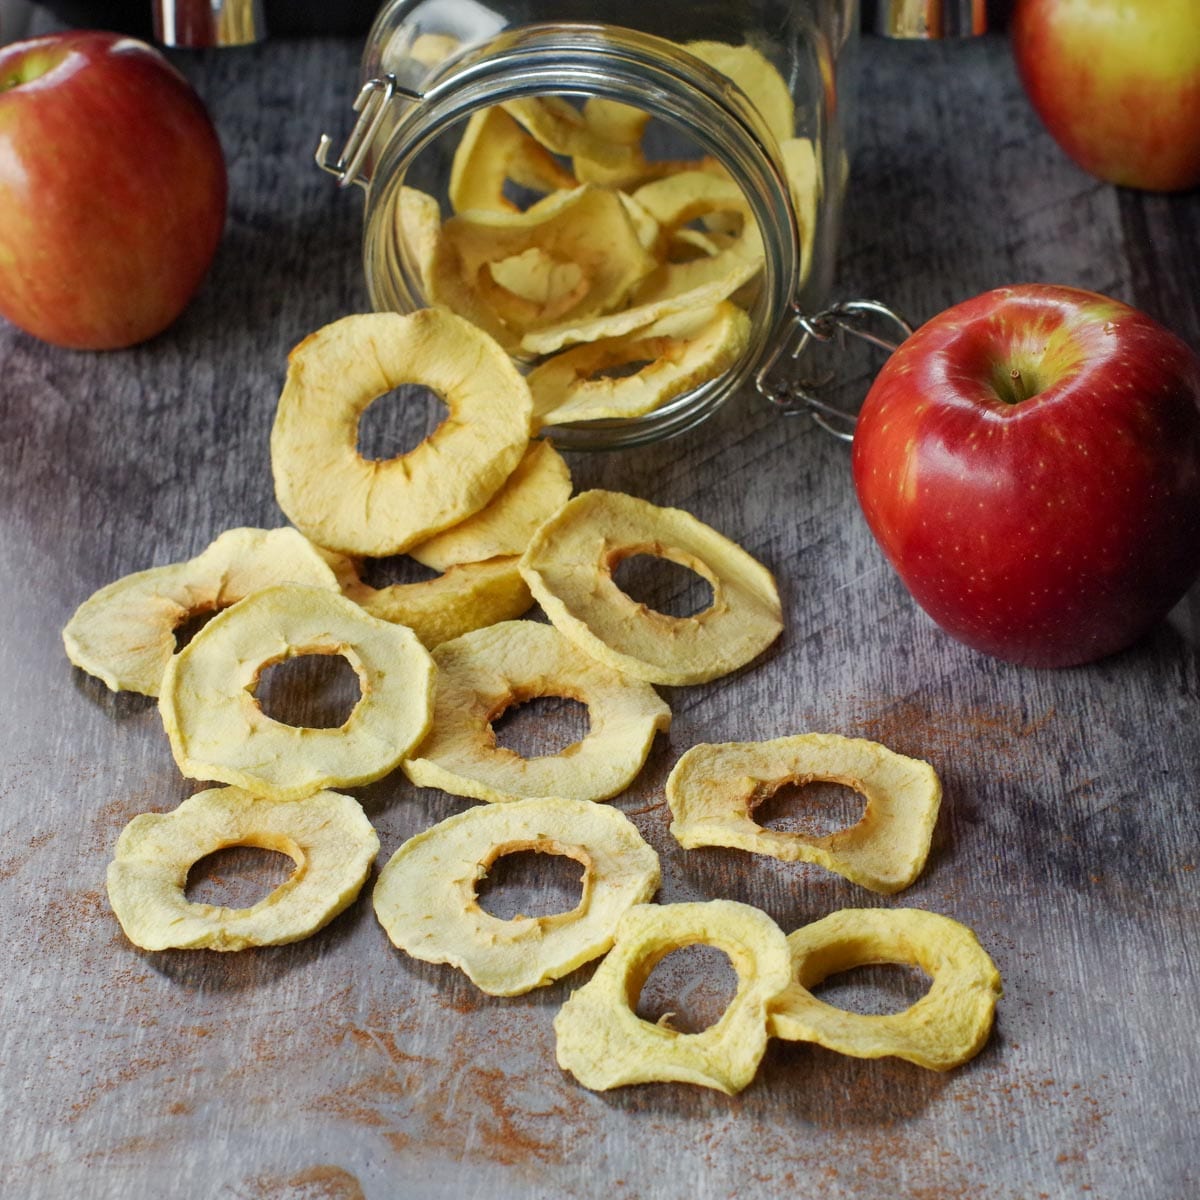
Dehydrated apples absorb moisture from the air the moment they cool. If you leave them exposed, they'll go soft and chewy overnight. As soon as the slices reach room temperature, transfer them to glass jars with tight-fitting lids or vacuum-sealed bags. For long-term storage, add an oxygen absorber packet.

Credit: www.theincrediblebulks.com
How Long to Dehydrate Apples in Air Fryer: The Complete Timeline
Now for the exact numbers. The total time depends primarily on slice thickness and apple variety, but here's a realistic breakdown:
- 1/8-inch slices at 135°F: 2 to 3 hours for crisp chips
- 1/4-inch slices at 135°F: 4 to 6 hours for chewier pieces
- Thick chunks for baking: 6+ hours needed
In practice, you'll notice that crispness develops in stages. At the two-hour mark, the edges look dry and curl upward. The centers still feel pliable. Check every 20 minutes after the first hour—the window between "almost done" and "overdone" is surprisingly narrow.
Several variables shift the timeline:
- Apple variety: High-water varieties like Honeycrisp need extra time
- Air fryer model: Fan placement and power vary significantly between brands
- Batch size: A full basket dries slower than a half-full one
- Room humidity: Drying on a humid day adds 20–30 minutes
The totals above assume standard indoor conditions. Adjust accordingly and let your hands—not the clock—be the final judge.
Credit: foodmeanderings.com
How to Tell When Dehydrated Apples Are Done
Your senses are reliable tools here. Here's what "done" looks and feels like:
| Check | Sign of Done | Sign of Overdone |
|---|---|---|
| Texture | Leathery, slightly pliable | Hard, shatters when bent |
| Surface | Wrinkled, evenly dried | Dark brown, scorched edges |
| Feel | Dry to the touch, not sticky | Crisp but brittle, breaks apart |
| Bend test | Bends and springs back | Snaps cleanly |
If a slice is still sticky or tacky in the center, return it to the air fryer. If a few slices are done before the rest, remove them and let the others continue—this is normal batch behavior.
How to Store Dehydrated Apples for Maximum Shelf Life
Proper storage is the difference between a snack that lasts a year and one that molds in three weeks.
Airtight Containers
Glass jars with rubber gaskets are the gold standard. Food-safe plastic containers and zip-lock bags also work—just squeeze out as much air as possible. Always wait for apples to cool completely before sealing. Warmed apples condense moisture inside the container, creating conditions for mold. Seal them cool, and they'll stay dry.
Cool, Dark, Dry Locations
Heat and light degrade flavor and nutrients over time. Store jars in a pantry or cabinet away from stoves, ovens, and direct sunlight. A cool garage or basement works well if humidity is low.
Vacuum Sealing
Vacuum-sealed dried apples last 12 months or longer. This method removes the air that carries moisture and accelerates staling. If you plan to dehydrate in bulk, a vacuum sealer is worth the investment. For most home use, a jar with a tight lid is plenty.
Freezing for Long-Term Storage
Freezing is an excellent hedge against humid climates. Frozen sealed bags of dried apples stay crisp for many months and thaw quickly without quality loss. If you live somewhere muggy, this is your safest bet.
Rotate Your Stock
Eat the oldest batch first. A simple "first in, first out" habit ensures nothing sits past its peak. Label storage containers with the drying date—it's easy to lose track after a few batches.
Credit: everylittlecrumb.com
Troubleshooting Common Air Fryer Dehydration Problems
Even experienced dryers hit snags. Here's how to fix the three most common issues:
Problem: Uneven Drying Caused by overlapping slices or inconsistent thickness. Solution: space slices with airflow gaps, flip mid-cycle, and halve the thickest pieces before starting.
Problem: Slices Over-Dried They shatter when bent and taste slightly scorched. Solution: lower the temperature by 5°F next batch and check 30 minutes before your expected finish time. Remove individual slices as they finish drying.
Problem: Apples Still Soft After 6 Hours This usually means the temperature was too high, setting the sugars instead of drying them. Drop to 130°F and extend the time. High-room humidity can also stall the process—run the air fryer in front of a fan or dehumidifier.
Final Thoughts: Master Your Air Fryer Apple Chips
Air fryer dehydration is the fastest route to homemade apple chips, taking 2 to 6 hours depending on your preferred texture. The five hacks in this guide—even slicing, lemon water soaking, periodic rotation, the bend test, and prompt airtight storage—consistently produce snack-worthy results.
Start with Gala or Fuji apples if you want a reliably sweet outcome, or Granny Smith for a bold-tart chip that pairs well with cheese plates and salads. Both are easy to find, reasonably priced, and dry beautifully in an air fryer. You'll also cut down on food waste while creating a healthy snack with no added sugar, no preservatives, and no regreting the cost of a store-bought bag.
If you're new to air fryer cooking and want more basics, the main blog has plenty of practical guides. And when you're ready to push your appliance further, consider mastering one of the best portable kettles to round out your kitchen toolkit for travel-friendly meals.
Air Fryer Apple Dehydration FAQs
How long does it take to dehydrate apples in an air fryer?
Thin apple slices (1/8 inch) take about 2 to 3 hours at 135°F (57°C). Thicker slices (1/4 inch) need 4 to 6 hours. Check regularly after the first hour to avoid overdrying.
What temperature is best for dehydrating apples in an air fryer?
Set your air fryer between 130°F and 140°F (54°C to 60°C). This low range removes moisture without cooking the apples or browning the sugars.
Can I dehydrate apple slices without peeling them first?
Yes, absolutely. Keeping the skin on adds extra fiber and nutrients while helping the slices hold their shape during drying.
How thick should apple slices be for air fryer dehydration?
Aim for 1/8 to 1/4 inch. Thinner slices dry faster and crisp up well. Thicker slices produce a chewier, more substantial piece.
Do I need to soak apple slices before dehydrating?
A 10-minute soak in cold water with lemon juice prevents browning and brightens the final color. It's not required, but it improves appearance and adds a subtle tartness.
How do I know when apples are fully dehydrated?
Apples are done when they feel dry and leathery, bend without breaking, and show a wrinkled surface. If a slice snaps cleanly, it's over-dried. If it's sticky or tacky, it needs more time.