Cooking rice might seem simple, but getting that perfect, fluffy texture can be tricky—especially for beginners. If you want rice that’s never sticky or undercooked, using a pressure cooker is a smart choice. Pressure cooking saves time, locks in flavor, and is more forgiving than stovetop methods. But you need to know the right steps, water ratios, and timing to get consistent results. This guide will show you exactly how to cook rice in a pressure cooker, share expert tips, and help you avoid common mistakes that can ruin your meal. Let’s make rice cooking easy, fast, and delicious.
Why Use A Pressure Cooker For Rice?
A pressure cooker is not just a time-saver. It uses steam and high pressure to cook rice more evenly and quickly than traditional pots. This means you can have perfect rice, even if you’re busy or cooking for a big group. Here’s why many people prefer this method:
- Faster cooking: White rice cooks in just 3-7 minutes under pressure, compared to 15-20 minutes on a stovetop.
- Consistent results: The sealed environment keeps the temperature steady, so your rice comes out the same every time.
- Energy efficient: Uses less gas or electricity, making it economical.
- Keeps nutrients: Less water and time mean more vitamins stay in your rice.
If you’ve struggled with burnt rice or uneven cooking, a pressure cooker can solve these problems.
Types Of Rice And Pressure Cooking
Not all rice is the same. Choosing the right type and adjusting your method slightly makes a big difference. Here’s a quick comparison of the most common types:
| Rice Type | Texture | Pressure Cooking Time (minutes) | Water Ratio (rice:water) |
|---|---|---|---|
| White (long grain) | Fluffy | 3-5 | 1:1.25 |
| Basmati | Light, separate grains | 4-5 | 1:1.2 |
| Jasmine | Soft, slightly sticky | 4-5 | 1:1.1 |
| Brown | Chewy, nutty | 20-22 | 1:1.5 |
| Wild | Firm, chewy | 25-30 | 1:2.5 |
Insider tip: Basmati and jasmine rice need slightly less water than generic long grain, or they can turn mushy.
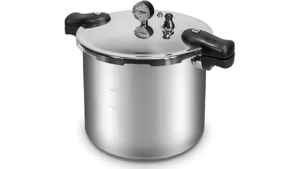
Equipment And Ingredients Needed
To cook rice in a pressure cooker, you’ll need just a few basics. Here’s what you should have ready:
- Pressure cooker: Stovetop or electric (like Instant Pot)
- Rice: Any type (see above)
- Water: Cold, fresh water
- Salt: Optional, for flavor
- Oil or butter: Optional, keeps rice from sticking and adds taste
- Measuring cups: For rice and water
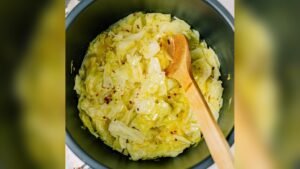
Optional Add-ins
- Bay leaf or cardamom: Adds aroma
- Frozen peas or corn: For a quick pilaf
- Stock/broth instead of water: For savory rice
Step-by-step: How To Cook Rice In A Pressure Cooker
Follow these simple steps for perfect rice every time.
1. Measure Rice And Rinse
Use a standard measuring cup. Most recipes use 1 cup rice for 2-3 servings. Rinse your rice under cold water until the water runs clear. This removes extra starch, so your rice isn’t sticky.
Non-obvious insight: Skipping the rinse step can make your rice gummy, especially with starchy varieties like jasmine.
2. Add Rice, Water, And Seasonings
Add the rinsed rice to the pressure cooker. Pour in the correct amount of water (see the table above). If using, add a pinch of salt and a teaspoon of oil or butter.
Example: For 1 cup of basmati rice, add 1.2 cups of water.
3. Close The Lid And Set Pressure
- For stovetop cookers: Secure the lid and set to high pressure.
- For electric cookers: Lock the lid, select “Rice” or “Manual,” and set the correct time.
4. Cook And Release Pressure
- Start the timer as soon as your cooker reaches full pressure.
- When the time is up, turn off the heat.
- Let the pressure release naturally for 10 minutes, then use the quick release.
Important: Quick releasing immediately can make rice sticky or spray starchy water. Always let it sit for a few minutes.
5. Fluff And Serve
Open the lid carefully. Use a fork to fluff the rice. This separates grains and releases steam.
Extra tip: Let the rice sit uncovered for a few minutes before serving. This keeps it from getting wet as it cools.
Adjusting For Different Rices
Each type of rice needs a slightly different approach. Here’s a summary for quick reference:
| Rice Type | Key Differences | Common Mistakes |
|---|---|---|
| Basmati | Needs less water, short soaking helps | Too much water makes it sticky |
| Jasmine | Less water, don’t overcook | Skipping rinse leads to clumping |
| Brown | Longer cooking time, more water | Not enough water makes it hard |
| Wild | Needs most water, longest time | Undercooking leaves it tough |
Beginner mistake: Using the same water ratio for all rice types. Always check the chart and adjust.
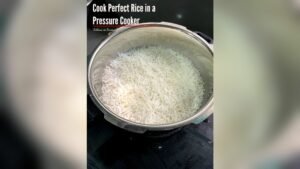
Pressure Cooker Rice: Step-by-step Example (white Rice)
Here’s a quick example recipe for white long grain rice:
Ingredients
- 1 cup white long grain rice
- 1.25 cups water
- 0.5 teaspoon salt (optional)
- 1 teaspoon oil or butter (optional)
Instructions
- Rinse the rice in a sieve under cold water.
- Add the rice, water, salt, and oil to the pressure cooker.
- Close the lid and set to high pressure.
- Cook for 3 minutes after reaching pressure.
- Let pressure release naturally for 10 minutes, then quick release any remaining steam.
- Open the lid and fluff the rice with a fork.
This makes about 3 servings. Double or triple quantities as needed, but don’t fill the cooker more than halfway with rice and water combined.
Tips For Fluffy, Perfect Rice
Getting rice right is about more than just following steps. Here are expert tips that make a difference:
- Use the right water ratio: Too much water = mushy rice; too little = dry or burnt.
- Natural pressure release: Don’t rush this, or the rice may be sticky.
- Don’t overfill: Pressure cookers need space to build pressure safely.
- Add flavor: Try cooking with broth, a bay leaf, or a bit of garlic.
- Rest before serving: Let the rice sit for 5 minutes after opening the lid.
Non-obvious insight: Older rice tends to need slightly more water than new-crop rice. If your rice is a year or older, add 2-3 extra tablespoons of water per cup.
Common Mistakes To Avoid
Even experienced cooks sometimes get rice wrong. Here are the most frequent errors and how to avoid them:
- Not rinsing: Rice gets sticky or gummy.
- Wrong water ratio: Too much or too little water changes texture.
- Quick release too soon: Rice may be undercooked or spray starch.
- Overfilling: Can block the safety valve and make a mess.
- Using “keep warm” mode: This can overcook the bottom layer.
If you’re new to pressure cookers, start with small batches until you get the feel for timing and ratios.
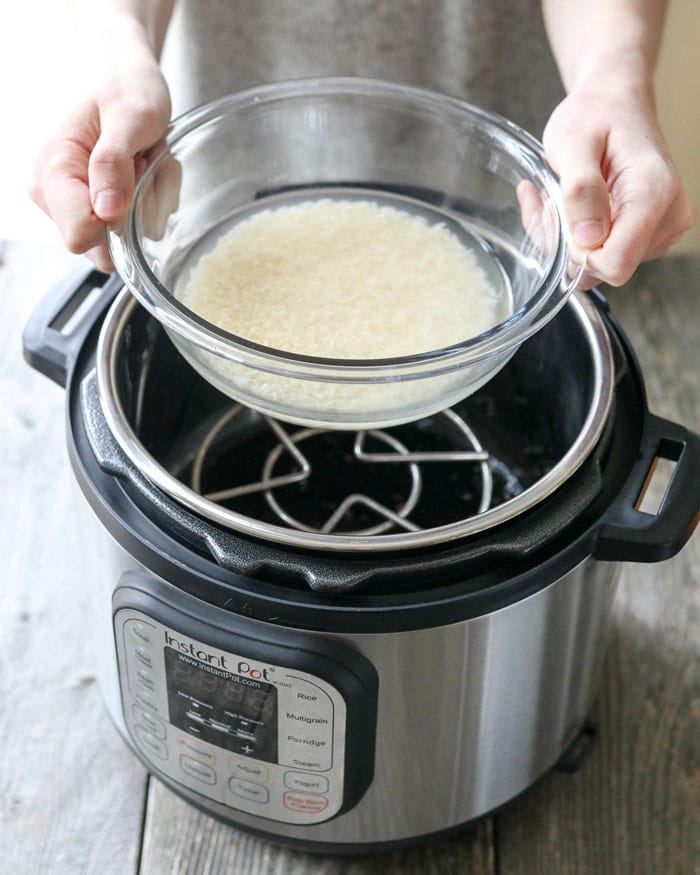
Credit: detoxinista.com
Troubleshooting: Fixing Rice Problems
If things go wrong, don’t worry. Here are quick fixes for common rice issues:
- Rice too wet: Spread it on a plate and let it air dry for a few minutes.
- Rice too dry or hard: Sprinkle with a tablespoon of water, cover, and steam for 1-2 minutes.
- Burnt bottom: Use less heat and more water next time; soak the pot to clean.
Expert tip: Always use a timer. Even a minute extra can change the rice texture.
Comparing Pressure Cooker Vs. Other Methods
How does pressure cooking rice stack up against other ways? Here’s a quick look:
| Method | Cooking Time | Texture Control | Effort Level |
|---|---|---|---|
| Pressure Cooker | 3-7 min (white rice) | High | Easy |
| Stovetop Pot | 15-20 min | Medium | Medium |
| Rice Cooker | 15-20 min | High | Very Easy |
| Microwave | 10-15 min | Low | Easy |
Pressure cooking is the fastest method and gives you excellent control, but you need to learn the right ratios.

Credit: www.youtube.com
Cleaning And Caring For Your Pressure Cooker
After cooking rice, your pressure cooker will need basic cleaning. Here’s how to keep it working well:
- Remove the gasket and lid: Wash separately to prevent odors.
- Soak pot if rice sticks: Use warm water, not harsh scrubbing.
- Check safety valves: Make sure no grains are blocking them.
- Dry fully: Prevents rust or mold.
Pro tip: Rinse the lid and rubber seal with a little vinegar if you notice a lingering smell.
Rice For Special Diets
Rice is gluten-free and suits many diets. If you want to boost nutrition:
- Mix white and brown rice: Get both soft and chewy textures.
- Add lentils or quinoa: Increases protein and fiber.
- Low-sodium: Skip the salt or use herbs for flavor.
Always check your rice source if you need to avoid gluten or cross-contamination.

Credit: www.loveandlemons.com
Frequently Asked Questions
How Much Water Do I Use For 2 Cups Of Rice In A Pressure Cooker?
For most white rice, use about 2.5 cups of water for 2 cups of rice. Adjust slightly based on the rice type (see the water ratio table above).
Can I Cook Rice And Vegetables Together In A Pressure Cooker?
Yes, you can add quick-cooking vegetables like peas, carrots, or corn with the rice. Place on top of the rice before sealing. Avoid vegetables that need much longer cooking.
Why Did My Rice Turn Out Mushy?
Mushy rice usually means too much water or cooking time. Use the water ratio table, and always let the pressure release naturally for best texture.
Is Pressure Cooker Rice Healthier Than Boiled Rice?
Pressure cooking keeps more nutrients in the rice, since it uses less water and time. It’s a good choice for both nutrition and taste. Learn more about rice nutrition at Wikipedia.
Can I Double Or Triple The Recipe In My Pressure Cooker?
Yes, but never fill more than half full with rice and water. This leaves space for steam and safe pressure buildup. Increase water and rice equally, but keep the cooking time the same.
Cooking rice in a pressure cooker can be easy, quick, and foolproof when you know the right steps. With these tips, tables, and troubleshooting advice, you’ll never have to worry about mushy or burnt rice again. Enjoy your perfectly cooked rice, and try experimenting with flavors and add-ins to make each meal special.