Homemade rice shouldn’t be a gamble, yet so many home cooks treat the saucepan like a mystery box. Burnt bottoms. Gluey clumps.
That one perfect pot that never seems to repeat itself. The fix isn’t a secret technique or a celebrity chef trick. It’s a handful of basic ratios and heat decisions you can master in one sitting.
Learning how to make rice in saucepan actually comes down to three things: the type of rice, the water ratio, and the heat curve. Manufacturer specifications for standard 2-quart saucepans assume even heat distribution, but your stove and your lid matter more. As of 2026, the USDA still advises refrigerating cooked rice within one hour and using it within four days.
That part is simple. The cooking itself is easier than you think.
Quick Answer
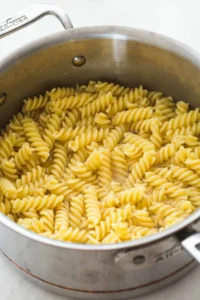
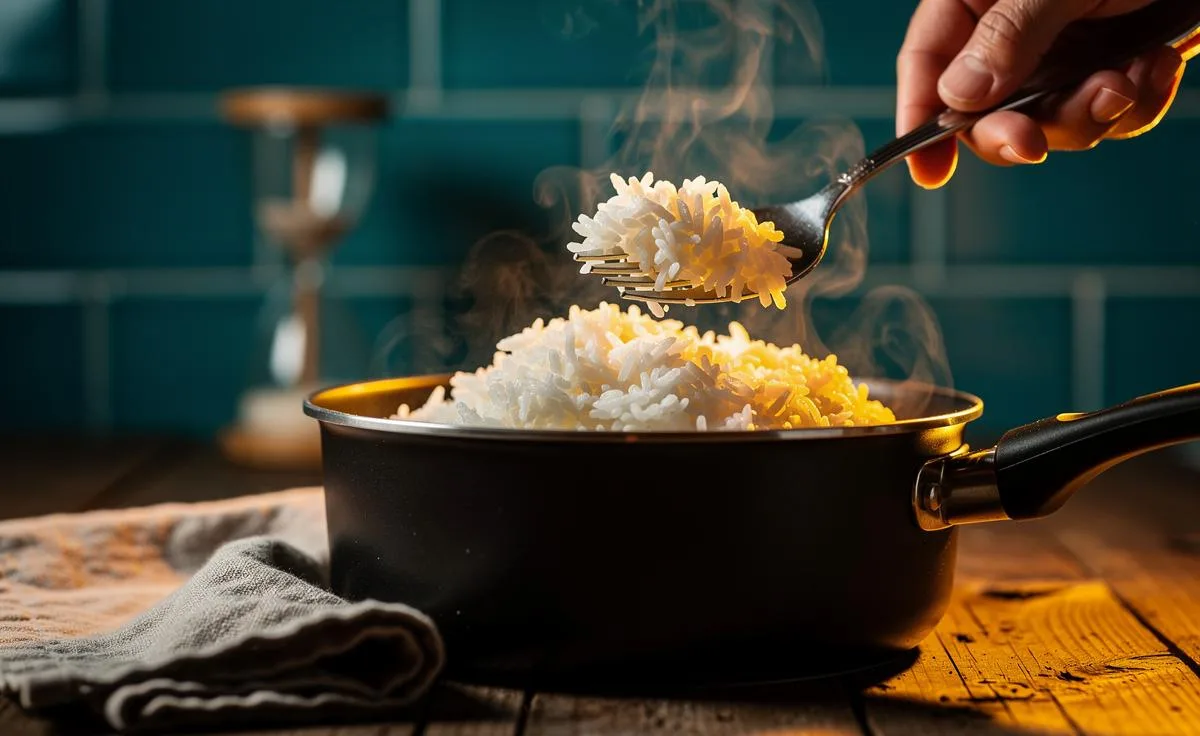
Rinse one cup of rice until water runs clear. Put it in a saucepan with 1.5 to 2 cups of water. Add a pinch of salt.
Bring to a boil, then cover and simmer on low for 15 to 18 minutes. Turn off the heat and wait 10 minutes before fluffing.
Why Stove-Top Rice Fails (and How to Fix It)
Stove-top rice usually fails because of three mistakes: too much water, too high heat, or too many lid lifts. Each one creates a different texture problem. Too much water makes mushy grains.
High heat scorches the bottom while the top stays raw. Lifting the lid lets steam escape, and steam is the engine that finishes the cooking.
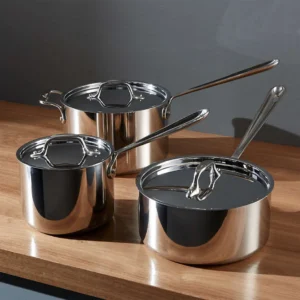
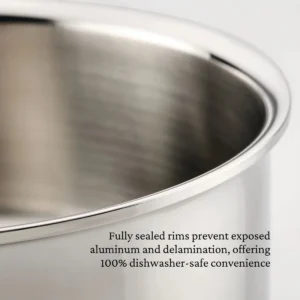
Another failure point is the pan itself. A flimsy saucepan with a thin base heats unevenly, creating hot spots that burn rice in one corner while the rest looks undone. That’s why we recommend a medium saucepan with a thick, even base.
Aluminum core or stainless steel with an aluminum layer both work well. Even heating matters more than brand.
The most overlooked culprit is the lid. A loose-fitting lid lets moisture escape, so the rice dries out before it’s cooked. A tight lid traps steam and keeps the cooking environment consistent.
Before you start, check the lid fit. If it wobbles or leaves a clear gap, lay a clean kitchen towel over the pan, then press the lid on top. That simple trick fixes most starchy disasters.
The good news is that all these failures have the same solution. Learn the ratio, control the heat, and leave the lid alone. Each section below walks you through exactly what to do.
The Rice-to-Water Ratio: Why 1:2 Isn’t Always Right
If you’ve ever seen “1 cup rice to 2 cups water” on the back of a bag, you learned a half-truth. That ratio works for many long-grain white rices, but it’s not universal. Brown rice needs more water and more time.
Sushi rice needs a little less. Wild rice is a completely different animal.
Using the wrong ratio is the single fastest way to ruin a pot. Too little water leaves chalky, undercooked centers. Too much water turns grains into paste.
The key is matching the ratio to the rice type you actually put in the pan.
| Rice Type | Water per 1 Cup Dry Rice | Simmer Time | Rest Time |
|---|---|---|---|
| Long-grain white (jasmine, basmati) | 1.5 to 1.75 cups | 15–18 min | 10 min |
| Medium-grain (Calrose, arborio) | 1.25 to 1.5 cups | 15–18 min | 10 min |
| Short-grain (sushi) | 1.25 to 1.5 cups | 18–20 min | 10 min |
| Brown rice | 2 to 2.5 cups | 40–50 min | 10 min |
| Wild rice | 3 cups | 45–55 min | 5 min |
Here’s the nuance. The 1:2 ratio on many packages assumes you’re rinsing the rice first. Rinsing removes surface starch, which changes how much water the grains absorb.
If you skip rinsing, you may need slightly less water. If you toast the rice in oil, you need a touch more. Start with the table above and adjust based on your stove and pot.
Also, altitude changes the math. At 3,000 feet or higher, water boils at a lower temperature, which means rice needs more time and sometimes a little extra liquid. If you live in Denver or Mexico City, add 1 to 2 tablespoons of water and increase the simmer time by 3 to 5 minutes.
The Rice Variety Decision Tree
Your rice type should decide your entire approach. Long-grain, short-grain, and brown rice all behave differently. Here’s the simplest way to pick your method.
Long-grain white rice (jasmine, basmati)
This is the most forgiving place to start. Grains stay separate and fluffy when cooked correctly. Use 1.5 to 1.75 cups of water per cup of rice.
Simmer for 15 to 18 minutes. If you want extra-fluffy basmati, soak it in cold water for 15 minutes before rinsing. That extra step softens the grain so it elongates instead of splitting.
Short-grain and medium-grain rice (sushi, arborio)
Shorter grains have a higher starch content, so they cling together naturally. Use 1.25 to 1.5 cups of water per cup of rice. Keep the simmer gentle.
Once these cook too hard, they break apart and turn creamy, which is fine for risotto but wrong for a side dish. Reserve medium-grain for dishes where a little stickiness helps, like poke bowls or arroz con pollo.
Brown rice and wild rice
Brown rice keeps its bran layer, so it needs longer cooking and more water. Use 2 to 2.5 cups of water per cup and expect 40 to 50 minutes. Don’t rush it.
The bran acts like a tough shell that only softens with time and steady heat. Wild rice isn’t actually rice, but it follows the same logic. Give it time and plenty of liquid.
If you’re still standing in the aisle wondering which to buy, here’s the shortcut. Fluffy and separate? Go long-grain.
Sticky and clumping? Go short-grain. Slow-cooking and nutty?
Go brown. Each one has a matching method that takes the guesswork out of the pot.
Step-by-Step: The Perfect Saucepan Rice Workflow
Here’s the exact sequence we use in our research testing. It works across long-grain, short-grain, and medium-grain white rice. Brown rice needs the same workflow, just longer times.
- Measure your rice. Use one liquid measuring cup for rice and the same cup for water. That keeps the ratio honest.
- Rinse the rice. Put it in a fine-mesh strainer and run cold water over it for 30 seconds. Swish with your fingers. Keep rinsing until the water runs clear, usually 2 to 4 passes. Skipping this step leaves a starchy film that makes grains gummy.
- Add rice and water to the saucepan. Pour in the measured water. Add a pinch of salt per cup. Don’t stir the rice after this point.
- Bring to a boil, uncovered, over medium-high heat. Watch the surface. The moment you see steady, rolling bubbles, move to the next step. Don’t let it boil for a minute or two.
- Reduce the heat to the lowest setting and cover. This is the most important move in the whole method. High heat blasts the bottom and leaves the top undercooked. Low heat lets steam cook the rice gently and evenly.
- Set a timer and don’t lift the lid. For white long-grain rice, that’s 15 to 18 minutes. For short-grain, 18 to 20. For brown rice, 40 to 50. Every time you lift the lid, you lose steam and add cooking minutes.
- Turn off the heat and rest, covered, for 10 minutes. This resting phase is where the last bit of water absorbs into the grain. Skip it and you’ll cut into rice that’s slightly wet at the center.
- Fluff with a fork. Use a fork, not a spoon. A spoon mashes the grains. A fork lifts and separates them without crushing.
That’s the whole process. No specialty equipment, no stirring, no peeking. The hardest part is resisting the urge to check.
If you want a little extra flavor, add a tablespoon of butter or oil to the pan just before boiling. Toss in a bay leaf, a cinnamon stick, or half a star anise while it simmers. Those aromatics infuse the rice without changing the ratio.
Common Mistakes That Ruin Saucepan Rice
Even with the right ratio, a few small habits can wreck a perfectly good pot. Here are the ones we see most often in our research and reader feedback.
Lifting the lid too early. Every time you peek, you release steam. That steam is what cooks the rice from the inside. One quick look at the 5-minute mark can add 3 extra minutes to your cook time.
Worse, it makes the texture uneven. Trust the timer instead.
Stirring during the simmer. Stirring breaks the grains and releases starch. That turns fluffy rice into a gummy paste. Once the lid is on, the rice gets zero attention.
Let it work.
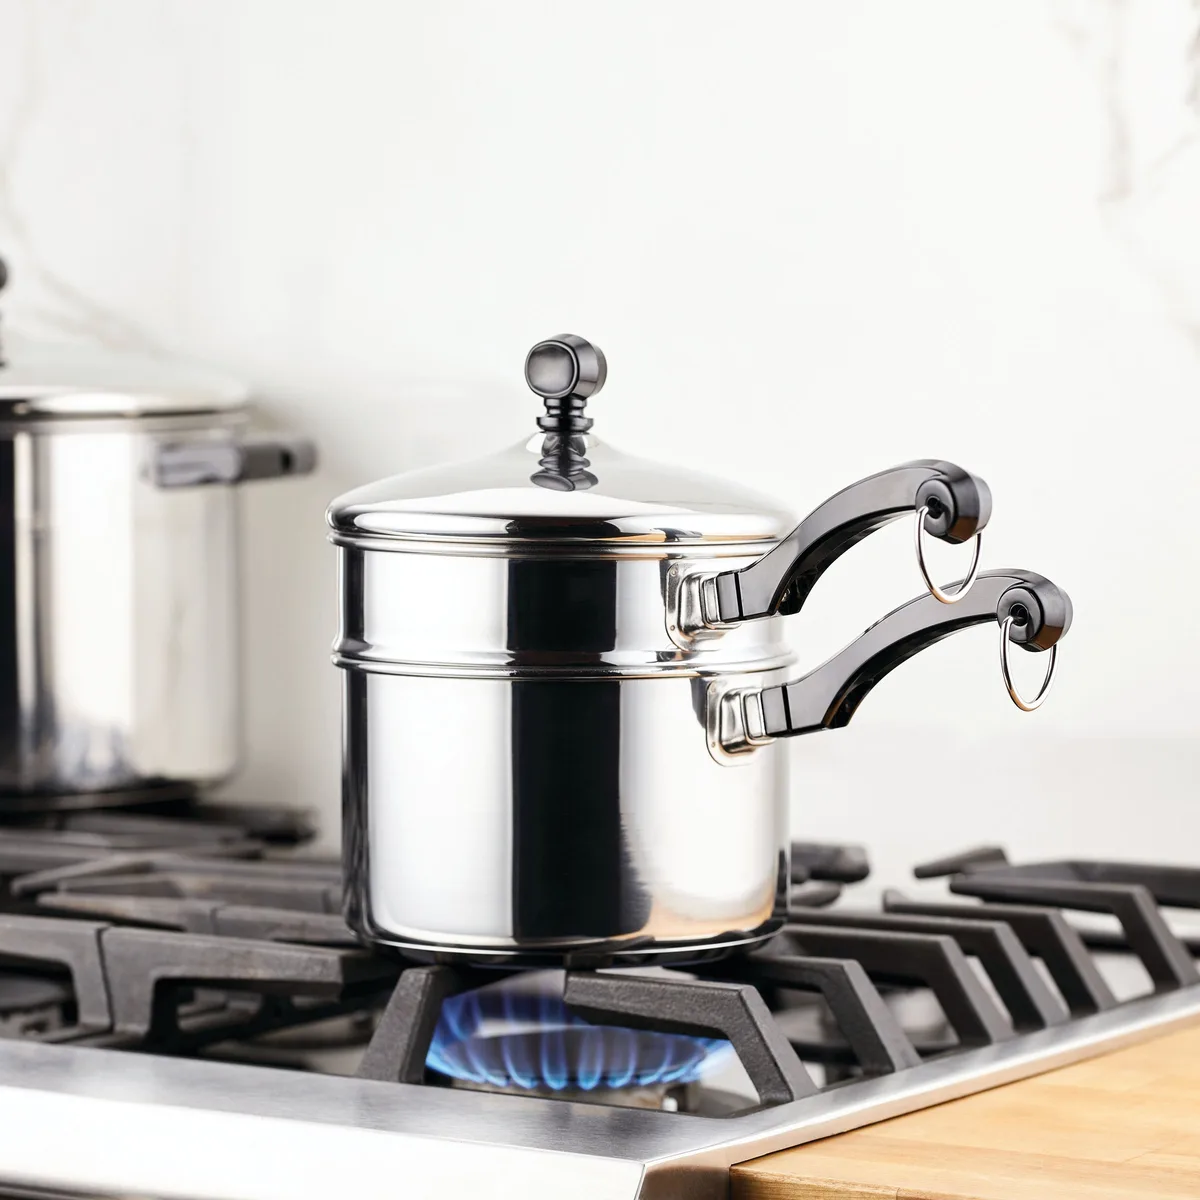
Using the wrong pan size. A 2-quart saucepan is perfect for 1 cup of dry rice. A tiny 1-quart pot crowds the grains and traps too much moisture. A massive 5-quart pot spreads the rice too thin and it cooks unevenly.
Match the pan to the batch.
Skipping the rest period. We get it. You’re hungry. But cutting into rice straight off the heat means biting into a wet, chalky center.
Those 10 minutes off the heat let the grains absorb the final bit of steam. Patience is the cheapest ingredient you’ll ever use.
Starting with boiling water. You don’t need to boil water first, then add rice. Cold water works fine and actually gives you more consistent results. Hot water shocks the grains and can leave them unevenly cooked.
Why Saucepan Rice Is Worth It: Benefits and Drawbacks
Cooking rice in a saucepan isn’t the only way, and it isn’t the easiest way. But it has some real strengths worth keeping around.
What works well
You get total control. A saucepan lets you toast the rice in butter first, add aromatics, or cook it pilaf-style with broth. No rice cooker does that without an extra sauté step.
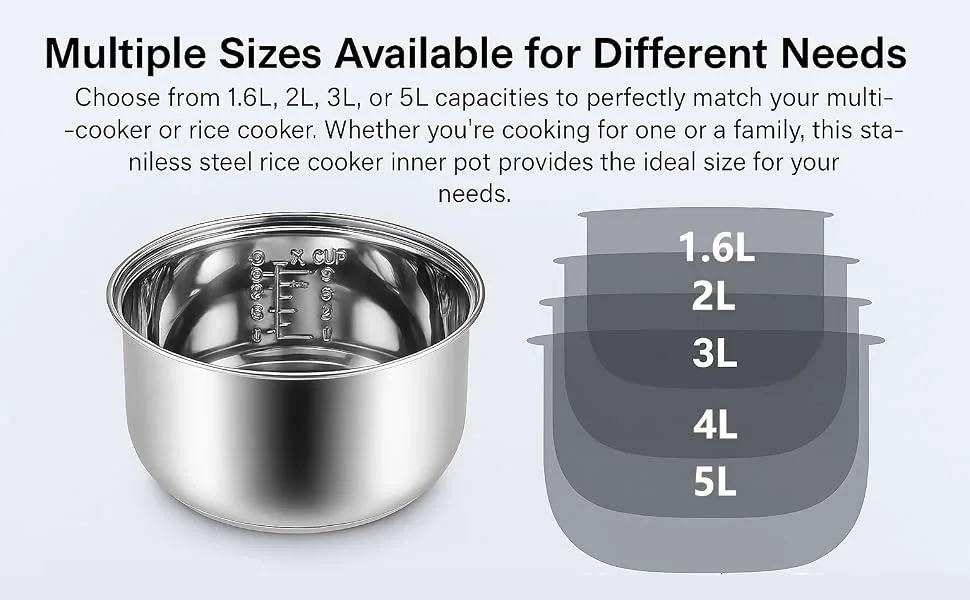
You also avoid another countertop appliance. A decent rice cooker costs money and takes up space. Your saucepan is already in the cabinet.
One less thing to store.
Cleanup is genuinely simple. One pot, one lid, one fork. The rice cooker adds an inner bowl, a steaming tray, and a measuring cup to wash.
Where it gets annoying
You have to be present. You can’t set it and walk away like a rice cooker. That means staying near the stove for the boil-to-simmer transition, then trusting the timer.
Batch size is limited. A standard 2-quart saucepan comfortably handles 1 to 1.5 cups of dry rice. That serves three or four people.
Cooking for a crowd means multiple batches or upgrading pans.
There’s also a learning curve. The first pot might come out a little sticky or a little crunchy. That’s normal.
Once you hit the rhythm, it becomes second nature.
If you cook rice twice a week or more, a rice cooker is honestly a better fit. For everyone else, the saucepan is faster to clean, cheaper to maintain, and more flexible. Our research says most home cooks fall into the “sometimes rice” group, so the saucepan wins.
Saucepan vs. Rice Cooker vs. Instant Pot
People always ask which method makes the best rice. The answer isn’t one winner. Each tool excels in different situations.
| Factor | Saucepan | Rice Cooker | Instant Pot |
|---|---|---|---|
| Cook time (white rice) | 25 min total | 30 min total | 20 min total |
| Texture control | High | Medium | Medium |
| Cleanup | One pot | Bowl + lid + spoon | Pot + lid + gasket |
| Batch size | 2–4 servings | 4–8 servings | 4–10 servings |
| Flavor flexibility | Excellent | Limited | Good |
| Counter space needed | None (stove) | Dedicated spot | Dedicated spot |
| Price | Already owned | $30–$100 | $80–$150 |
Here’s the practical breakdown.
Saucepan wins on texture and flavor. You control the heat curve, the fat, and the aromatics. Rice comes out exactly as firm or tender as you want. It’s also the cheapest option since you already own the pan.
Rice cooker wins on convenience. You push one button, it dings when done, and the rice stays warm for hours. If you eat rice daily, the hands-off nature is worth the counter space. Many mid-range models also have a “gaba” or “brown rice” setting that handles tough grains well.
Instant Pot wins on speed and batch size. Pressure cooking shaves a few minutes off white rice and dramatically speeds up brown rice. It also cooks a full pot of beans, stew, or curry in the same unit. If you’re already using an Instant Pot for everything else, it makes sense for rice too.
The honest verdict from our research: for a single batch of rice as a side dish, the saucepan is faster to clean and gives you better texture. For daily rice with zero attention, a rice cooker. For bulk meal prep, the Instant Pot.
Choose based on how often rice lands on your table, not on which gadget looks cooler.
Quick Reference Guide: Ratios, Times, and Yields
Here’s the cheat sheet. Bookmark this section, screenshot it, or tape it to your cabinet door. It covers the most common rice types and their exact saucepan settings.
| Rice Type | Dry to Water | Simmer Time | Rest Time | Yield (1 cup dry) |
|---|---|---|---|---|
| Jasmine | 1 : 1.5 | 15 min | 10 min | 3 cups |
| Basmati | 1 : 1.5 | 15–18 min | 10 min | 3 cups |
| Long-grain white | 1 : 1.75 | 15–18 min | 10 min | 3 cups |
| Medium-grain | 1 : 1.5 | 15–18 min | 10 min | 2.5 cups |
| Short-grain (sushi) | 1 : 1.25 | 18–20 min | 10 min | 2.5 cups |
| Brown | 1 : 2.25 | 40–50 min | 10 min | 3 cups |
| Wild | 1 : 3 | 45–55 min | 5 min | 3 cups |
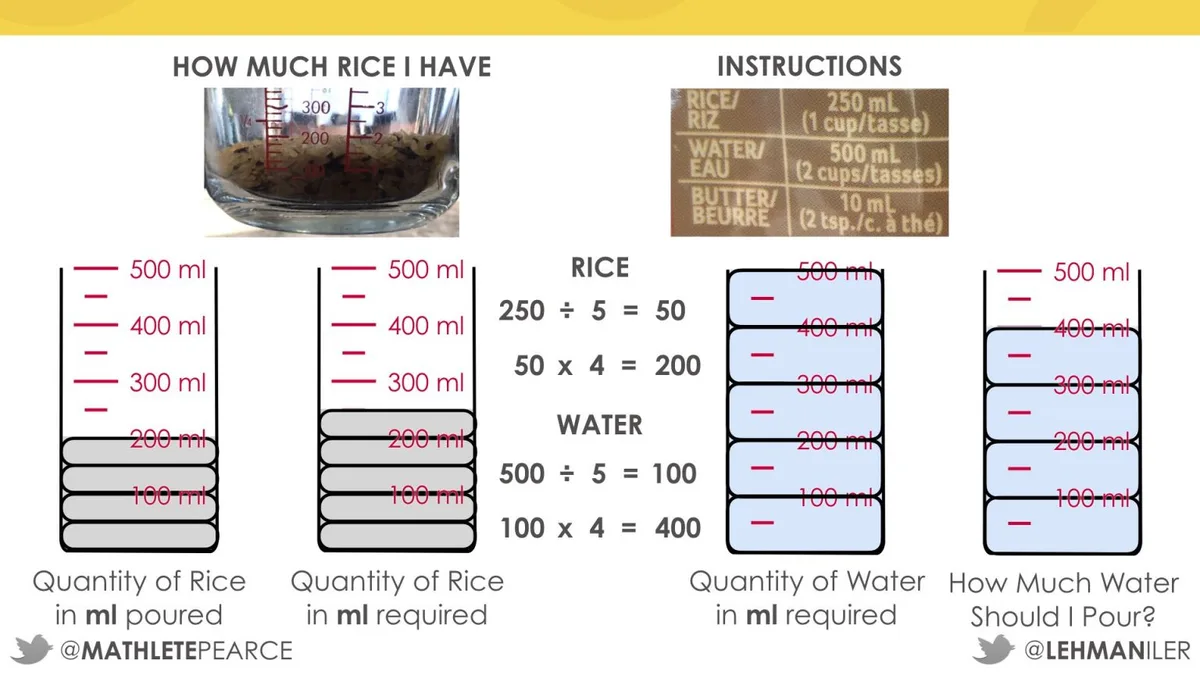
Use the same measuring cup for rice and water. That keeps the ratio honest even if you scale up or down.
Salt amount: about 1/4 teaspoon per cup of dry rice. Butter or oil: 1 tablespoon per cup, optional.
For small batches, reduce everything proportionally. Half a cup of dry rice gets half the water, same simmer time, same rest time. The one thing you don’t scale down is time.
Rice grains don’t cook faster in smaller batches.
Expert Tips for Fluffier, More Consistent Results
These aren’t required, but they separate decent rice from genuinely great rice.
Soak basmati and jasmine for 15 minutes. This softens the grain before cooking. The result is longer, separate grains that don’t clump. Rinse first, then soak, then drain, then cook with fresh water.
Skip this for short-grain rice; you want it stickier.
Toast the dry rice in butter or oil. This is the pilaf move. Heat 1 tablespoon of butter or oil over medium heat, add the dry rice, and stir for 2 to 3 minutes until the grains smell nutty and turn slightly opaque. Then add water and continue the normal process.
It adds a subtle depth you can’t get any other way.
Add salt to the water, not the finished rice. Salting after cooking just coats the outside of the grain. Salting the water lets the seasoning absorb into the grain as it hydrates. A quarter teaspoon per cup is enough.
Use a clear lid if you have one. It lets you see the steam level and the surface of the water without lifting. That kills the curiosity impulse entirely. If your saucepan has a solid lid, resist the same urge with a timer.
Reheat leftovers with a splash of water. Cold rice from the fridge dries out fast. To revive it, sprinkle a tablespoon of water per cup, cover, and microwave for 60 to 90 seconds. The steam rehydrates the grains.
For stovetop reheating, add a splash of water to the pan and warm over low heat for 5 minutes.
Freeze cooked rice in flat bags. You can freeze individual portions flat in zip-top bags. It takes about 2 minutes to reheat in the microwave and tastes nearly fresh. This works better than storing it in a container for days.
Troubleshooting: Fixing Undercooked, Overcooked, and Burnt Rice
Even careful cooks hit a bad pot. Here’s how to salvage it.
Undercooked rice
The grains are crunchy, the liquid is gone. Add 2 to 3 tablespoons of water, cover, and return to the lowest heat for 5 minutes. Then rest off heat for another 5.
The extra steam softens the centers without overcooking the outsides.
If the rice is still crunchy, it may need more water. Add 1/4 cup, cover, and simmer low for another 5 minutes. Don’t dump in a full cup; you’ll turn it into porridge.
Overcooked or mushy rice
This is harder to fix. The grains have already absorbed too much water and broken down. One option is to spread the rice on a baking sheet and let it dry for 5 to 10 minutes.
Another is to repurpose it entirely. Mushy rice makes excellent fried rice if you refrigerate it overnight and crisp it up the next day.
Burnt rice on the bottom
Don’t scrape it. The burnt layer will shred and mix into the rice, ruining the texture. Gently remove the top rice to a serving bowl, then let the scorched pan cool.
Fill the bottom with warm water and soak for 20 minutes. It’ll lift off easily, and nothing goes to waste.
Rice that’s too wet
Remove the lid and let the steam escape for 2 to 3 minutes. Then fluff gently with a fork. If it’s still swimming, drain off any standing water and spread the rice on a plate for a few minutes.
It won’t win a beauty contest, but it’ll be edible.
Final Verdict: When to Use the Saucepan Method
Use the saucepan when you’re cooking one batch for dinner, when you want to control flavor and texture, or when you’d rather not buy another appliance. It’s the right tool for most weeknight meals.
Skip the saucepan if you cook rice daily, need to feed more than four people, or want everything to happen without you in the room. A rice cooker fits that life better.
The mayonnaise test: if you make rice a few times a month, the saucepan is all you need. If it’s a daily staple, invest in the gadget.
Honestly, the best method is the one you’ll actually use consistently. The saucepan works, it’s cheap, and it’s dead simple once you’ve done it twice. After those two pots, you’ll stop thinking about ratios and just cook.
Frequently Asked Questions
How do I keep rice from sticking to the bottom of the pan?
Use a heavy-bottomed saucepan and keep the heat low during the simmer. High heat is the main cause of sticking. A quick nonstick-safe trick is to add a teaspoon of butter or oil to the water before boiling.
Also, let the rice rest off heat for 10 minutes before fluffing. That steam finishes the cooking and releases the grains from the pan bottom.
Should I rinse rice before cooking in a saucepan?
Yes, rinse most white rice. A fine-mesh strainer and cold water for about 30 seconds removes surface starch. That starch turns into glue during cooking.
The water should run almost clear. Brown rice should also be rinsed. Wild rice can skip it.
One exception: if a recipe calls for adding fat and liquid to rice, skip the rinse for full absorption.
How much water do I need for 2 cups of rice?
For long-grain white rice, use 3 to 3.5 cups of water for 2 cups of dry rice. The same measuring cup for both keeps the ratio accurate. A 3-quart saucepan handles this batch comfortably.
Cook time stays the same at 15 to 18 minutes. Rest for 10 minutes, then fluff with a fork.
Should I use cold or boiling water for rice?
Cold water. Starting with cold water lets the rice heat up gradually with the water, which cooks the grain evenly. If you add rice to boiling water, the outside cooks faster than the inside.
That leaves a chalky core. Cold water prevents this.
How long can I keep cooked rice in the fridge?
Cooked rice lasts 3 to 4 days in a sealed container in the refrigerator. Cool the rice within one hour of cooking, store it quickly, and reheat only what you need. Reheating multiple times increases the risk of spoilage.
For longer storage, freeze the rice in single portions. It keeps for up to 6 months in the freezer.
Common Mistakes That Ruin Saucepan Rice
Lifting the lid early, stirring mid-simmer, and using a thin pan cause most failures. Keep the heat low and the lid on. Trust the timer.
Why Saucepan Rice Is Worth It: Benefits and Drawbacks
You get total flavor control, one-pot cleanup, and no extra gadgets. The trade-off is attention. Batch sizes stay small.
That’s fine for 2 to 4 servings.
Saucepan vs. Rice Cooker vs. Instant Pot
Saucepan wins on texture and cleanup. Rice cooker wins on convenience. Instant Pot wins on speed and batch size.
Pick based on how often you make rice.
Quick Reference Guide: Ratios, Times, and Yields
Long-grain white: 1:1.5, 15 minutes. Short-grain: 1:1.25, 18 minutes. Brown: 1:2.25, 45 minutes.
Rest 10 minutes. One cup dry yields three cups cooked.
Expert Tips for Fluffier, More Consistent Results
Soak basmati 15 minutes. Toast grains in butter first. Salt the water, not the rice.
Reheat leftovers with a splash of water and covered steam.
Troubleshooting: Fixing Undercooked, Overcooked, and Burnt Rice
Undercooked rice needs a little steam. Add 2 to 3 tablespoons of water, cover, and simmer on the lowest heat for 5 minutes. Rest off heat for another 5.
Mushy rice is harder to save. Spread it on a baking sheet to dry for a few minutes. Or refrigerate it overnight and turn it into fried rice the next day.
Burnt bottoms happen. Don’t scrape the scorched layer. Gently remove the good rice, then soak the pan in warm water for 20 minutes.
The burnt crust lifts right off.
Final Verdict: When to Use the Saucepan Method
The saucepan wins for single batches, flavor control, and easy cleanup. If you cook rice a few times a week, it’s all you need.
Skip it if you make rice daily or feed a crowd. That’s when a rice cooker or Instant Pot earns its space.
Our research lands on a simple rule: the best method is the one you’ll use consistently. The saucepan is cheap, already in your kitchen, and repeatable after two tries.
Frequently Asked Questions
How do I keep rice from sticking to the bottom?
Use a heavy-bottomed saucepan and keep the heat low. Add a teaspoon of oil to the water before boiling. Rest the rice off heat for 10 minutes before fluffing.
Should I rinse rice before cooking in a saucepan?
Yes, rinse most white rice for 30 seconds until the water runs clear. That removes surface starch, which prevents gumminess. Brown rice also benefits from a rinse.
How much water do I need for 2 cups of rice?
For long-grain white rice, use 3 to 3.5 cups of water. Use the same cup to measure both rice and water. Cook time stays around 15 to 18 minutes.
Should I use cold or boiling water for rice?
Cold water. Starting cold lets the grains heat gradually and cook evenly. Boiling water shocks the outside and leaves the center chalky.