That stuck filter is the one thing that turns a two-minute job into a 20-minute wrestling match. If you’re trying to figure out how to remove a stuck Whirlpool refrigerator water filter without cracking the plastic housing or calling a repair guy, you’re in the right place. Most stuck filters aren’t stuck because they’re defective, they’re stuck because of ice, overtightening, or a swollen rubber O-ring.
And the fix changes depending on which one you’re dealing with.
Manufacturer instructions from Whirlpool state that the filter should turn freely by hand when replaced correctly, but real-world conditions like hard water scale or a frozen housing can lock it in place. According to NSF/ANSI 42 testing standards for water filtration, the O-ring seal is designed to compress slightly over time, which is why a filter that went in smoothly six months ago now refuses to budge. Let’s walk through the right way to free it without causing damage.
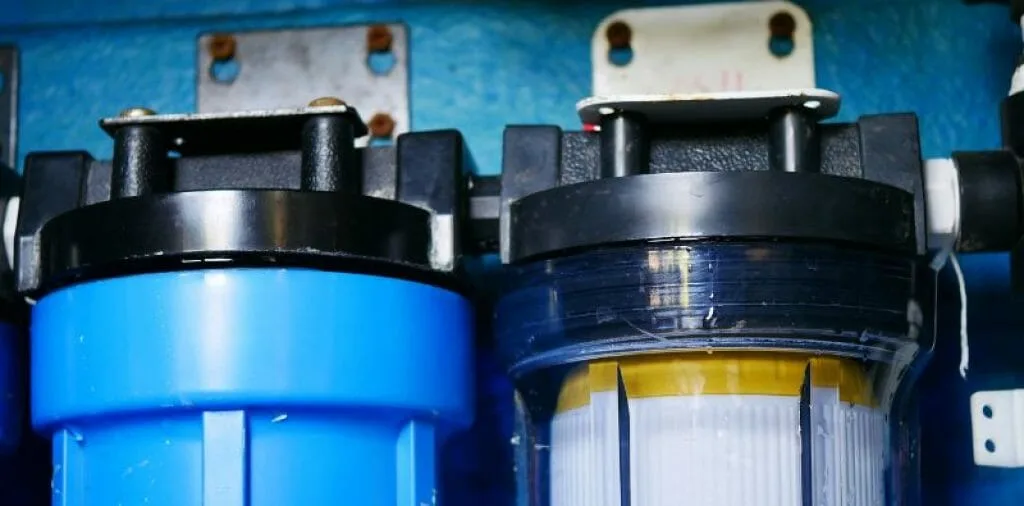
Image source: Web (Bing) / storage.googleapis.com
Quick Answer
Turn off the water supply first. If the filter has a push‑button release, press it firmly while pulling straight out. For twist‑lock filters, rotate counter‑clockwise using a filter wrench if needed. Apply gentle heat from a hair dryer if ice is the problem.
Lubricate the O‑ring with food‑grade silicone grease before reinstalling. Never use pliers or petroleum grease, they damage the housing.
Why Your Whirlpool Water Filter Gets Stuck (and What Not to Do)
Filters get stuck for one of four reasons, and each demands a different approach. The most common culprit is overtightening. When you twisted the new filter in six months ago, you probably gave it that extra little crank “to make sure it’s snug.” That squeeze compresses the O‑ring and locks the threads so hard that normal hand pressure can’t break them loose.
The second reason is ice buildup. If your refrigerator has a filter located inside the fresh food compartment near the top, condensation can collect and freeze around the base of the filter. That’s especially common in humid climates or if the fridge door gets left open often.
Ice acts like a glue that holds the filter tight.
Third is a swollen O‑ring. Over time the rubber seal absorbs water and expands. Once it swells beyond its original diameter, it wedges itself into the housing and won’t slide out.
This happens more often with off‑brand filters that use lower‑grade rubber.
Fourth is mineral scale. If you have hard water, calcium and other deposits can build up around the threads or the push‑in connector, effectively cementing the filter in place. This tends to show up on filters that have been left in way past the six‑month replacement window.
What not to do: never yank or twist with brute force. The plastic housing can crack, and a cracked housing means a $40, $60 part and a potential leak behind your fridge. Also avoid using WD‑40 or any petroleum‑based lubricant, it can contaminate your water supply and ruin the O‑ring.
The First Step: Identify Your Filter Type (Push‑Button, Twist‑Lock, Quarter‑Turn)
Before you apply any technique, you need to know exactly which filter design your Whirlpool refrigerator uses. There are three main types, and the removal method is completely different for each. Using the wrong method is the fastest way to break something.
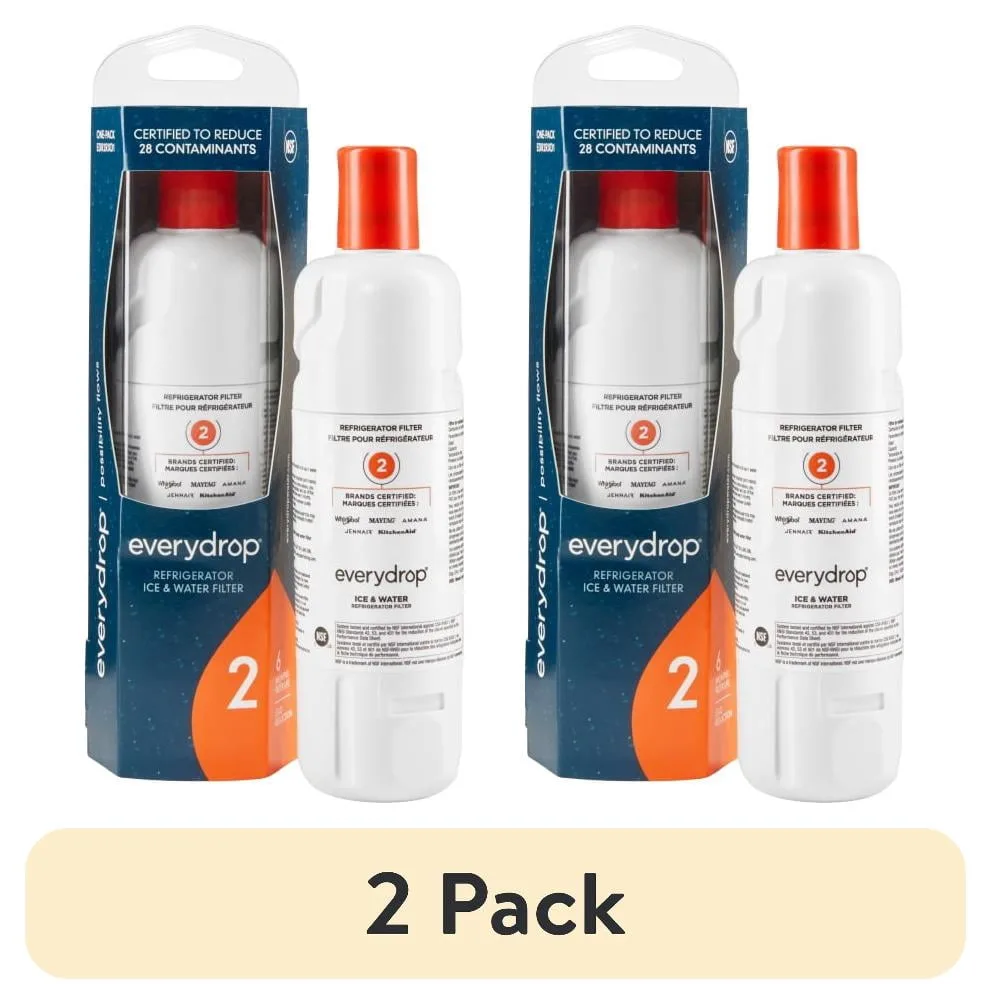
Image source: Web (Bing) / walmart.com
Push‑button (EveryDrop push‑in style). These filters have a round face with a spring‑loaded release button or tab on the front or side. You press the button while pulling the filter straight out. There is no twisting involved at all.
If you twist a push‑in filter, you can break the internal locking tabs. Look for a small rectangular button near the filter’s rim. Common models: EveryDrop 1, 2, 4, and 5.
Quarter‑turn twist. These filters have a cap that you rotate about 90 degrees (a quarter turn) to lock or release. They often have a slot on the cap for a filter wrench. You turn counter‑clockwise until it stops, then pull straight out.
If it’s stuck, the quarter turn may not be enough to break the seal, you might need a wrench or gentle persuasion.
Full‑turn twist. Older Whirlpool models use a filter that requires a full 360‑degree rotation or more to remove. You twist counter‑clockwise until it unscrews completely. These are the most likely to be overtightened because people treat them like a screw cap and crank hard.
How to tell which one you have. Look at the filter itself or check your owner’s manual. The model number is usually printed on a sticker inside the refrigerator door or on the filter housing. You can also search your fridge’s model number on the official Whirlpool support site to pull up the exact filter type.
When you know that, the rest of the process becomes straightforward.
You might find this helpful: Best Whirlpool Refrigerator Filters
Decision Tree: How to Remove a Stuck Filter Based on the Cause
Now that you know your filter type, match your symptom to the right branch. This decision tree saves you from trying methods that won’t work.
Frozen / ice‑jammed filter
Symptom: The filter feels solidly locked, but you see frost or moisture around the base. The housing may feel cold to the touch.
Solution: Heat is your friend. Use a hair dryer on low or medium heat. Aim it at the filter head and surrounding housing for 30, 60 seconds.
Do not use a heat gun, it’s too hot and will warp the plastic. Once the ice softens, try the removal method for your filter type (push button or twist). Ice buildup is often just around the outer rim, so a little warmth is usually enough.
Prevention: Keep the refrigerator door closed. Check that the door seal is tight. In humid areas, you can wipe the filter area dry after each replacement.
Overtightened filter
Symptom: You can grip the filter but it won’t turn or pull out, even with moderate effort. There’s no ice or visible damage.
Solution: For twist‑type filters, a filter wrench is your best tool. Place the wrench over the filter cap and turn counter‑clockwise with steady, even pressure. If you don’t have a wrench, use a rubber strap wrench or a pair of rubber gloves for extra grip.
For push‑button filters, press the button firmly and pull straight out while wiggling slightly. If it still won’t budge, try applying a small amount of food‑grade silicone grease around the O‑ring access point (if you can reach it) to reduce friction.
Prevention: When you install a new filter, hand‑tighten only until it stops. Do not give it that extra quarter turn. The O‑ring seals fine without force.
Broken release tab or push‑button
Symptom: The push‑button clicks but doesn’t release the filter. Or the button feels loose or has snapped off.
Solution: This is the hardest scenario. If the button is broken, you may need to disassemble the filter housing to access the internal latch. That usually means removing the housing from the refrigerator, a repair that’s best left to a technician.
In some cases, you can slide a thin plastic trim tool between the filter and housing to manually depress the latch. But excessive prying can crack the housing. Our research suggests that if the button is broken, stop and call a certified Whirlpool service technician.
The risk of water damage is too high.
Swollen O‑ring or mineral buildup
Symptom: The filter feels stuck but you can rotate it slightly with effort. Water may drip from the housing after removal attempts.
Solution: Lubrication works best here. Use food‑grade silicone grease (not petroleum jelly). Apply a small amount around the visible O‑ring area if you can access it.
Let it sit for a few minutes to penetrate. Then try twisting or pulling according to your filter type. If mineral scale is the problem, a solution of white vinegar and water (50/50) on a cloth can be wiped around the filter head to dissolve deposits.
Do not pour vinegar directly into the housing.
Tools and Techniques That Actually Work (Without Breaking Anything)
You don’t need a toolbox full of specialized gear. Here’s what makes the difference between a smooth removal and a broken housing.
Image source: Web (Bing) / storage.googleapis.com
Filter wrench. This is the number one tool for twist‑type filters. A universal filter wrench costs around $5, $15 and fits most Whirlpool quarter‑turn and full‑turn filters. It gives you leverage without slipping.
If you don’t have one, a rubber strap wrench from a hardware store works almost as well.
Hair dryer. Low heat only. Hold it 6, 8 inches away from the filter. Never point it directly at plastic seams.
Move it around to distribute heat evenly.
Food‑grade silicone grease. This is safe for drinking water systems. You can find it at any home improvement store in the plumbing aisle. A small tube lasts for years.
Do not use petroleum jelly, WD‑40, cooking oil, or any lubricant not explicitly labeled for potable water.
Rubber gloves. A pair of rubber dish gloves gives you enough grip to turn a stubborn filter without resorting to tools. Sometimes the extra friction is all you need.
Needle‑nose pliers (last resort only). If you absolutely must use pliers, wrap the filter head in a thick cloth or rubber band first. Grip the filter cap, never the plastic housing. Even then, go gently.
Once you crack the housing, the repair bill is ten times the cost of a service call.
Common Mistakes That Damage the Housing (and How to Avoid Them)
The plastic housing that holds your water filter is not designed to handle brute force. Crack it, and you’ll be dealing with a slow leak behind the refrigerator, one that can ruin flooring and cause mold before you notice it.
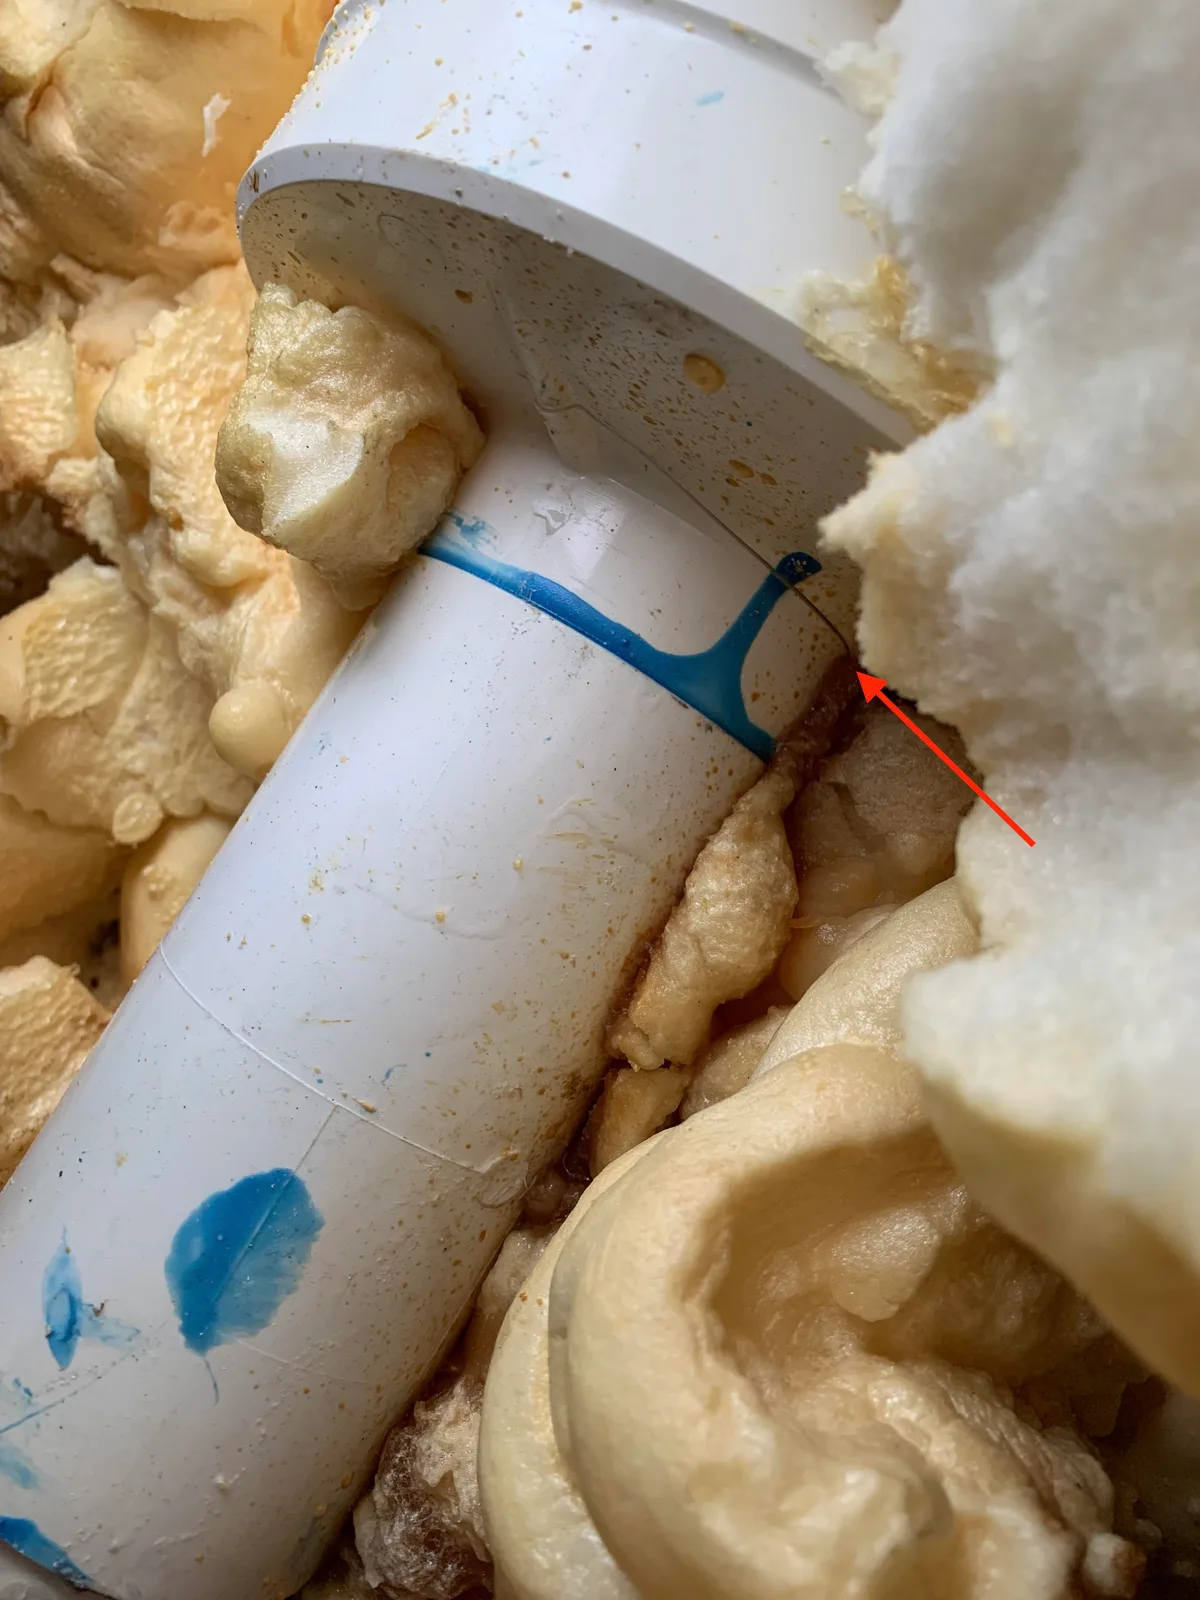
Image source: Bing (Web (fair-use with source credit))
Mistake 1: Twisting a push‑button filter. This is the most common DIY error. People see a round filter and assume it twists. If you twist a push‑in filter, you can snap the internal locking tabs.
The filter will then spin freely but won’t come out. Once those tabs break, there’s no way to remove the filter without removing the entire housing.
Fix: Stop twisting. Press the release button and pull straight out. If the button doesn’t click, check for ice or debris blocking it.
Mistake 2: Using pliers or a pipe wrench on the housing. That’s a recipe for cracks. The housing is thin plastic, often less than 1/8 inch thick. A pipe wrench can easily crush it.
Fix: Use a filter wrench that’s designed to grip the filter cap without squeezing the housing. If the filter cap is too mangled to grip, you’re better off calling a professional.
Mistake 3: Forgetting to shut off the water first. When you finally get the filter loose, water will rush out. If the water supply line is still on, you could have several gallons spill onto your floor before you can turn it off.
Fix: Locate the shut‑off valve, usually a small lever or knob on the copper or plastic line behind the refrigerator. Turn it clockwise (off) before you do anything else. If you can’t find the valve, turn off the household water supply at the main shut‑off.
Mistake 4: Applying heat with a heat gun or torch. That will soften the plastic and deform the housing. Once deformed, the housing won’t hold a proper seal and will leak.
Fix: Stick to a hair dryer. If a hair dryer doesn’t work after two minutes, the problem is not ice, it’s overtightening or a broken latch.
Mistake 5: Replacing the filter without cleaning the housing. Old O‑ring residue, mineral deposits, and grime can prevent a new filter from seating properly and cause future sticking.
Fix: Before you insert a new filter, wipe the inside of the housing with a clean, damp cloth. Inspect the O‑ring on the new filter, it should feel pliable, not cracked or dried out. Apply a thin layer of food‑grade silicone grease to the O‑ring before installation.
That covers the first five sections. We’ll continue with the step‑by‑step removal summary for each filter type and the FAQ section in the next batch.
Step‑by‑Step Summary: The Fastest Safe Removal Process for Each Filter Type
Once you’ve identified your filter type and the likely cause of sticking, follow the process that matches your situation. These steps assume you’ve already shut off the water supply.
Push‑button type (EveryDrop 1, 2, 4, 5). Press the release button firmly with your thumb. If it doesn’t click, check for ice blocking the button mechanism. Use a hair dryer on low heat for 20 seconds around the button area.
Press again while pulling the filter straight out with your other hand. If it still won’t budge, wrap a rubber band around the filter body for grip and pull. Never twist.
Quarter‑turn type. Place a filter wrench over the cap. Turn counter‑clockwise about 90 degrees until you feel it stop. Pull the filter straight out.
If the wrench slips, clean the cap with a dry cloth first. Stubborn cases may need a few light taps on the wrench handle with your palm. Do not hammer.
Full‑turn twist type. Grip the filter body with a rubber strap wrench or gloved hand. Turn counter‑clockwise steadily. Expect to rotate two to three full turns before the filter releases.
If it resists, apply food‑grade silicone grease around the base where the O‑ring meets the housing. Let it sit for two minutes. Then try again.
After removal, inspect the O‑ring on the old filter. If it’s swollen, flattened, or cracked, the new filter’s O‑ring should be lubricated before installation. Run two to three gallons of water through the new filter to purge air and carbon fines.
Frequently Asked Questions
Can I use a screwdriver to pry out a stuck filter?
No. Prying with a screwdriver almost always cracks the plastic housing. The housing is thin and brittle after years of thermal cycling.
A cracked housing means a leak that can damage your floor and subfloor. Use a filter wrench or rubber strap instead.
How do I prevent the filter from getting stuck again?
Hand‑tighten only. Stop turning as soon as you feel resistance. Apply a thin layer of food‑grade silicone grease to the new O‑ring before installation.
Replace the filter every six months. In humid areas, dry the housing with a clean cloth before inserting the new filter.
When should I replace the housing instead of just the filter?
Replace the housing if you see cracks, chips, or signs of water seepage around the plastic. Also replace it if the internal locking tabs are broken and the filter spins freely without releasing. A new housing costs $30 to $60 and is available through Whirlpool parts distributors.