Sterilizing mason jars is a key step for anyone who wants to safely preserve food at home. Whether you’re making jams, pickles, sauces, or storing dry goods, clean jars help keep your food fresh and safe from bacteria, mold, or yeast.
If you skip sterilization, even small germs can ruin your hard work and cause health risks. Luckily, sterilizing mason jars is simple if you follow the right steps. In this guide, you’ll learn the best methods, how to avoid common mistakes, and tips that even many beginners miss.
Why Sterilization Matters
Many people think washing jars with soap is enough, but sterilization is much more than cleaning. Home canning often involves sealing food in jars for months. Without sterilization, microorganisms can grow, leading to spoiled food or illness. According to the Centers for Disease Control and Prevention, improper home canning causes hundreds of foodborne illness cases each year in the US. The risk is real, but easy to prevent.
Sterilized jars also help preserve the flavor and texture of your food. If jars have any residue or bacteria, you might notice strange tastes or colors. Sterilizing jars is a simple step that protects your investment and keeps your food tasting the way you want.
When Should You Sterilize Mason Jars?
Sterilizing jars is not always required for every recipe, but it’s important in these cases:
- High-acid foods: Jams, jellies, fruit preserves, pickles, tomatoes.
- Processing time under 10 minutes: If you’re water-bath canning for less than 10 minutes, sterilize the jars first.
- Long-term storage: If food will stay in jars for months, always sterilize.
For foods processed longer than 10 minutes in a boiling water bath, the jars are typically sterilized during processing. However, it’s best to sterilize them in advance to avoid mistakes.

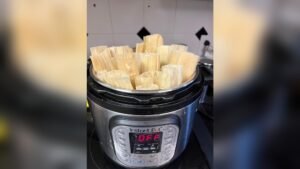
Credit: www.youtube.com
What You Need To Sterilize Mason Jars
Before you start, gather these tools:
- Mason jars (with lids and bands)
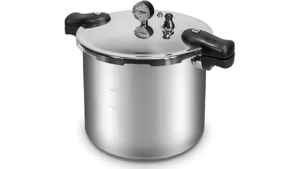
- Large pot or canner
- Jar lifter or tongs
- Clean towels
- Water
- Optional: Oven, dishwasher, kettle
Do not use cracked or chipped jars, as they can break during sterilization or processing.
Comparing Mason Jar Sizes
Choosing the right jar size matters for safe canning. Here’s a quick comparison:
| Jar Size | Common Use | Processing Time (min) |
|---|---|---|
| Half Pint (8 oz) | Jams, jellies, sauces | 5-10 |
| Pint (16 oz) | Pickles, salsa, fruit | 10-15 |
| Quart (32 oz) | Vegetables, soup, juice | 15-20 |
Main Methods For Sterilizing Mason Jars
There are three main ways to sterilize mason jars: boiling water, oven, and dishwasher. Each has pros and cons. Choose the method that fits your kitchen and your recipe.
Method 1: Boiling Water Sterilization
This is the most common and reliable method for home canning.
Step-by-step:
- Wash jars: Clean jars with hot, soapy water. Rinse well. Remove any food or residue.
- Inspect jars: Check for cracks or chips. Discard damaged jars.
- Fill pot: Place jars upright in a large pot. Add enough water to cover jars by 1 inch.
- Heat: Bring water to a boil. Let jars boil for 10 minutes. If you live above 1,000 feet, add 1 extra minute per 1,000 feet.
- Remove jars: Use a jar lifter or tongs. Place jars upside down on a clean towel to drain.
Bonus Tip: Keep jars hot until you fill them. This prevents breakage from sudden temperature changes.
Method 2: Oven Sterilization
Some people prefer the oven, but this method is less recommended for canning because it doesn’t sterilize lids and can cause uneven heating.
Step-by-step:
- Wash and inspect jars as above.
- Preheat oven to 275°F (135°C). Do not exceed this temperature.
- Place jars upright on a baking tray.
- Heat for 20 minutes.
- Remove jars carefully. Place on a clean towel.
Note: Never put cold jars in a hot oven—they can break.
Method 3: Dishwasher Sterilization
If you have a dishwasher with a sanitize cycle, it can help sterilize jars for less critical uses.
Step-by-step:
- Load jars, lids, and bands into dishwasher.
- Run the sanitize cycle (highest heat).
- Remove jars only when you’re ready to fill them.
Important: Dishwashers may not reach high enough temperatures for full sterilization, especially for canning. Use this only for recipes with longer processing times or for dry storage.
Comparing Sterilization Methods
Here’s a quick look at how the methods differ:
| Method | Temperature | Time Needed | Best For |
|---|---|---|---|
| Boiling Water | 212°F (100°C) | 10 min | All canning |
| Oven | 275°F (135°C) | 20 min | Dry goods, jams |
| Dishwasher | Varies | Full cycle | Dry storage |
Sterilizing Mason Jar Lids And Bands
Lids and bands need special care. Never boil the new lids, as it can damage the sealing compound.
- Lids: Place in hot (not boiling) water for 5–10 minutes before use. This softens the sealing ring.
- Bands: Wash in hot, soapy water. Rinse and dry.
Do not reuse lids from previous canning. Bands can be reused if they’re not rusty.
Filling Sterilized Jars
Once jars are sterilized, it’s important to fill them while they’re still hot.
- Use a funnel for clean filling.
- Leave the correct headspace (gap between food and lid): Usually ¼–½ inch, depending on the recipe.
- Wipe the rim with a damp, clean cloth. This ensures a proper seal.
- Place the lid and screw band on. Tighten until fingertip-tight—not too tight.
If you let sterilized jars cool down before filling, they may crack when hot food touches them.
Practical Tips And Non-obvious Insights
Many beginners miss these details:
- Sterilize before filling: Don’t sterilize jars and then leave them sitting out. Fill soon after sterilizing.
- Preheat jars for canning: If you’re filling jars with hot food, keep them hot. Mixing temperatures is a common cause of jar breakage.
- Avoid towel drying: Let jars air dry upside down. Towels can leave lint or bacteria.
- Don’t stack jars: Stacking can trap moisture and lead to mold.
- Altitude matters: Water boils at lower temperatures above sea level. Add extra boiling time as needed.
- Sterilize utensils: Use clean, sterilized ladles, funnels, and spatulas. Germs on tools can ruin your food.
Common Mistakes To Avoid
Sterilizing jars is simple, but mistakes can ruin your food.
- Using jars with hairline cracks: Even small cracks can lead to breakage or leaks.
- Not checking lid seals: If lids don’t seal, bacteria can enter.
- Filling jars too full: This prevents proper sealing and can cause spills.
- Cooling jars too quickly: Sudden changes can crack jars.
- Reusing old lids: Always use new lids for canning, as the seal only works once.
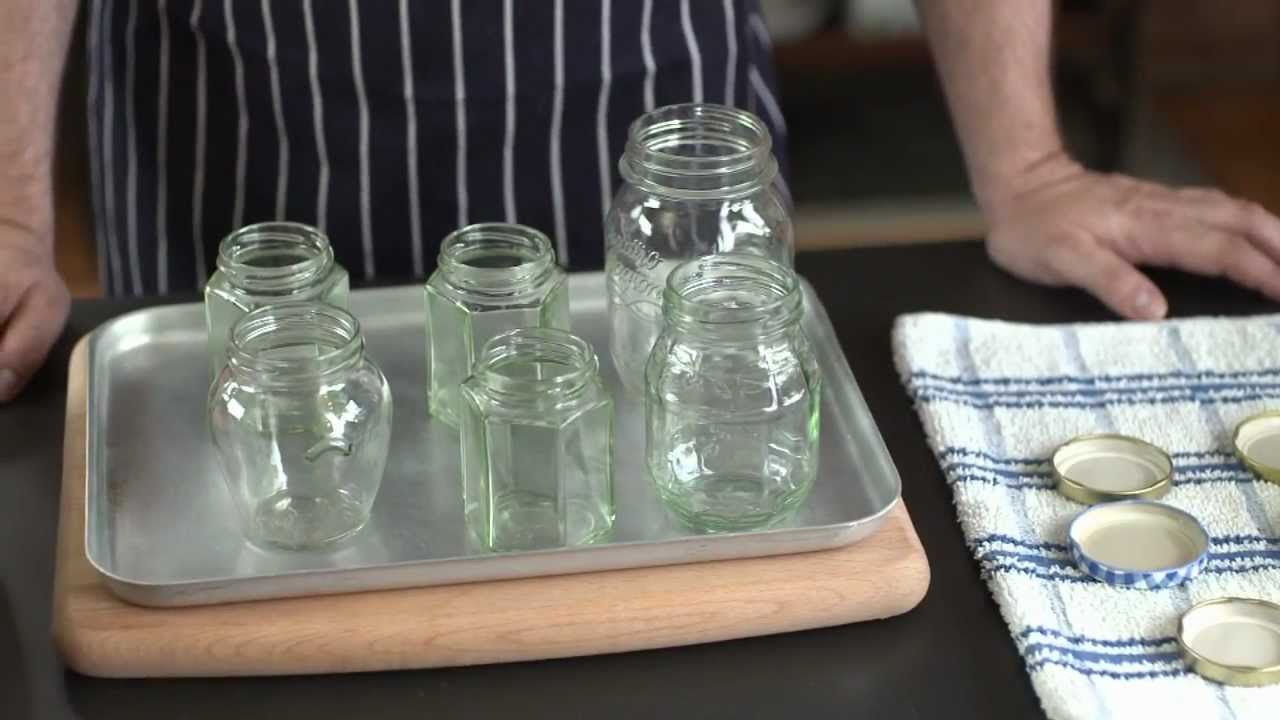
Credit: www.youtube.com
Storing Sterilized Mason Jars
After filling and sealing, jars need to be processed in a water bath or pressure canner, depending on the recipe. Once processed:
- Let jars cool undisturbed for 12–24 hours.
- Check seals: Press the lid. If it doesn’t pop, the seal is good.
- Store jars in a cool, dark place.
- Label jars with date and contents.
Proper storage helps prevent spoilage and keeps food fresh for months.
Sterilization For Dry Storage
For storing dry foods like grains, beans, or pasta, sterilization helps extend shelf life. Use the oven or boiling water method, then fill jars once they are cool and dry. Always use airtight lids.
How Often Should You Sterilize?
Sterilize jars every time you prepare food for canning or long-term storage. Even if jars look clean, invisible bacteria can grow. For short-term storage (a few days), washing jars may be enough, but it’s safer to sterilize.
Data On Home Canning Safety
According to the USDA, home canning is safe if you follow proper steps. In the US, over 20 million households practice home canning each year. However, mistakes in sterilization are among the top causes of spoilage and illness.
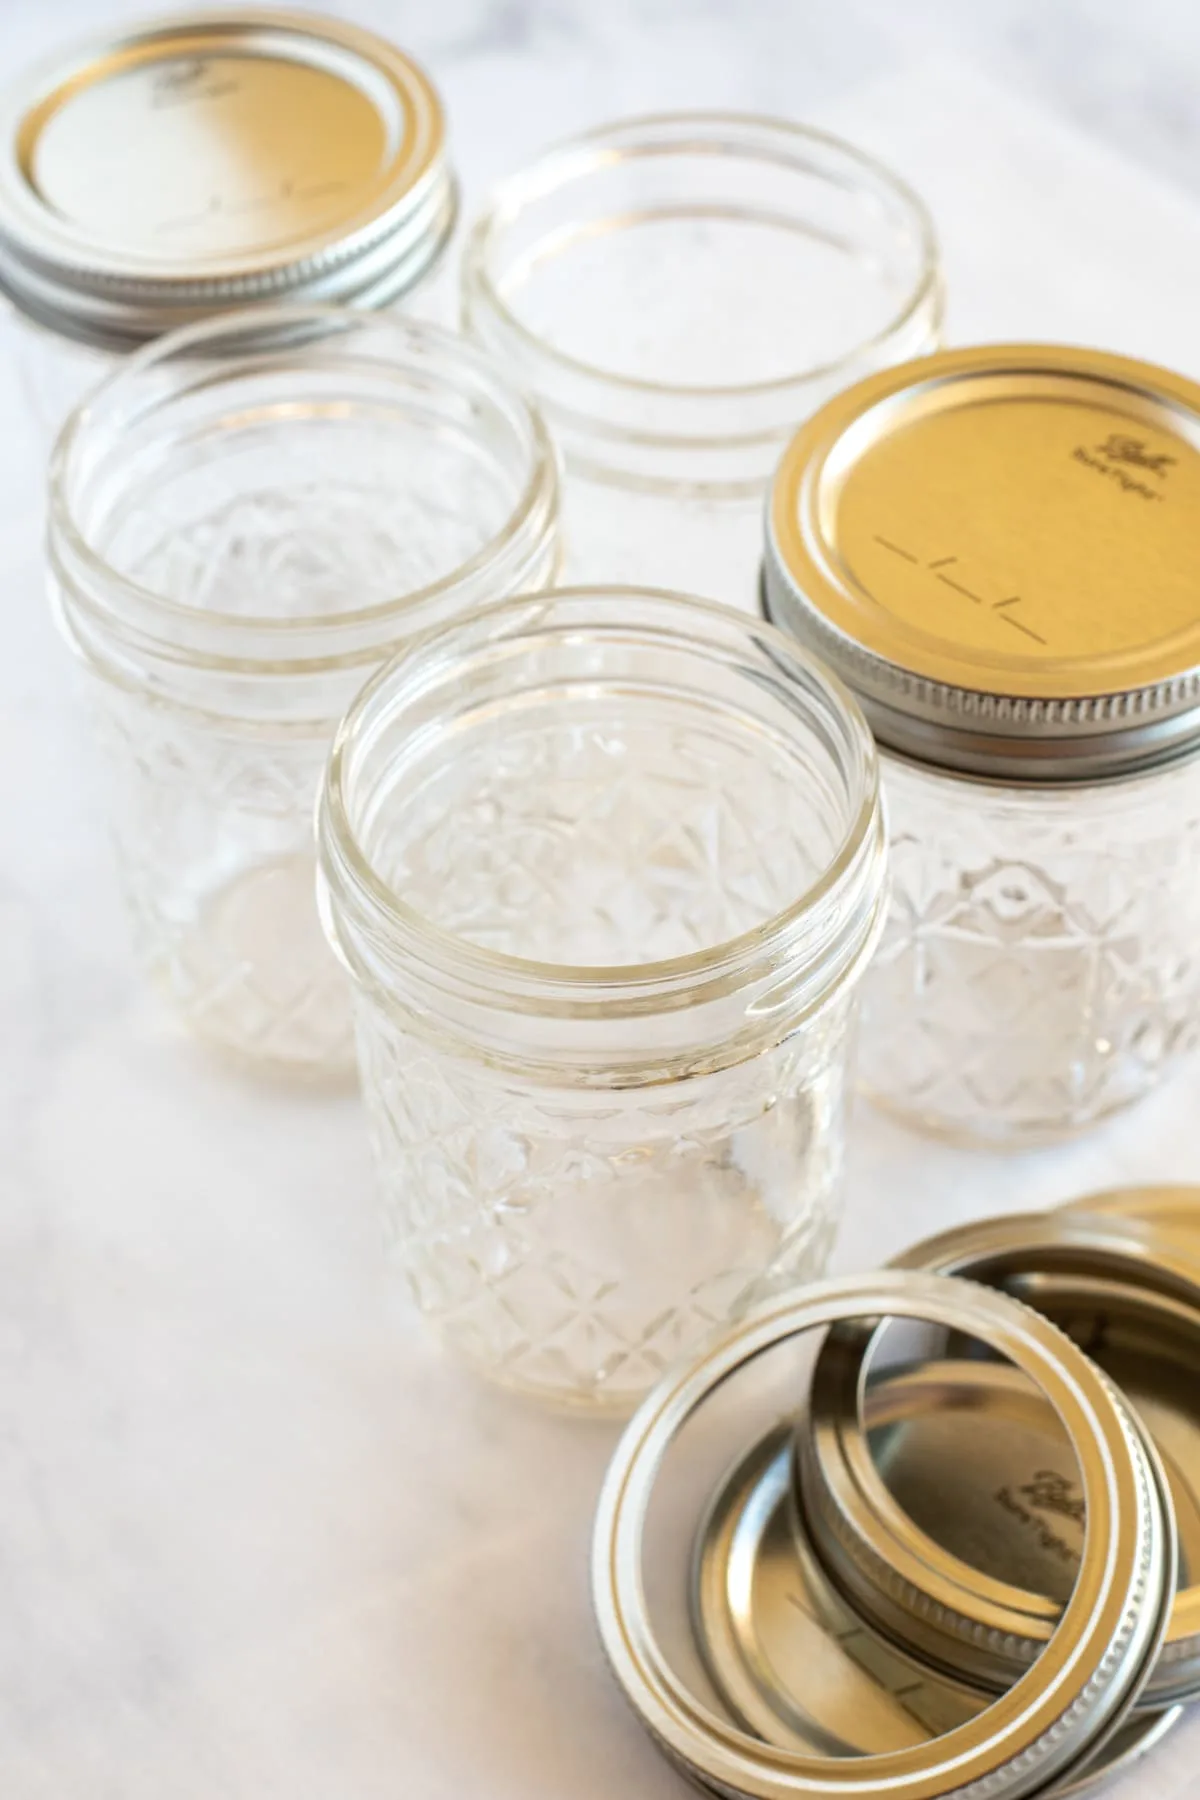
Credit: www.abakershouse.com
Real-world Example
Maria, a home canner in Ohio, used the boiling water method for her tomato sauce. She noticed that using hot jars prevented cracks when filling with hot sauce. By labeling her jars and checking seals, she enjoyed homemade sauce for six months without spoilage.
Where To Find More Information
If you want to explore deeper, visit the National Center for Home Food Preservation for science-based advice on safe home canning.
Frequently Asked Questions
How Long Should Mason Jars Boil For Sterilization?
Jars should boil for at least 10 minutes. Add 1 extra minute for every 1,000 feet above sea level. This ensures all bacteria and mold are killed.
Can I Sterilize Mason Jars In The Oven?
Yes, you can sterilize jars in the oven at 275°F for 20 minutes. However, this method is less effective for canning because it doesn’t sterilize lids and can cause uneven heating.
Is Dishwasher Sterilization Safe For Canning?
Dishwashers with a sanitize cycle can help, but they often don’t reach temperatures high enough for safe canning. Use this method for dry storage or recipes with long processing times.
Do I Need To Sterilize Jars For Every Batch?
Yes, always sterilize jars before each batch. Even if jars seem clean, invisible germs can remain. Sterilization is the safest way to prevent spoilage.
Can I Reuse Mason Jar Lids?
No, never reuse lids for canning. The sealing compound works only once. Always use new lids for safe preservation. Bands can be reused if they are not rusty or damaged.
Sterilizing mason jars is easy once you know the right steps. By following these guidelines, you protect your food, your family, and your hard work. Clean jars are the foundation for successful home canning and food storage. Now you’re ready to preserve your favorite foods with confidence.