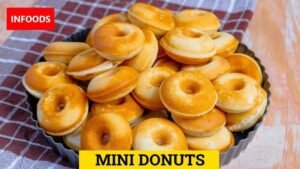
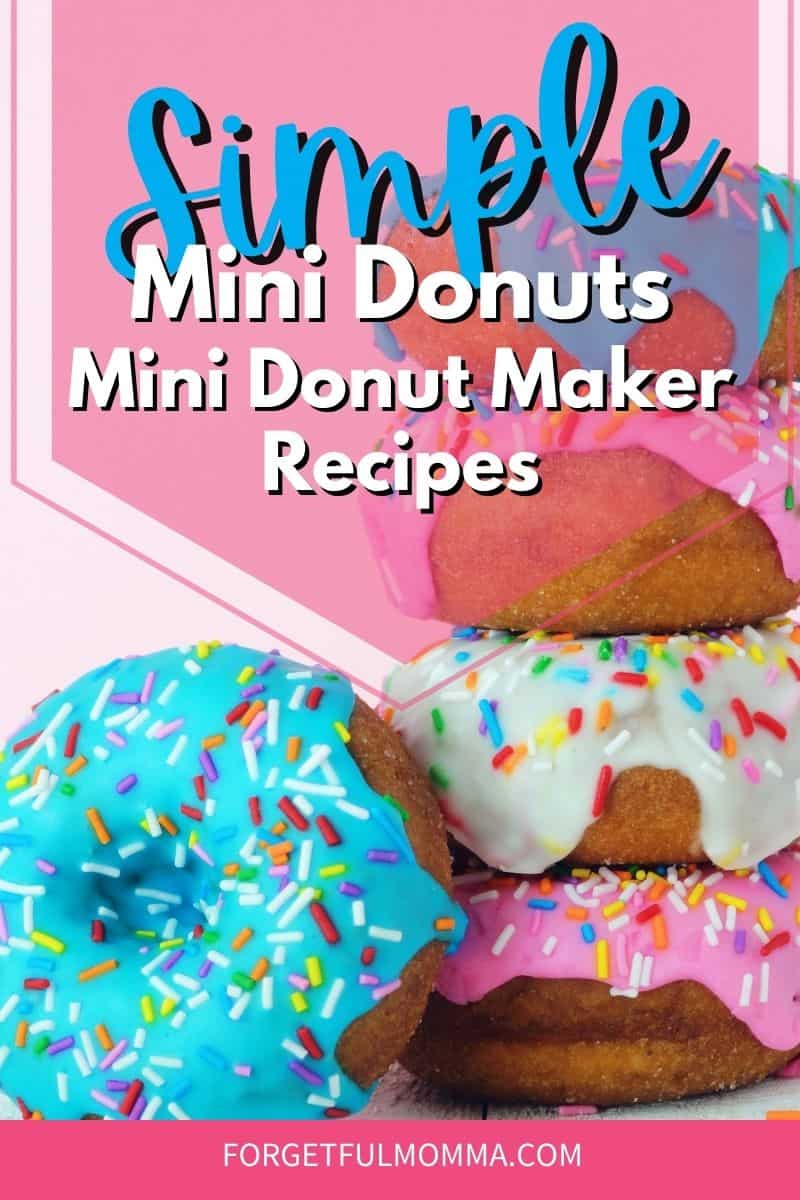
Making donuts at home is a joyful experience. If you have a donut maker, the process becomes even easier and cleaner. Many people think donuts are difficult to prepare, but with the right tools, anyone can make delicious donuts in just minutes. Donut makers are small appliances that look like waffle makers but have round molds for donuts. They are safe, fast, and perfect for beginners or families.
This article will guide you through every step of making donuts in a donut maker. You’ll learn about the equipment, ingredients, recipes, common mistakes, and tips for perfect donuts. Whether you want classic, chocolate, or gluten-free donuts, you’ll find practical advice here.
Let’s discover how to make fresh, tasty donuts without frying or advanced baking skills.
Understanding Donut Makers
Donut makers are compact electric machines that simplify the donut-making process. Unlike deep-frying, donut makers bake donuts using heat from both sides. This method is safer and produces less mess.
Most donut makers come with non-stick plates and multiple molds, usually between 6–12. They heat up quickly and require little oil. The donuts are usually smaller than store-bought, making them ideal for snacks or parties.
Key Features
- Non-stick coating: Prevents sticking, makes cleaning easier.
- Automatic temperature control: Ensures even baking.
- Indicator lights: Show when the device is ready.
- Compact size: Easy to store and use.
Donut Maker Vs. Traditional Frying
Let’s compare donut makers and traditional frying in this simple table:
| Feature | Donut Maker | Deep Frying |
|---|---|---|
| Health | Less oil, healthier | High oil, more calories |
| Safety | Safe, no hot oil | Risk of burns |
| Ease | Simple, fast | Messy, more steps |
| Texture | Cake-like, soft | Crispy, chewy |
| Cleanup | Quick, easy | Oil disposal needed |
Many people prefer donut makers for their convenience and health benefits. However, if you love crispy donuts, frying may be better. With a donut maker, you get soft, cake-style donuts.
Essential Equipment And Ingredients
Before you begin, gather all necessary tools and ingredients. Preparation is key for smooth donut making.
Equipment
- Donut maker
- Mixing bowls
- Whisk or electric mixer
- Measuring cups and spoons
- Silicone spatula
- Piping bag or spoon for pouring batter
- Cooling rack
Basic Ingredients
Most donut recipes for donut makers use a cake-style batter. Here are the essentials:
- All-purpose flour: 2 cups
- Sugar: ½ cup
- Baking powder: 2 teaspoons
- Salt: ¼ teaspoon
- Milk: ¾ cup
- Eggs: 2 large
- Butter (melted): ¼ cup
- Vanilla extract: 1 teaspoon
These quantities make about 12 small donuts, depending on your donut maker. Adjust as needed.
Optional Ingredients
To vary the flavor or appearance:
- Cocoa powder (for chocolate donuts)
- Cinnamon
- Nutmeg
- Sprinkles
- Fruit puree
- Food coloring
For healthier options, use whole wheat flour or substitute milk with plant-based alternatives.
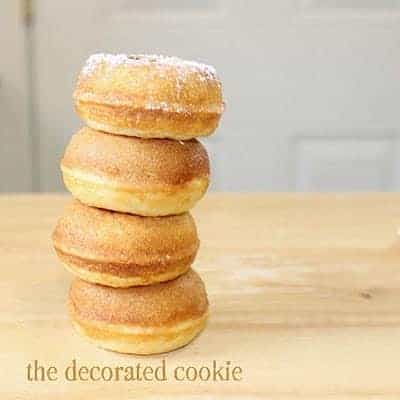
Credit: www.forgetfulmomma.com
Preparing The Donut Maker
Proper setup ensures your donuts cook evenly and don’t stick. Follow these steps for best results:
- Clean the donut maker: If new, wipe with a damp cloth. If used, ensure no old batter remains.
- Preheat the device: Plug in and wait for the indicator light to show it’s ready. This takes about 3–5 minutes.
- Lightly grease the molds: Even with non-stick coating, a little oil helps. Use a brush or spray.
These simple steps prevent sticking and burning, making removal and cleaning easier.
Making Donut Batter
Donut batter is simple, but proper mixing is important. Overmixing can make donuts tough, while undermixing leaves lumps.
Step-by-step Batter Instructions
- Mix dry ingredients: In a bowl, combine flour, sugar, baking powder, and salt.
- Mix wet ingredients: In another bowl, whisk milk, eggs, melted butter, and vanilla.
- Combine: Pour wet ingredients into dry. Stir gently until just combined. Don’t overmix.
If you want chocolate donuts, add ¼ cup cocoa powder to dry ingredients. For fruit flavors, mix fruit puree into wet ingredients.
Batter Consistency
The batter should be thick but pourable. If it’s too thick, add a little more milk. If too thin, add flour by the tablespoon. A piping bag or zip-top bag helps fill molds neatly.
Filling The Donut Maker
How you fill the molds affects donut shape and texture. Here’s a practical approach:
- Use a piping bag: Fill the bag with batter, cut a small tip, and pipe batter into each mold. Fill each mold about 2/3 full.
- Use a spoon: If you don’t have a piping bag, spoon batter into molds. Be careful not to overfill.
- Close the lid: Once filled, close the donut maker lid gently.
Avoid overfilling. Donuts expand as they bake. Too much batter causes overflow and uneven shapes.
Baking The Donuts
Donut makers usually bake donuts in 3–5 minutes. Timing depends on batter thickness and device power.
Monitoring Donut Maker
Most donut makers have an indicator light or beep when baking is complete. If yours doesn’t, check after 3 minutes. Donuts should be golden and springy to touch.
Common Baking Mistakes
- Opening lid too early: Causes donuts to collapse.
- Overfilling molds: Leads to messy, uneven donuts.
- Underbaking: Results in soggy texture.
If unsure, use a toothpick to test. Insert into a donut; if it comes out clean, they’re done.
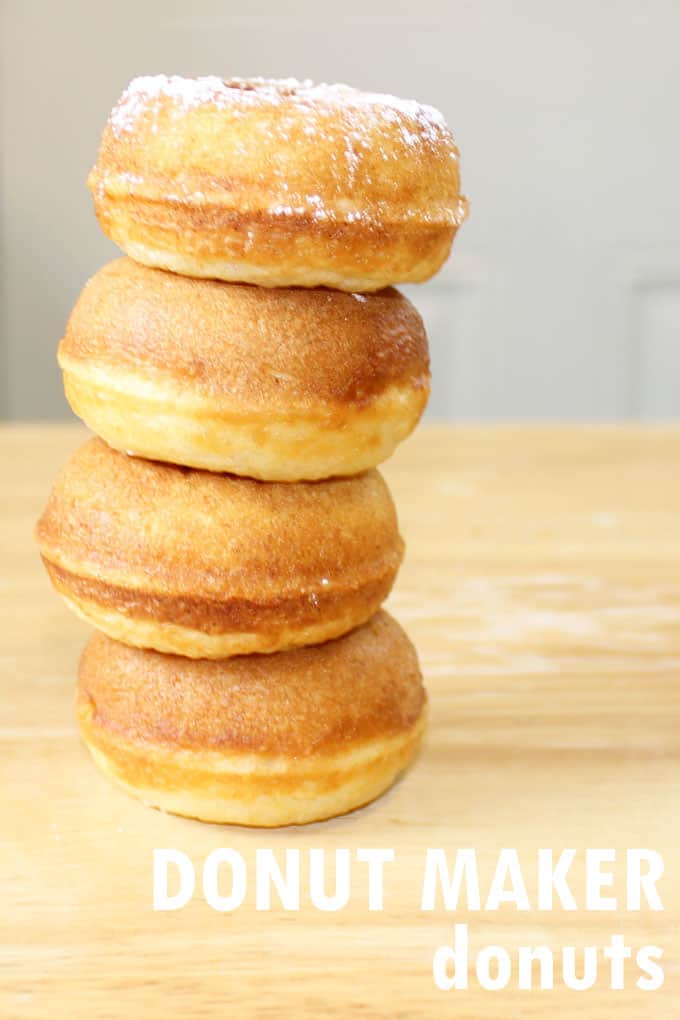
Credit: thedecoratedcookie.com
Removing And Cooling Donuts
Donuts are delicate when hot. Careful removal prevents tearing.
- Open the lid: Let donuts cool for 1–2 minutes before removing.
- Use a silicone spatula: Gently lift each donut.
- Place on cooling rack: Let donuts cool completely for best texture.
Cooling prevents moisture build-up and sogginess. Donuts are ready for decorating once cool.
Decorating Donuts
Decoration adds flavor and visual appeal. You can keep donuts simple or make them festive.
Popular Toppings
- Glaze: Mix powdered sugar and milk for a sweet coating.
- Chocolate: Melt chocolate and dip donuts.
- Sprinkles: Add colorful sprinkles on wet glaze.
- Cinnamon sugar: Toss warm donuts in cinnamon-sugar mix.
Quick Glaze Recipe
- Powdered sugar: 1 cup
- Milk: 2–3 tablespoons
- Vanilla extract: ½ teaspoon
Mix until smooth. Dip donuts and let excess drip off.
Decorate while donuts are slightly warm for better sticking. Let toppings set before serving.
Credit: thedecoratedcookie.com
Variations: Chocolate, Gluten-free, Vegan
Donut makers allow creativity. Try different recipes to suit taste or dietary needs.
Chocolate Donuts
Replace ¼ cup flour with cocoa powder. Add chocolate chips to batter for extra richness.
Gluten-free Donuts
Use a gluten-free flour blend. Add ½ teaspoon xanthan gum for structure. Baking time may increase by 1–2 minutes.
Vegan Donuts
Substitute eggs with flaxseed (1 tablespoon flaxseed + 3 tablespoons water per egg). Use plant milk and vegan butter.
Comparison Of Donut Types
This table shows differences in ingredients and taste:
| Donut Type | Main Ingredients | Taste/Texture | Difficulty |
|---|---|---|---|
| Classic | Flour, eggs, milk, butter | Soft, sweet | Easy |
| Chocolate | Cocoa, chocolate chips | Rich, moist | Easy |
| Gluten-free | GF flour, xanthan gum | Dense, chewy | Medium |
| Vegan | Plant milk, flaxseed | Light, less rich | Medium |
Experiment with flavors and toppings. Donut makers make it easy to test new recipes.
Cleaning And Maintaining Your Donut Maker
Proper care extends the life of your appliance and ensures safe, tasty results.
- Unplug and cool: Always unplug and let cool before cleaning.
- Wipe non-stick plates: Use a damp cloth or sponge. Avoid harsh chemicals.
- Remove stuck-on batter: Use a soft brush or plastic scraper.
- Clean exterior: Wipe with damp cloth.
- Store safely: Keep in a dry place.
Never immerse the donut maker in water. Regular cleaning prevents flavor transfer and mold growth.
Troubleshooting Common Problems
Even with care, issues may arise. Here’s how to solve them:
Donuts Sticking
- Ensure molds are greased.
- Don’t overfill.
- Wait until donuts are cool before removing.
Donuts Undercooked
- Increase baking time by 1–2 minutes.
- Check device power setting.
Uneven Donuts
- Fill molds evenly.
- Close lid properly.
Batter Overflow
- Use less batter.
- Clean plates before next batch.
Learning from mistakes improves your baking skills. Keep notes for each batch.
Practical Tips For Perfect Donuts
Here are some advanced insights that beginners often miss:
- Room temperature ingredients: Cold eggs or milk can cause uneven baking.
- Rest batter: Let batter sit for 5–10 minutes before baking. This improves texture.
- Don’t crowd cooling rack: Overlapping donuts make them soggy.
- Rotate device (if possible): For even heat, rotate donut maker halfway.
Many people skip resting the batter. This simple step produces lighter, softer donuts. Also, using room temperature ingredients prevents sudden temperature changes that can make donuts tough.
Donut Maker Safety
Donut makers are safer than deep fryers, but basic safety rules apply.
- Keep away from water: Electric devices can shock if wet.
- Supervise children: Donut makers get hot.
- Unplug after use: Prevents accidents.
Donut makers are family-friendly, but always use caution.
Serving And Storing Donuts
Donuts taste best fresh but can be stored for later.
Serving Ideas
- Breakfast treat
- Party snack
- Dessert with coffee
Storage
- Room temperature: Store in airtight container for up to 2 days.
- Freezer: Freeze for up to 3 months. Thaw and warm before serving.
Avoid refrigerating donuts. It makes them dry and stale.
Comparing Donut Makers: What To Look For
If you’re buying a donut maker, consider these factors:
| Feature | Importance | Notes |
|---|---|---|
| Non-stick plates | High | Easy cleaning, prevents sticking |
| Capacity | Medium | 6–12 donuts per batch |
| Size | Medium | Fits kitchen space |
| Indicator lights | High | Shows when ready |
| Price | Varies | Ranges from $20–$60 |
Choose a donut maker that fits your needs and budget. Avoid very cheap models with poor reviews. Quality non-stick plates are most important.
Frequently Asked Questions
What Is The Difference Between Baked And Fried Donuts?
Baked donuts, made in a donut maker, use little or no oil. They are soft and cake-like, while fried donuts are crispy and chewy. Baked donuts are healthier and easier to prepare, but may lack the classic fried flavor.
Can I Use Pancake Or Muffin Batter In A Donut Maker?
Yes, you can use pancake or muffin batter. However, adjust the thickness so it doesn’t overflow. Pancake batter works well for light donuts, but muffin batter can make denser donuts. Always grease molds for easy removal.
How Do I Prevent Donuts From Sticking To The Donut Maker?
Grease the molds with oil or butter, even if they are non-stick. Let donuts cool for 1–2 minutes before removing. Don’t use metal tools; silicone spatulas are best.
Are Donut Makers Safe For Children To Use?
Donut makers are safer than fryers, but the plates get hot. Children can help with mixing and decorating, but adults should handle baking and removal. Always unplug the device after use.
Can I Make Gluten-free Or Vegan Donuts In A Donut Maker?
Yes, you can make gluten-free and vegan donuts. Use gluten-free flour blends and plant-based ingredients. Baking time may change, so check doneness before removing.
Making donuts in a donut maker is easy, fun, and safe. Whether you’re a beginner or an experienced baker, you can create tasty treats with simple tools and recipes. The key is preparation: gather the right equipment, measure ingredients, and follow clear steps. Donut makers let you experiment with flavors and toppings, making homemade donuts a creative activity.
Donuts made at home can be healthier and fresher than store-bought. With the right device and technique, you can enjoy donuts anytime. If you want more recipes or expert advice, visit King Arthur Baking for inspiration.
Now you know how to make donuts in a donut maker. Enjoy your baking experience and share your creations with friends and family.