You’re staring at a muffin tin full of whisked eggs, cheese, and maybe some leftover bacon. You’ve got the oven preheated, but that one question is stuck in your head: how long to bake eggs in muffin pan without drying them out or leaving them runny in the middle?
It’s a frustrating spot to be in. Most recipes give you a single time, 18 minutes, they say, but your oven might run hot, your pan might be silicone, or you might have loaded the cups with juicy veggies. The truth is, bake time for egg cups isn’t a fixed number.
As of 2026, the USDA recommends cooking eggs to an internal temperature of 160°F for safety, and that target is the real goal. Let’s walk through the variables so you get it right every time, no guessing required.
Quick Answer
Bake eggs in a standard muffin pan at 350°F for 15 to 18 minutes. Fill each cup about three-quarters full. Start checking at 12 minutes.
The eggs are done when the center is set and a knife inserted comes out clean. For mini pans, bake 8 to 10 minutes. For jumbo pans, bake 20 to 25 minutes.
The Short Answer: Start at 350°F for 15–18 Minutes
Let’s get the baseline out of the way. If you’re using a standard 12-cup metal muffin pan, filling each cup about three-quarters full with beaten eggs, and baking at 350°F, you’re looking at 15 to 18 minutes.
That’s your starting point. But here’s the thing, that number shifts depending on your pan, your ingredients, and even your oven. Think of it as a launchpad, not a rule carved in stone.
Why 350°F? It’s the sweet spot. Lower temperatures (like 325°F) give you a softer, custard-like texture but take longer.
Higher temperatures (375°F or above) cook faster but risk rubbery edges or a burnt bottom before the center sets. 350°F balances speed with tenderness.
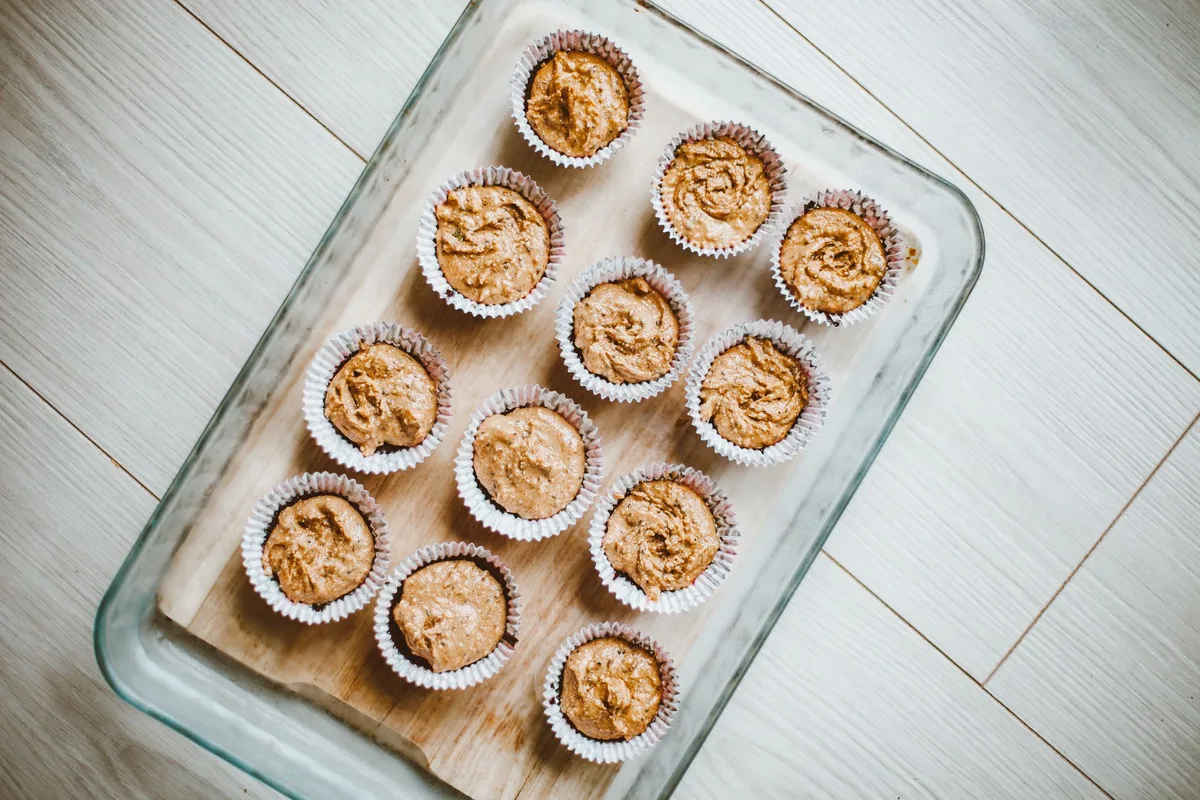
Image source: Pexels / ROMAN ODINTSOV (Pexels License)
Why the Time Changes: The Real Variables at Play
Here’s where most online recipes let you down. They give you one number and pretend it works for every situation. It doesn’t.
The bake time for egg cups shifts based on these five factors:
- Pan material and size, Metal conducts heat fast. Silicone insulates and slows things down. Jumbo cups hold more batter and need more time.
- Fill level, A cup filled halfway cooks faster than one filled to the brim. The more egg mixture, the longer it takes for heat to reach the center.
- Mix-ins, Diced vegetables release water as they cook, which can steam the eggs and slow the setting time. Pre-cooked meat (like bacon or sausage) doesn’t add moisture and keeps things on schedule.
- Egg-to-dairy ratio, A splash of milk or cream adds tenderness, but too much liquid (more than 1 tablespoon per egg) turns your egg cups into a custard that sets slower.
- Oven quirks, Every oven runs slightly different. Yours might run 10, 15°F hot or cold. A convection oven circulates hot air and cooks faster, often shaving off 2, 3 minutes.
This is why a rigid timer doesn’t work. You need to check for doneness, not the clock.
Your Pan Matters: Size, Material, and Fill Line
Let’s talk about the pan itself. This is the most overlooked variable, and it’s the one that causes the most fails.
Pan Size
| Pan Type | Cup Volume | Typical Bake Time at 350°F |
|---|---|---|
| Mini muffin pan | 1–2 oz | 8–10 minutes |
| Standard muffin pan | 3–4 oz | 15–18 minutes |
| Jumbo muffin pan | 5–6 oz | 20–25 minutes |
If you grab a mini pan for appetizers, don’t set the timer for 18 minutes. You’ll be eating egg pucks. And if you’re using a jumbo pan for meal prep, give it the extra time it needs.
Pan Material
- Dark metal pans absorb heat faster and can brown the edges before the center sets. Reduce your temperature by 25°F or check earlier.
- Light metal pans are the most predictable. They reflect heat moderately and give you the most consistent results.
- Silicone pans are popular for their non-stick promise, but they’re thermal insulators. Your egg cups will take 3, 5 minutes longer to cook through. They also don’t brown the bottom, which some people like for a softer texture.
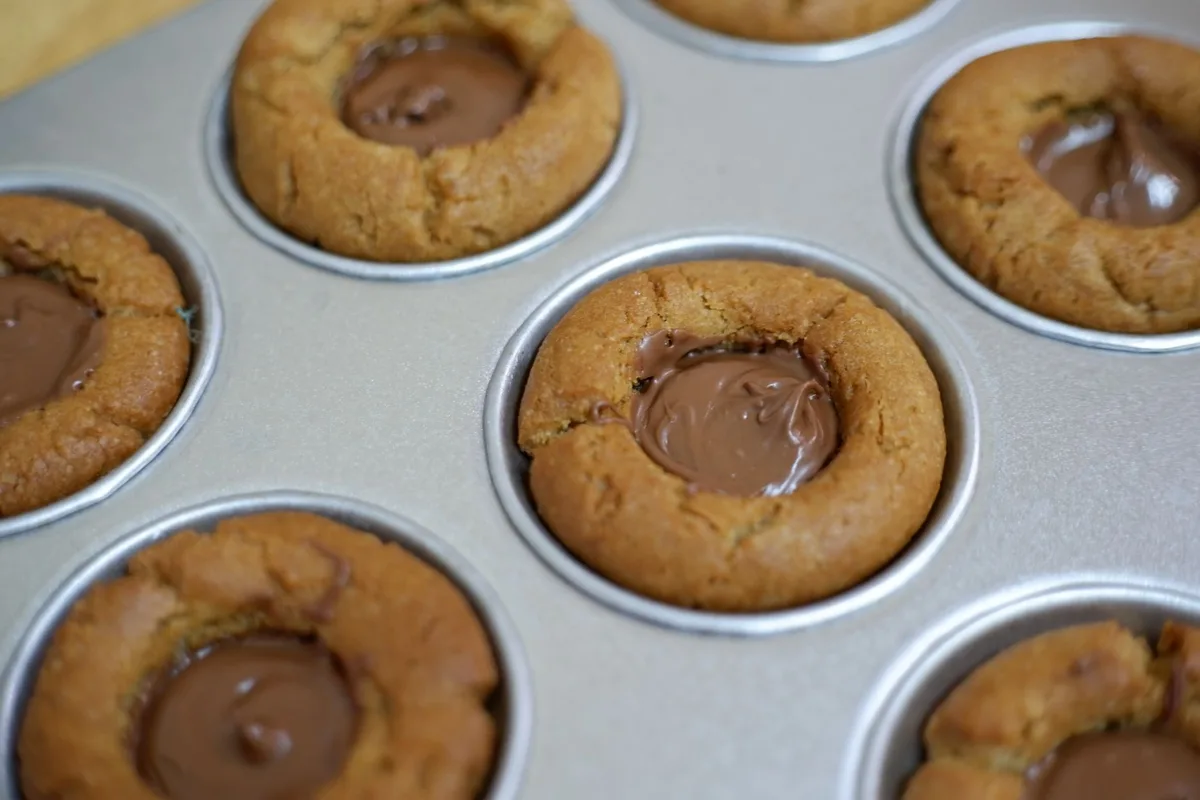
Image source: Pexels / Hershe Girl Go (Pexels License)
Fill Line
Here’s a simple rule: fill each cup three-quarters full. Why? Eggs puff up as they bake and then settle.
If you fill to the brim, you’ll get overflow and a mess to clean. If you fill too little, you’ll end up with thin, overcooked edges.
For a standard cup, that’s about 1/4 cup of egg mixture. That’s roughly one large egg plus a tablespoon of mix-ins per cup.
What’s in the Cup? How Mix-Ins and Eggs Change Baking Time
This is where the decision tree really branches. Your ingredients aren’t just for flavor, they physically change how the eggs cook.
High-Moisture Ingredients
Ingredients like diced tomatoes, zucchini, mushrooms, spinach, and bell peppers release water when heated. That extra moisture turns into steam inside the cup, which slows down the setting process. If you’re using these, expect your egg cups to take 2, 4 minutes longer than the baseline.
The fix? Cook your veggies first. Sauté mushrooms, spinach, or zucchini in a pan for 2, 3 minutes to drive off excess water before adding them to the cups. This stops the soggy bottom problem and keeps your bake time consistent.
Low-Moisture Ingredients
Cheese, cooked bacon, cooked sausage, ham, and herbs don’t add moisture. They don’t slow down the cooking process. Egg cups with these ingredients will bake right on schedule.
Dairy Additions
A splash of milk, cream, or half-and-half adds tenderness and richness. But there’s a limit. Stick to 1 tablespoon of dairy per egg.
Any more than that, and you’re essentially making a custard that needs more time to set.
Egg Whites vs. Whole Eggs
Egg whites set faster than whole eggs because they contain less fat. If you’re making egg white cups, reduce your bake time by about 2 minutes. Whole eggs and yolk-heavy mixtures take slightly longer because the fat slows down protein coagulation.
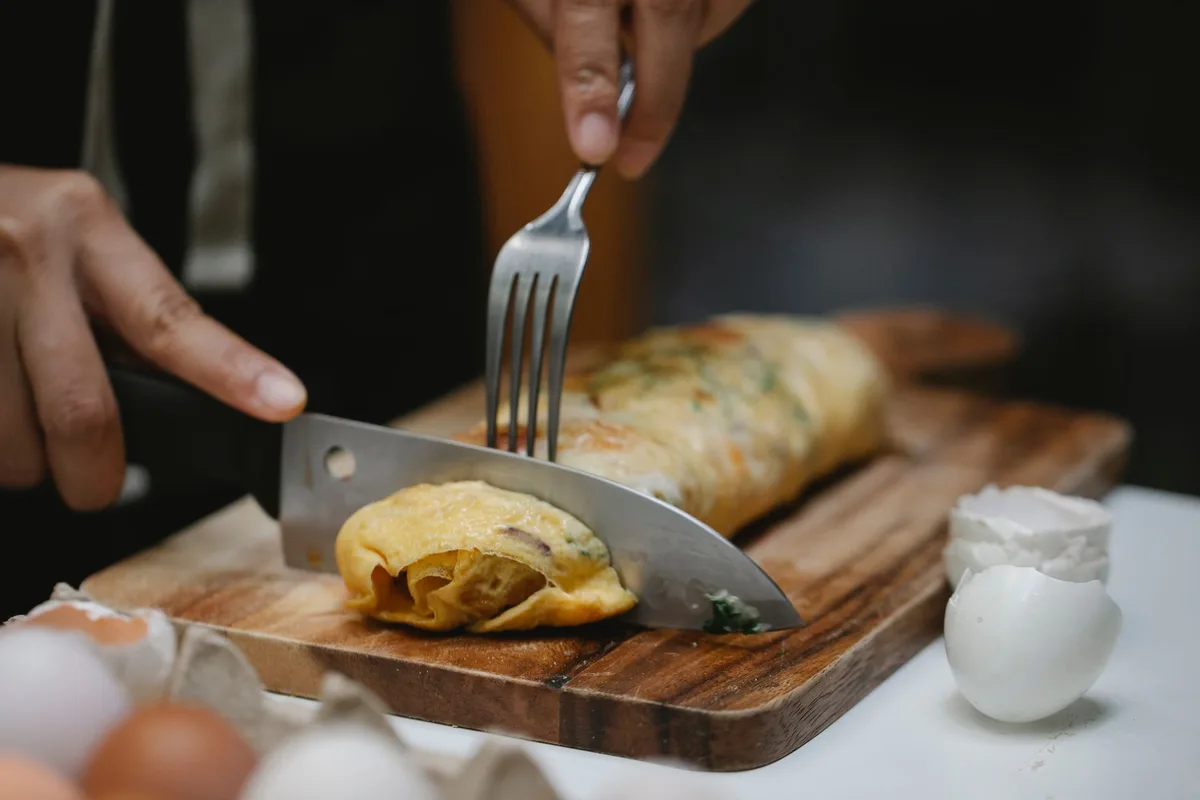
Image source: Pexels / Klaus Nielsen (Pexels License)
Temperature Options: Oven Heat and Why It Matters
You’ve got three practical temperature options. Each one changes the texture and the timing.
325°F — Soft and Custardy
This is the temperature for a tender, almost custard-like texture. It takes longer, about 18, 22 minutes for standard cups, but the eggs stay creamy and soft. This works well for egg cups loaded with dairy or delicate ingredients like fresh herbs.
350°F — The All-Rounder
This is what we recommend as your starting point. It balances speed with tenderness. Most recipes use this temperature for a reason.
Cook time: 15, 18 minutes for standard cups.
375°F — Faster, But Riskier
You’ll get a faster cook time, about 12, 15 minutes, but the edges may brown and firm up before the center is fully set. Do this if you’re in a hurry, but check early. The margin for error is smaller.
Convection vs. Conventional
If your oven has a convection setting, use it. The fan circulates hot air and cooks more evenly. But reduce your temperature by 25°F or your bake time by about 2, 3 minutes.
The same rule applies to a countertop toaster oven with convection, it can cook even faster because the chamber is smaller.
The Doneness Test: Visual and Tactile Cues
You can search for a reliable temperature guide all day, but your eyes and hands tell the truth faster. The timer is just a suggestion. The eggs are the final word.
Start with the jiggle test. Gently shake the pan. If the centers wobble like loose jelly, they’re not done.
If they’re firm with only a slight give in the middle, they’re close. That tiny softness in the center is normal and will set as the cups rest.
Next, try the knife test. Insert a clean knife into the center of one cup and pull it straight out. Wet egg clinging to the blade means more time.
A clean blade means done. A toothpick works too, but a knife gives you a bigger surface to judge.
Image source: Pexels / Klaus Nielsen (Pexels License)
You’ll also see visual cues. The edges pull away from the pan slightly. The tops look set and lightly golden.
Overcooked cups start weeping liquid, a sign that the proteins have squeezed out their moisture. That’s the rubbery stage, and there’s no going back.
For the most accurate check, use an instant-read thermometer. The USDA sets the safe minimum for eggs at 160°F. Stick the probe into the center of a cup, not the edge.
At 160°F, you’re safe and still tender.
Bake Time Decision Guide: A Quick Reference for Every Common Combo
Here’s where the decision tree comes together. Instead of guessing, find your situation in the table and start from the right baseline.
| Situation | Temperature | Time | Notes |
|---|---|---|---|
| Standard pan, plain eggs | 350°F | 15–18 min | Baseline starting point |
| Standard pan, cream/milk added | 350°F | 17–20 min | Dairy slows protein set |
| Standard pan, veggie-heavy | 350°F | 18–22 min | Sauté veggies first to reduce moisture |
| Mini muffin pan | 350°F | 8–10 min | Check at 8 min |
| Jumbo muffin pan | 350°F | 20–25 min | Check at 20 min |
| Silicone pan | 350°F | 18–22 min | Add 3–5 min to any baseline |
| Convection oven | 325°F | 12–15 min | Drop temperature 25°F |
| Egg whites only | 350°F | 12–15 min | Less fat means faster set |
Image source: Pexels / Irma Sjachlan (Pexels License)
Use the table as your launchpad, not your ruler. If you check at the minimum time and the centers jiggle, give them 2 more minutes and check again. If the edges are browning but the centers are raw, lower the oven by 25°F next time and bake longer.
The logic is simple. More moisture means more time. More volume means more time.
More insulation means more time. Adjust accordingly.
Step-by-Step: From Muffin Tin to Golden Egg Cups
Let’s turn all this into a repeatable process. Here’s the workflow that gets consistent results, whether you’re feeding a family or filling your fridge for the week.
Step 1: Preheat the oven to 350°F. Give it a full 15 minutes to reach temperature. A half-preheated oven throws off everything.
Step 2: Grease the pan well. Use butter, cooking spray, or shortening. Don’t skimp here. The fattier the cup, the easier the release.
For an extra safety net, dust the greased cups with a sprinkle of cheese or breadcrumbs before adding the eggs.
Step 3: Whisk the eggs. Crack them into a large bowl and whisk until the yolks and whites are fully combined. Add a pinch of salt and pepper. If you want creamy texture, add up to 1 tablespoon of milk or cream per egg.
Step 4: Prep your mix-ins. Cook raw meat like bacon or sausage until fully done. Sauté watery vegetables like mushrooms, zucchini, or spinach for 2, 3 minutes to draw out moisture. If you’re using a quality vegetable chopper, now’s the time to dice everything fine so it distributes evenly.
Step 5: Fill the cups. Divide the mixture evenly, filling each cup about three-quarters full. A 1/4-cup scoop makes this fast and keeps portions uniform.
Step 6: Bake and check early. Start checking at 12 minutes for standard pans. Use the jiggle test and the knife test. Pull the pan out the moment the centers are set but still slightly soft.
Step 7: Rest before removing. Let the pan sit on a wire rack for 5 minutes. This lets the proteins finish setting and steam the edges free from the pan. A dull knife or a sturdy stainless steel spatula helps lift them cleanly.
Mistakes to Avoid: Rubbery Eggs, Soggy Bottoms, and Sticking
Three failures ruin most egg cups. Each one has a simple fix.
Rubbery eggs come from overcooking or a too-hot oven. The proteins contract and squeeze out moisture, leaving a bouncy, tough texture. Pull the cups at the first sign of doneness.
If your oven runs hot, drop the temperature to 325°F and extend the time.
Soggy bottoms happen when vegetables release water during baking. Zucchini and mushrooms are the worst offenders. Sweat them in a pan before adding them to the eggs.
You’ll see the water evaporate in minutes, and your egg cups will stay firm.
Sticking is usually a grease problem. Silicone pans are the biggest culprit. They’re marketed as non-stick, but they need more prep than metal.
Spray them thoroughly, or use paper liners as a backup. For metal pans, a generous butter coating works best.
One more issue: uneven cooking. This happens when cups are filled to different levels or the pan is overcrowded. Keep all cups at the same fill line.
Bake in the center of the oven, not too close to the heating element.
Storage and Reheating: Meal Prep That Actually Works
Egg cups shine as a make-ahead breakfast. Cool them completely before storing, otherwise condensation turns them soggy.
Place them in an airtight container with a paper towel on top to absorb excess moisture. They’ll keep in the fridge for up to 5 days. A flash in the microwave for 30 seconds makes them breakfast-ready.
Freezing works well too. Wrap each cup individually in plastic wrap, then place them in a freezer bag. They’ll keep for up to 3 months.
Thaw overnight in the fridge before reheating, or go straight from frozen to the microwave for 60, 90 seconds.
Reheating in the oven preserves texture better than the microwave. A quick 5 minutes at 300°F returns some of the original structure without drying them out. If you’re meal prepping for the week, this routine is worth the extra few minutes.
Frequently Asked Questions
Can I Use Paper Liners in a Muffin Pan for Eggs?
Yes, paper liners work. Grease them lightly for an easier release. The same principle as air fryer liners applies here: a little non-stick help goes a long way.
Without grease, the egg can stick to the paper and tear when you peel it.
Why Are My Egg Muffins Watery?
Watery cups usually mean high-moisture vegetables. Sauté them before adding to the eggs. Dicing them finely with a vegetable chopper helps them cook faster and release steam earlier.
Zucchini and mushrooms are the worst offenders, so give them extra time in the pan.
Can I Bake Egg Cups in an Air Fryer?
Yes. Use a silicone muffin mold that fits your air fryer basket. Air fry at 320°F for 10 to 12 minutes.
Cooking in the air fryer is faster, similar to how an air fryer cooks steak more quickly than a conventional oven.
How Long Do Egg Muffins Last in the Fridge?
They keep for up to 5 days in an airtight container. For longer storage, freeze them for up to 3 months. When reheating, use a low oven to keep them tender.
A sturdy spatula helps release them from the pan without breaking.
Should I Use Convection Mode?
If you have it, yes. Drop the oven temperature by 25°F and check a few minutes early. Convection promotes even browning and shorter bake times.
This is one of the key differences between air fryers and convection ovens, and it applies just as much to egg cups.
Final Verdict: Trust the Process, Not Just the Timer
The exact bake time for egg cups always depends on your pan, ingredients, and oven. That’s why no single recipe can give you a number that works every time.
Start at 350°F with a 15 to 18 minute baseline. Check early. Use the jiggle, knife, and temperature tests.
Adjust for your pan material and fill level.
Follow the decision guide and you’ll land on the right time within one batch. The second batch will be perfect. Trust the cues, not the clock.