Skip to content
Keeping your juicer clean isn’t just about looks—it’s about health, performance, and getting great juice every time. Many people own a juicer but aren’t sure how often it should be cleaned, or what happens if they skip regular maintenance. If you’ve ever wondered, “How often should you clean a juicer?
” you’re definitely not alone. Whether you juice daily or just once a week, the right cleaning routine can save you time, prevent bacteria, and help your appliance last longer. Let’s break down the facts, share practical tips, and answer the questions you might not even know you have.
Why Cleaning Your Juicer Matters
Juicers are powerful tools for extracting vitamins and nutrients from fruits and vegetables. However, they are also magnets for leftover pulp, juice, and sticky residue. This debris can lead to bacterial growth, mold, and unpleasant odors. The Food and Drug Administration (FDA) reports that kitchen appliances left uncleaned can host harmful bacteria, including Salmonella and E. coli, which can cause foodborne illness.
Besides health risks, a dirty juicer can affect taste and performance. Residue may block filters, dull blades, or cause parts to stick, making juicing harder and less efficient. Over time, this buildup can shorten your juicer’s lifespan. Cleaning isn’t just about hygiene—it’s also about protecting your investment.
How Often Should You Clean A Juicer?
The frequency depends on how often you juice, the types of produce you use, and your juicer’s design. Here’s a simple breakdown:
| Usage Frequency | Recommended Cleaning Schedule | Why? |
|---|---|---|
| Daily | After every use | Prevents bacteria and residue buildup |
| Several times a week | After every use | Keeps parts functioning and avoids mold |
| Once a week or less | After every use | Fresh juice, no old residue |
| Heavy juicing (large batches) | During and after each batch | Reduces clogging, ensures quality |
No matter how often you juice, the answer is almost always: clean after every use. This prevents the pulp and juice from drying, which makes cleaning much harder later. For occasional juicers, this routine keeps your machine ready for next time and avoids unpleasant surprises.
What Parts Of A Juicer Need Cleaning?
Juicers have several components that come into contact with produce and juice. It’s important to know which parts to clean and which can be left alone.
- Feed chute: This is where you add fruits and vegetables. Pulp often sticks here.
- Filter/screen: Catches pulp and separates juice. Needs careful scrubbing.
- Juicing bowl: Collects juice. Can get sticky and stained.
- Pulp container: Holds leftover pulp. Should be emptied and rinsed.
- Blades/auger: These cut or crush produce. Residue can dull blades or clog augers.
- Lid: Often has pulp splashes.
- External body: Wipe with a damp cloth (do not submerge if electric).
Some juicers have extra parts, like foam separators or spouts. Always check your juicer’s manual for specific cleaning advice.
Step-by-step: Cleaning A Juicer After Each Use
Cleaning isn’t complicated if you follow a simple routine. Here’s how to clean most juicers efficiently:
- Unplug the juicer: Always start safely.
- Disassemble parts: Remove all pieces that touch food.
- Rinse immediately: Hold parts under running water to wash off pulp and juice.
- Soak if needed: If residue is stuck, soak parts in warm, soapy water for 10–15 minutes.
- Scrub screens and blades: Use a soft brush or sponge (some juicers include a cleaning brush).
- Clean the body: Wipe with a damp cloth. Never submerge motorized parts.
- Dry thoroughly: Air dry or use a clean towel to prevent mold.
- Reassemble and store: Make sure everything is dry before putting it back together.
Tip: Clean immediately after juicing. Dried pulp is much harder to remove and can damage filters.

Credit: www.zulaykitchen.com
Deep Cleaning: When And How
Even if you clean after every use, deep cleaning is necessary every 1–2 weeks for daily juicers, or monthly for occasional users. Deep cleaning removes hidden buildup and keeps your appliance fresh.
Signs You Need A Deep Clean
- Unpleasant odors
- Stained parts
- Reduced juice output
- Visible mold or discoloration
Deep Cleaning Process
- Disassemble all parts
- Soak parts in vinegar or lemon water (1 part vinegar/lemon juice to 3 parts water) for 30 minutes to dissolve mineral buildup.
- Use a toothbrush to scrub hard-to-reach areas.
- Rinse thoroughly and air dry.
- Wipe motor base and cords with a damp cloth.
Avoid harsh chemicals or abrasive pads, which can scratch surfaces or leave residue.
The Role Of Produce Type In Cleaning Frequency
The kind of fruits and vegetables you juice impacts cleaning needs. Some produce leaves more residue or stains.
| Produce Type | Cleaning Challenge | Extra Cleaning Tips |
|---|---|---|
| Carrots & beets | Stains, sticky residue | Use baking soda for stains |
| Leafy greens | Fibrous pulp | Clean screens thoroughly |
| Citrus | Sticky juice, seeds | Rinse immediately to prevent stickiness |
| Soft fruits (berries, bananas) | Gummy residue | Soak parts longer |
| Apples & pears | Foam buildup | Clean foam separator if present |
Some beginners miss how quickly produce can stain parts, especially plastics. If your juicer starts looking orange or pink, try a baking soda paste for stubborn stains.
Cleaning Different Types Of Juicers
There are several juicer designs, and cleaning needs vary. Let’s compare the main types:
| Juicer Type | Parts to Clean | Cleaning Difficulty |
|---|---|---|
| Centrifugal | Filter, bowl, blade, pulp bin | Medium—filters can clog |
| Masticating (slow) | Auger, screen, bowl, pulp bin | Easy—fewer parts, less foam |
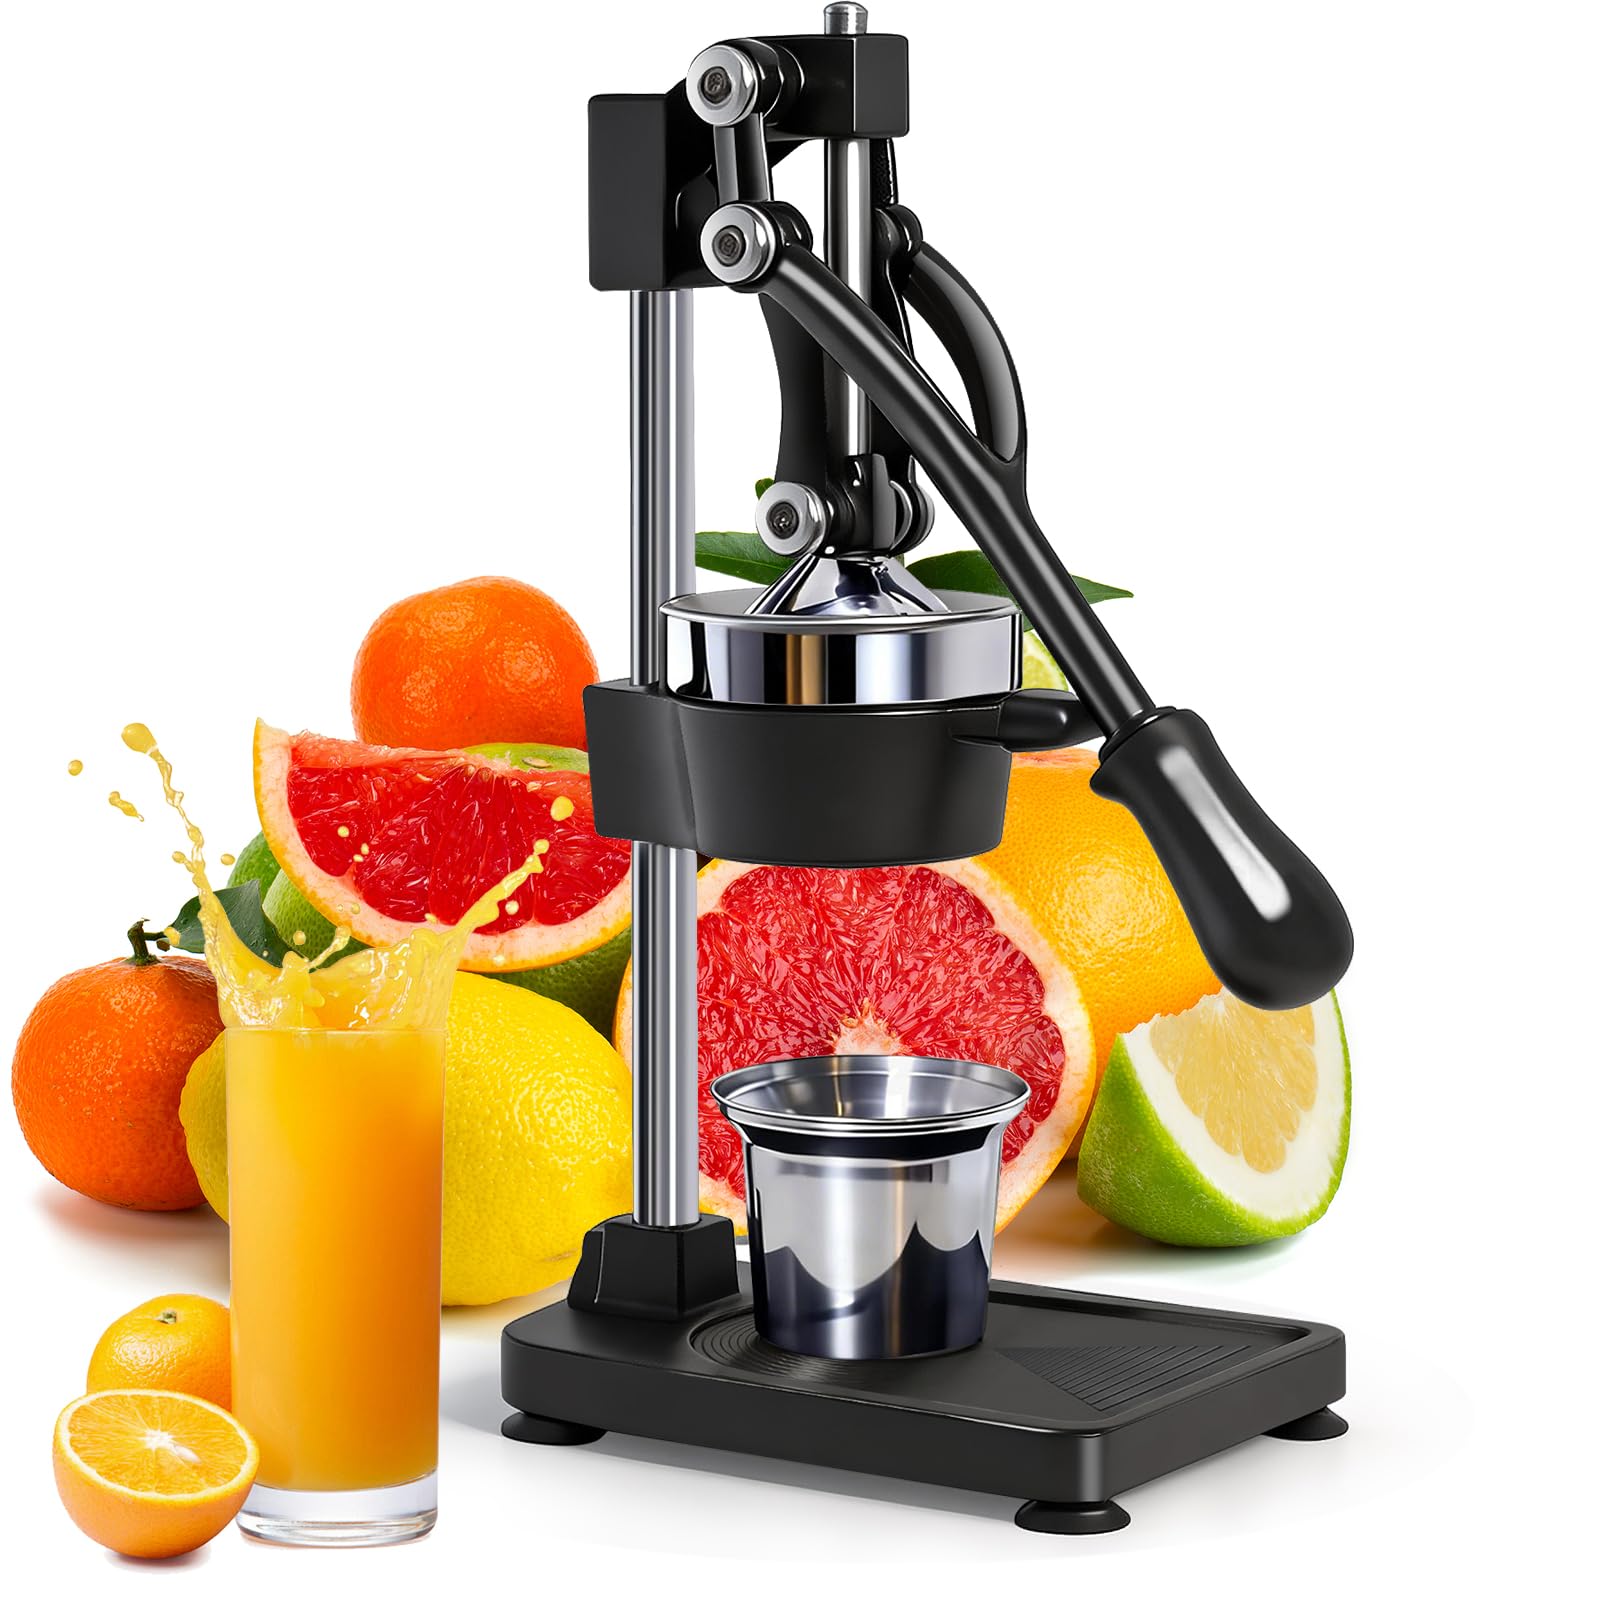
| Citrus | Reamer, bowl, strainer | Easy—quick rinse |
| Twin gear | Gears, screen, bowl, pulp bin | Hard—complex parts |
Masticating juicers are easier to clean because they run slower and make less foam. Centrifugal juicers produce more pulp and foam, which means more frequent filter scrubbing. Twin gear juicers are powerful but have many small parts that need extra attention.
Common Mistakes In Juicer Cleaning
Many people unknowingly make mistakes that can damage their juicer or make cleaning harder. Here are some to avoid:
- Letting pulp dry: Dried pulp is tough to remove and can block filters.
- Skipping filter cleaning: Filters clog quickly and affect juice quality.
- Using harsh chemicals: These can damage plastic and metal parts.
- Not drying parts properly: Moisture leads to mold and odors.
- Ignoring deep cleaning: Regular cleaning isn’t always enough.
Non-obvious insight: Most juicers come with a cleaning brush for screens and filters. Many users ignore this tool, but it’s designed to reach small holes and prevent clogs.
Credit: www.amazon.com
How To Clean A Juicer Faster
Cleaning can feel like a chore, but with the right habits, it gets easier. Here are practical ways to speed up your routine:
- Prep produce well: Remove stems, seeds, and pits before juicing to reduce residue.
- Rinse parts immediately: Don’t wait—fresh pulp is easy to wash away.
- Use a dedicated brush: Keep it near the sink for quick access.
- Line pulp bin: Use a compostable bag or paper towel to catch pulp and make disposal easier.
- Soak while you clean other dishes: Multi-task to save time.
Experience-based tip: Some people leave their juicer assembled between uses, but this can trap moisture and encourage mold. Always dry and store parts separately.
How Long Does Cleaning Take?
Most juicers take about 5–10 minutes for a thorough rinse and wipe after each use. Deep cleaning takes 20–30 minutes, depending on buildup and stains. If you clean immediately after juicing, it’s much quicker. Waiting until pulp dries can double the time needed.
Juicer Maintenance Beyond Cleaning
Cleaning is just one part of juicer care. Regular maintenance keeps your appliance running smoothly.
- Check blades and screens: Look for dullness or cracks every month.
- Inspect seals and gaskets: Replace if they look worn or leak juice.
- Lubricate moving parts: Some juicers need a drop of food-safe oil; check your manual.
- Store properly: Keep in a dry, dust-free place.
Non-obvious insight: Even if you clean well, failing to check seals and blades can lead to leaks or poor juice extraction. Maintenance matters!
Cleaning Juicers In The Dishwasher
Many juicers have dishwasher-safe parts, but not all do. Always check your manual. Dishwasher cleaning can save time, but it may cause some plastics to dull or crack over time.
- Top rack only: Place parts on the top rack to avoid heat damage.
- Avoid washing filters and blades in dishwasher: Manual cleaning is usually better for screens and sharp parts.
- Never wash motor base in dishwasher: This can ruin the appliance.
Dishwashing is convenient but not always thorough. Manual cleaning reaches small crevices better.

Credit: www.zulaykitchen.com
Storing A Clean Juicer
After cleaning, proper storage is important. Dry all parts fully to prevent mold. Store pieces in a clean, dry cabinet or on the counter if you juice daily. Cover with a cloth or lid to keep dust out.
If you only juice occasionally, consider storing parts separately to ensure airflow. This prevents moisture buildup, which can lead to odors.
Environmental Impact Of Cleaning
Juicer cleaning uses water and sometimes detergents. To reduce environmental impact:
- Use biodegradable soap
- Rinse with minimal water
- Compost pulp
- Avoid single-use wipes
These steps help minimize waste and keep your kitchen eco-friendly.
Cleaning Juicer Accessories
Many juicers come with extra tools, like brushes, foam separators, or containers. Clean these with warm, soapy water and rinse well. Foam separators can trap juice and should be soaked occasionally. Brushes should be dried after use to prevent bacteria.
Signs Your Juicer Needs Replacing
Even with the best cleaning routine, juicers don’t last forever. Watch for these signs:
- Cracked or warped parts
- Persistent odors
- Reduced juice output
- Leaks
- Motor issues
If cleaning doesn’t solve these problems, it may be time for a new juicer.
Frequently Asked Questions
How Do I Prevent Stains On My Juicer?
To avoid stains, rinse parts immediately after juicing, especially with brightly colored produce like carrots and beets. For stubborn stains, use a baking soda paste or soak in vinegar water.
Can I Use Bleach To Clean My Juicer?
It’s not recommended. Bleach is harsh and can damage plastic and metal parts. Use mild dish soap and vinegar for deep cleaning. Always rinse thoroughly to remove soap and cleaning agents.
Is It Safe To Put All Juicer Parts In The Dishwasher?
Not all parts are dishwasher-safe. Most juicer manuals specify which parts can be washed in a dishwasher. Filters, blades, and motor bases should be cleaned by hand. Always check your manual before washing.
What Happens If I Don’t Clean My Juicer Regularly?
Skipping cleaning leads to bacteria, mold, and bad odors. It can also affect taste and reduce juicer performance. Over time, buildup can damage parts and shorten lifespan. Regular cleaning keeps your juicer safe and efficient.
Where Can I Find Official Cleaning Advice For My Juicer?
Check your juicer’s manual or visit the manufacturer’s website. For general guidance, the FDA offers safe appliance cleaning tips: FDA Food Safety Education.
Final Thoughts
Cleaning your juicer after every use isn’t just a suggestion—it’s a must for safe, tasty juice and a long-lasting appliance. Quick cleaning routines save time and prevent trouble later. Deep cleaning every few weeks removes hidden buildup and keeps your juicer working like new.
Remember, the type of juicer and produce you use can change how often and how thoroughly you need to clean. Build good habits, avoid common mistakes, and your juicer will reward you with fresh juice every time.