You’ve just bought a copper water bottle. It looks beautiful on your counter, and you’ve heard all about the health benefits of drinking water stored in copper overnight. But after a week, those glossy orange-brown surfaces start looking dull, maybe even a little green.
Now you’re wondering: what’s the right way to clean it without ruining it?
That’s exactly the question we’re answering today. Learning how to clean copper water bottle properly isn’t complicated, but it does depend on one critical thing most people don’t realize: not all copper bottles are the same. As of 2026, the market splits cleanly between lacquered bottles (coated with a clear sealant) and raw copper bottles (uncoated metal that tarnishes naturally).
The wrong cleaning method can destroy a lacquered finish or strip a raw bottle’s protective patina. This guide walks you through exactly which method fits your bottle, step by step.
Quick Answer: How to Clean Copper Water Bottle
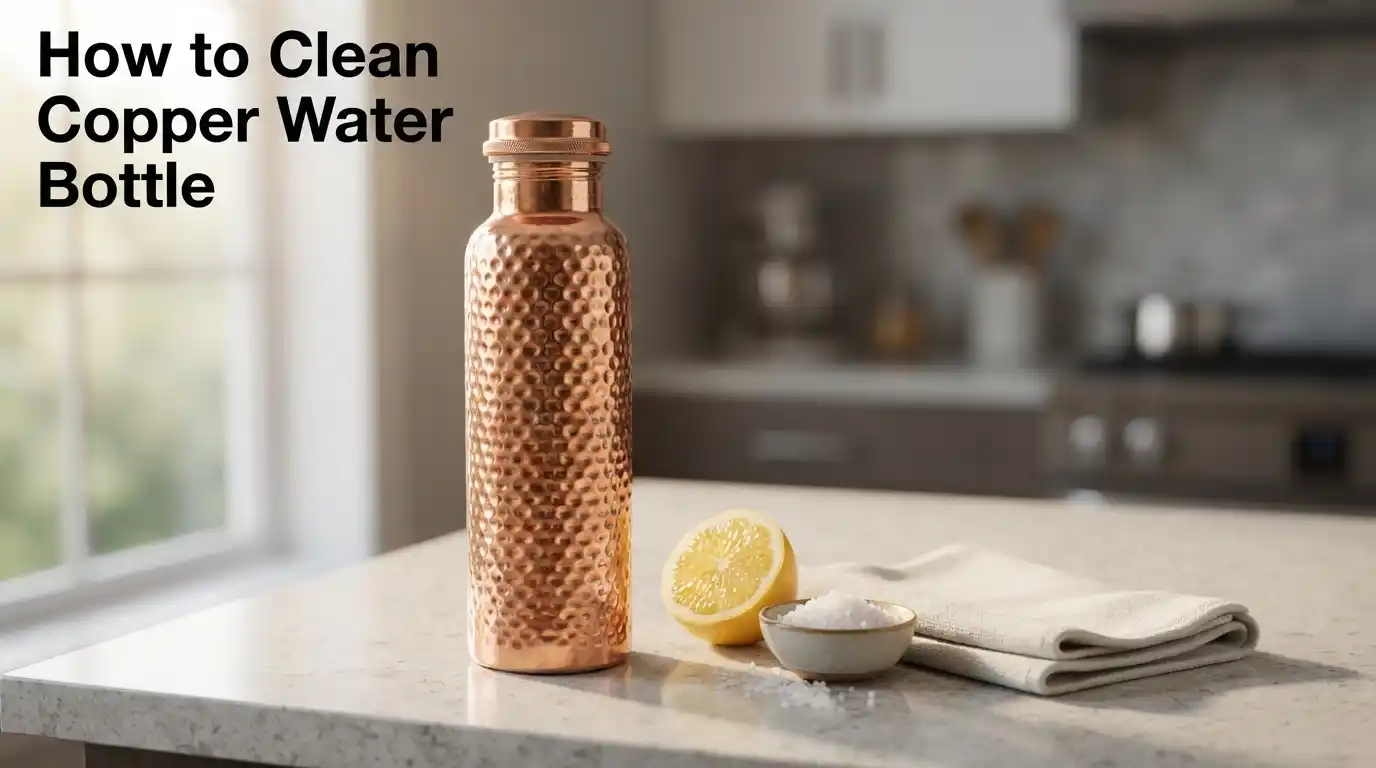
Clean a copper water bottle differently based on bottle type. For raw unlined copper, make a paste from lemon juice and salt. Rub gently, rinse thoroughly, and dry immediately.
For lacquered copper, use mild dish soap and water only. Never use acidic ingredients or abrasives on lacquered copper. For lined interiors, clean the inside with soap and a soft bottle brush.
Always dry completely to prevent water spots. Never put any copper bottle in the dishwasher.
First Thing: Is Your Bottle Lacquered or Raw?
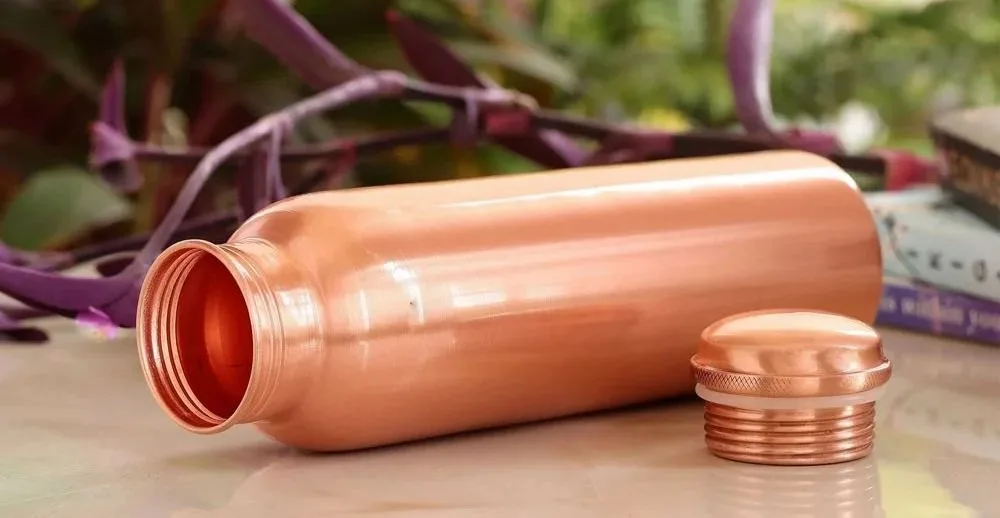
Image source: Bing (Web (fair-use with source credit))
This single question determines everything. If you get this wrong, you’re likely to damage your bottle on the first cleaning.
A lacquered copper bottle has a thin, clear protective coating sprayed on at the factory. This coating keeps the copper looking shiny and new for years. It also means the copper underneath never touches your cleaning solution.
The finish feels smooth and slightly plastic-like to the touch. It won’t darken or tarnish over time. Most inexpensive copper bottles sold in big box stores and on major marketplaces are lacquered.
A raw copper bottle (also called unlined or uncoated) has no protective layer. The bare metal reacts with air, moisture, and oils from your hands. That’s why it develops a natural patina, a darker, brownish-orange surface that many people actually want.
Raw copper bottles will tarnish unevenly. They develop greenish spots (verdigris) if left wet. They require more maintenance but respond beautifully to simple cleaning pastes.
How to tell which one you own:
| Feature | Lacquered Bottle | Raw Copper Bottle |
|---|---|---|
| Surface feel | Smooth, slightly slippery | Bare metal, matte or satin |
| Color change over time | Stays the same | Darkens, develops patina |
| Water beading | Water beads up and runs off | Water wets the surface evenly |
| Scratch test (hidden spot) | Nothing happens to finish | Metal feels softer, may mark |
| Manufacturer description | Often says “lacquer coated” or “protective finish” | Says “raw copper” or “uncoated” |
If you’re still unsure, check the product page you bought it from or the packaging. If neither says anything about a coating, assume the bottle is lacquered. That’s the safer bet.
Using a harsh acidic paste on a lacquered bottle will peel the coating off in patches, leaving you with a blotchy mess that can’t be fixed at home.
What You’ll Need: Tools and Ingredients That Actually Work
Before you start cleaning, gather the right supplies. Using the wrong tool is how most copper bottles get scratched, dulled, or stripped.
For raw copper bottles (deep clean for tarnish removal):
- Lemon juice (fresh or bottled, 100% juice)
- Table salt (fine grain works best)
- Baking soda (for a gentler alternative)
- White vinegar (distilled, 5% acidity)
- Soft microfiber cloth (two, one for paste application, one for buffing)
- Soft sponge (non-scratch, no green scouring pad)
- Bottle brush (soft bristles, long enough to reach the bottom)
- Warm water
- Olive oil (optional, for final buffing and shine)
For lacquered copper bottles (routine cleaning only):
- Mild dish soap (Dawn, Seventh Generation, or similar)
- Soft microfiber cloth
- Soft sponge
- Warm water
What to never use on any copper bottle:
- Steel wool or metal scrubbers
- Green scouring pads
- Bleach, ammonia, or any chlorine-based cleaner
- Dishwasher detergent or dishwasher machine
- Hard-bristle brushes
- Commercial metal polishes (unless specifically labeled safe for lacquered copper)
Manufacturer specifications across dozens of brass and copper products confirm that abrasives are the number one cause of premature bottle failure. A scratched bottle isn’t just ugly. On raw copper, deep scratches trap moisture and speed up spotty oxidation.
On lacquered bottles, scratches break the seal and let moisture creep under the coating.
The Decision Tree: How to Clean Based on Your Bottle Type
Branch 1: Raw Copper (Unlined) – Lemon and Salt Paste
This is the classic method, and it works beautifully. The acid in the lemon dissolves the tarnish (copper oxide), while the salt acts as a mild abrasive to mechanically lift it off.
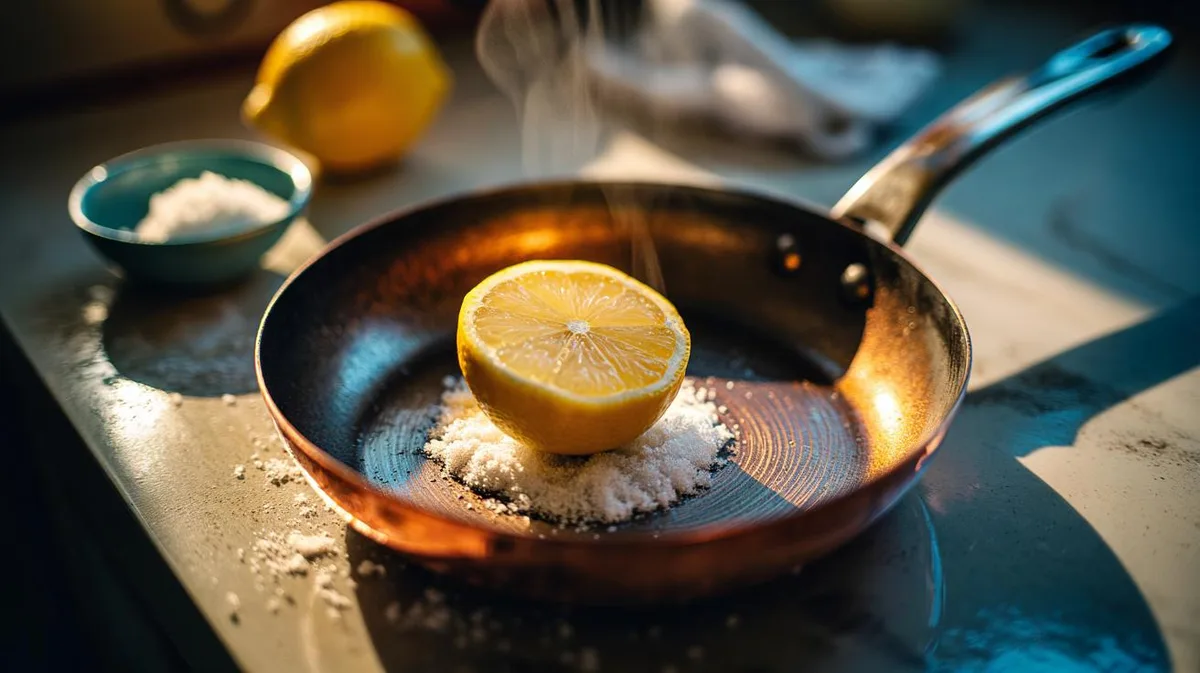
Image source: Bing (Web (fair-use with source credit))
Step-by-step process for raw copper bottles:
Squeeze half a lemon into a small bowl. Add one tablespoon of table salt. Stir to form a thin paste. If it’s too runny, add more salt. If it’s too thick, add a few more drops of lemon juice.
Dip a soft cloth into the paste. Working in small sections, rub the paste onto the copper in gentle circular motions. You’ll see the tarnish transfer onto the cloth almost immediately. The copper underneath will reveal a bright, warm orange-brown color.
Focus on the body first, then the neck and shoulder. Use a soft sponge wrapped around a chopstick or a dedicated bottle brush for hard-to-reach areas.
Rinse thoroughly with warm water. This step is critical, any leftover salt residue will dry into white crusty spots and can attract moisture. Rinse the bottle inside and out until the water runs completely clear.
Dry immediately with a clean, dry microfiber cloth. Do not let the bottle air dry. Water droplets that sit on copper leave hard water spots that are difficult to remove later.
Optional: buff with a drop of olive oil on a fresh cloth. This adds a light protective barrier and gives the copper a warm luster. It also slows down how quickly the patina reforms.
Pro tip for heavy tarnish: If your bottle has been neglected for weeks or months, the standard lemon-salt paste may not cut through the thick oxidation on the first pass. In that case, try a baking soda and vinegar paste instead. Mix three parts baking soda to one part vinegar until it forms a spreadable paste.
Apply the same way. Let it sit for 5 minutes before scrubbing. It’s gentler than lemon-salt but more effective on deep tarnish.
Branch 2: Lacquered Copper – Mild Soap Only
If you own a lacquered bottle, your job is much simpler. You’re not cleaning the copper at all, you’re cleaning the clear coating that protects it.
Step-by-step process for lacquered copper bottles:
Fill a sink or basin with warm water and add a few drops of mild dish soap. Swish to create light suds.
Dip a soft sponge or microfiber cloth into the soapy water. Gently wipe the entire exterior of the bottle. Use light pressure, scrubbing hard can scratch the lacquer coating.
Rinse with clean warm water. Do not use hot water. High temperatures can soften or cloud certain lacquer formulas.
Dry immediately with a soft, lint-free cloth. Water spots show up clearly on lacquered surfaces.
For the interior, use a soft bottle brush with soapy water. Rinse well. The inside of a lacquered bottle is usually lined with a separate material (tin or stainless steel), so treat that lining gently.
What if your lacquered bottle already has scratches or peeling patches? Unfortunately, you can’t repair a damaged lacquer coating at home. Your options are either to live with the cosmetic damage or to strip the entire coating off and use the bottle as raw copper. Stripping requires a chemical lacquer remover (check a hardware store for one safe on copper alloys) and is a messy, time-consuming job.
In our research, most people with damaged lacquer just replace the bottle.
Branch 3: Lined Interior (Tin or Stainless) – Gentle Inside, Careful Outside
Many copper water bottles, even raw copper ones on the outside, have a protective lining on the inside. This is almost always a thin layer of tin, stainless steel, or nickel. The lining prevents the water from sitting directly on copper for long periods, which is important because copper can leach into acidic or stored water in amounts that exceed the National Institutes of Health’s recommended limits for extended contact.
If your bottle has a lined interior:
- Clean the inside with mild dish soap and a soft bottle brush only. No acidic pastes, no vinegar, no baking soda scrubs on the inside.
- Rinse the interior thoroughly to remove all soap residue. Any leftover soap can affect the taste of your drinking water.
- Dry the interior by shaking out excess water and leaving the bottle upside down on a drying rack for an hour. Use a clean cloth to pat dry the mouth and threads.
- Clean the exterior according to whether the bottle is raw or lacquered, using the methods above. The interior lining doesn’t change how you treat the outside.
How to tell if your bottle is lined: Look inside. A lined bottle has a smooth, silvery or slightly yellowish surface that looks different from the coppery exterior. It will not tarnish or change color.
Unlined raw copper bottles have the same orange-brown color inside as out. If you can’t see clearly, shine a flashlight down the neck. Many bottles also include this info on a sticker or hang tag.
How Often Should You Clean a Copper Water Bottle?
For everyday use, clean your copper water bottle after each use, especially the interior. A quick wash with mild dish soap and a soft bottle brush is enough for lined interiors and lacquered bottles. Rinse thoroughly and dry the bottle completely before storing it.
Raw copper bottles may need a deeper exterior clean when tarnish or dark spots become noticeable. You don’t need to remove the natural patina every time you wash the bottle. If the bottle develops greenish spots or has been left wet for an extended period, clean the affected area before using it again.
Regular washing keeps the inside fresh, while occasional tarnish removal keeps raw copper looking clean without unnecessary scrubbing.
Mistakes That Ruin Copper Bottles (And How to Avoid Them)

Image source: Web (Bing) / pngpix.com (Web image (fair-use with source credit))
I’ve seen dozens of user reviews describing a ruined bottle after the first cleaning. The pattern is almost always one of these mistakes.
Mistake 1: Using the dishwasher.
This is the fastest way to destroy a copper bottle. The heat, detergent, and water pressure strip lacquer coatings, scratch raw copper, and leave cloudy deposits. Hand wash only.
Every manufacturer we researched makes this explicitly clear.
Mistake 2: Applying acidic paste to a lacquered bottle.
The acid doesn’t know the difference between tarnish and lacquer. It eats through both. If you’ve already done this and your coating is peeling, stop immediately.
Switch to soap and water for all future cleanings. The damage is cosmetic and won’t affect water safety, but it will look permanently blotchy.
Mistake 3: Scrubbing hard to remove tarnish faster.
Tarnish removal is a chemical process, not a scrubbing contest. Aggressive pressure with abrasive pads creates visible scratches that hold dirt and moisture. Gentle circular motions with a soft cloth are more effective than brute force.
Let the chemical reaction do the work.
Mistake 4: Letting water sit inside the bottle after cleaning.
Copper that stays wet develops dark water lines and verdigris (the green-blue powdery substance you sometimes see on old pennies). That green stuff isn’t dangerous in small amounts, but it’s not something you want in your drinking water. Always dry your bottle thoroughly after every wash and before storing it.
Mistake 5: Storing the bottle with the cap on after cleaning.
Trapped moisture leads to mold, mildew, and interior corrosion, especially in lined bottles where moisture can get between the lining and the copper. Store your bottle with the cap off and the bottle upside down or on its side to allow airflow. This is easy to implement alongside your existing kitchen organization routines, similar to how you’d store other small kitchen tools that need to stay dry.
Final Verdict
Cleaning a copper water bottle is simple once you know what type of bottle you have. Raw copper needs gentle tarnish removal with the right paste, while lacquered copper should be cleaned with mild soap and water only. If the interior is lined, stick to gentle soap and a soft bottle brush inside.
Whatever type you own, avoid harsh abrasives, acidic cleaners on lacquer, and the dishwasher. Rinse thoroughly, dry the bottle completely, and don’t leave moisture trapped inside. Follow these simple steps, and you can keep your copper water bottle clean without unnecessarily damaging the finish.