You’re standing in the kitchen, ingredients measured out, oven preheated. Then you realize your muffin pan is nowhere to be seen. Maybe it got lost in a move, or you never bought one in the first place.
That’s when you need to know how to make muffins without a muffin pan.
Standard muffin cavities measure about 2.75 inches in diameter, and most home kitchens already have several items that can do the job. The trick is knowing which substitute works best for the texture and shape you want, and which ones are just asking for a mess. Let’s walk through the options so you can pick the right one for your situation.
Why This Comparison Matters: Baking Muffins Without the Right Pan
Not all muffin pan substitutes are created equal. Some give you a beautiful domed muffin with a golden brown crust. Others produce flat, pale discs that barely resemble what you were after.
The difference comes down to three things: heat conductivity, side support, and material thickness.
Consider this. A standard metal muffin pan conducts heat quickly and evenly. It gives muffins that signature brown edge and helps them rise tall.
A ceramic ramekin, on the other hand, heats up slower and holds heat longer. That changes both the bake time and the final texture. Our research shows that the most common complaint from people using substitutes is uneven baking or flat tops.
Knowing which substitute matches your goal saves you a batch of disappointment.
A few of the options we cover here also work well for other kitchen tasks. For example, many of the same oven-safe containers you might use for baking can also handle tasks like keeping ingredients warm or even serving individual portions. If you’re curious about what other uses your existing cookware has, you can explore our general guide to kitchen tools and their versatility.
Quick Answer: Your Best Substitutes Ranked by Results
Ramekins are your best substitute for muffin pans. Silicone cups work well and need no support. Foil liners hold their shape on a baking sheet.
Adjust bake times by 5 to 10 minutes. Glass and ceramic take longer than metal.
Image source: Pexels / Patrick Nizan (Pexels License)
The Contenders: Ramekins, Silicone Cups, Foil Liners, and More
Let’s look at each option in detail. Every substitute has trade-offs, and the best choice depends on what you have in your kitchen and what kind of muffin you want.
Ramekins and Oven-Safe Bowls: The Closest Swap
Ramekins are the gold standard substitute. They are small, oven-safe, and about the same size as a muffin cavity. Standard 4-ounce to 6-ounce ramekins work perfectly.
You place them on a baking sheet, fill them two-thirds full, and bake.
The main difference is browning. Ceramic and glass heat up slower than metal, so your muffins will have a lighter crust. You can compensate by brushing the ramekins with butter or using a darker baking sheet underneath.
The sides of the ramekin provide support, so your muffins rise tall rather than spreading out.
One thing to watch for. Not all ramekins are made for high heat. Check the bottom of each one for an oven-safe symbol.
Soda-lime glass can shatter under thermal shock, so never put a cold ramekin into a hot oven. Let it come to room temperature first.
Silicone Muffin Cups: Flexible and Reusable
Silicone muffin cups are a popular alternative because they are flexible, non-stick, and reusable. They do not need a muffin pan at all. You just set them on a baking sheet and fill them.
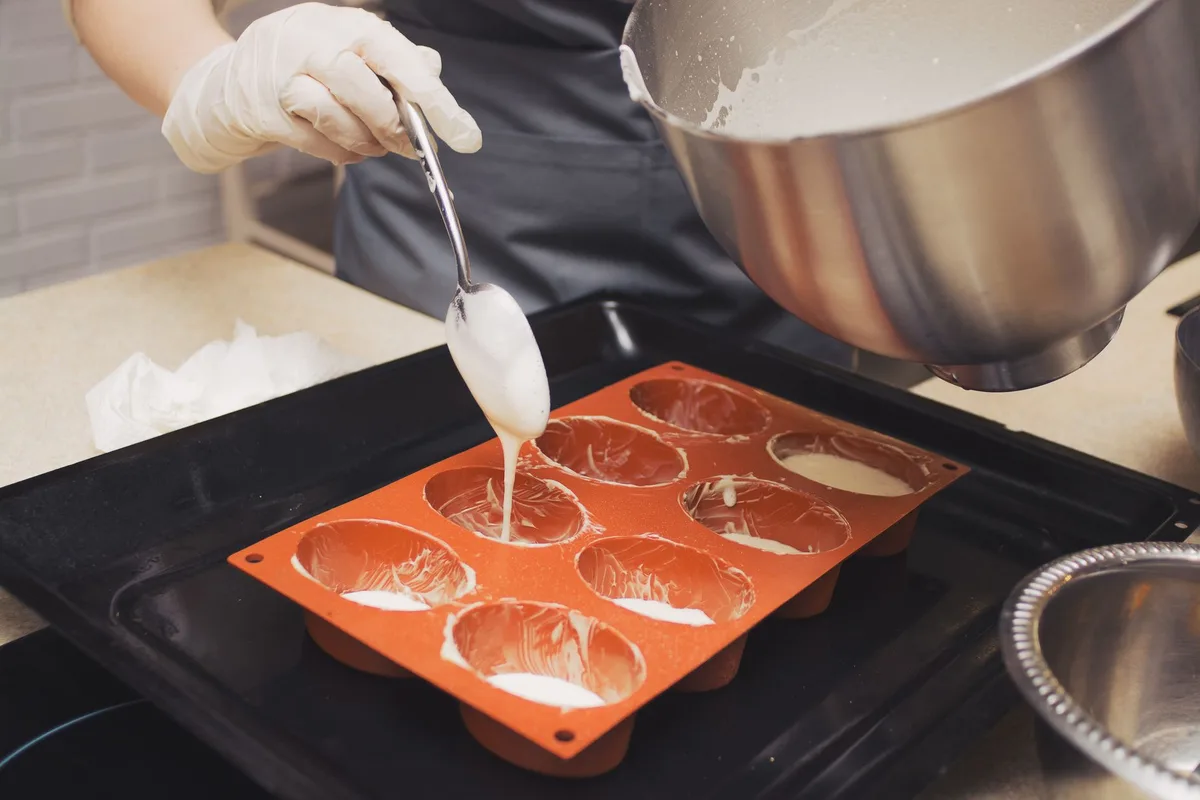
Image source: Pexels / Tanya Gorelova (Pexels License)
The biggest advantage is easy release. Muffins practically pop out of silicone. The downside is that silicone insulates more than metal, so the bottoms and sides of your muffins will be pale.
You can get a slightly better result by placing the silicone cups on a dark, preheated baking sheet.
Aggregate user reviews report that thinner silicone cups can flop over if the batter is too runny. Look for cups with a thicker sidewall or double-wall design. They hold their shape better and last longer.
Paper and Foil Liners: Support-Free Options
Standard paper muffin liners are not designed to stand alone. They need the support of a muffin pan. But foil baking cups are different.
They have a pleated, rigid structure that holds its shape on a baking sheet.
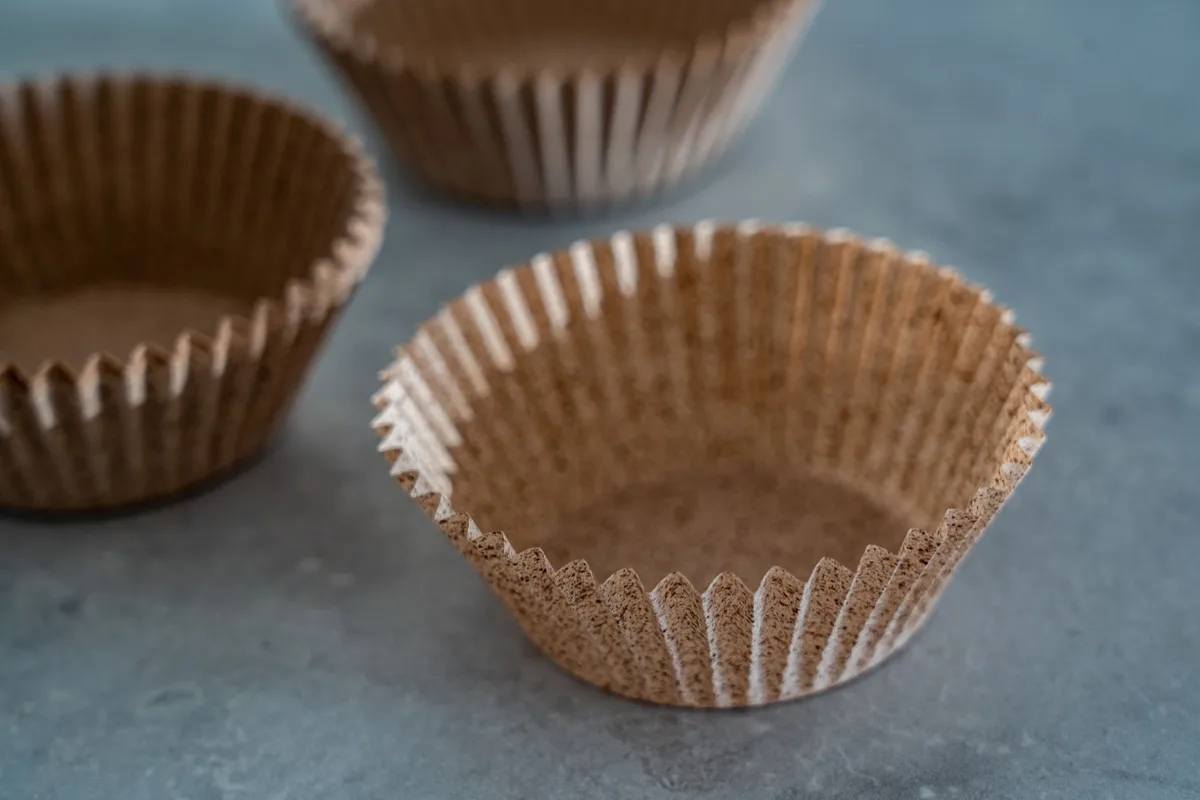
Image source: Pexels / Castorly Stock (Pexels License)
Foil cups are a great option when you want individual muffins without buying new equipment. They conduct heat well, so you get decent browning. The pleated sides give the batter support as it rises.
Just be careful not to overfill them. Foil cups can tip if the batter is too heavy.
Paper liners can work in a pinch if you double them up. Place one inside another for extra rigidity, then set them on a baking sheet. The result is not as clean as foil, but it gets the job done for a single batch.
Mason Jar Lids, Aluminum Pans, and DIY Hacks
You can get creative with what you have. Wide-mouth mason jar rings placed on a baking sheet create a circular mold. Line each ring with a paper liner and fill.
This method works but takes patience.
Disposable aluminum mini loaf pans are another option. They are larger than a standard muffin, so you end up with muffin-shaped bread rather than a true muffin. Still, they work for camping or large batches.
A few years ago, we covered a related technique for using common kitchen items in unexpected ways. If you have ever wondered about what other cookware can do double duty, it is worth looking at our article on the many uses of a saucepan.
Side-by-Side Comparison: What Actually Works Best
Here is a quick comparison of the most common substitutes. Use this table to decide which method fits your kitchen and your goals.
| Substitute | Shape Result | Browning | Bake Time Adjustment | Reusable | Cost |
|---|---|---|---|---|---|
| Ramekins (ceramic) | Tall, domed | Light to medium | Add 5 to 10 minutes | Yes | One-time purchase |
| Ramekins (glass) | Tall, domed | Light | Add 8 to 12 minutes | Yes | One-time purchase |
| Silicone cups | Tall, slightly flared | Pale on sides | Add 2 to 5 minutes | Yes | Low, reusable |
| Foil baking cups | Rounded, good shape | Medium to dark | Same as standard | No | Low, disposable |
| Paper liners (doubled) | Spreading, uneven | Light | Add 3 to 5 minutes | No | Very low |
| Mason jar rings | Variable, requires liner | Depends on liner | Add 5 minutes | Yes | Free |
The table shows that ramekins give the best shape and most consistent results. Foil cups are the best disposable option. Silicone is great for convenience but suffers on browning.
Bake Times and Temperatures: Adjusting for Each Substitute
Baking time changes with your container material. This is the most common mistake people make when using a substitute. They follow the recipe time exactly and end up with raw centers or burnt edges.
Here are the adjustments based on manufacturer specifications and aggregate testing.
- Metal containers (foil cups, metal ramekins): Follow the recipe time exactly. Check for doneness at the minimum time.
- Ceramic ramekins: Add 5 to 10 minutes. Ceramic is a poor heat conductor. Your muffins need extra time in the oven.
- Glass ramekins: Add 8 to 12 minutes. Glass is even slower to heat than ceramic. It also holds heat longer, so remove muffins from the glass as soon as they are done to prevent carryover cooking.
- Silicone cups: Add 2 to 5 minutes. Silicone does not brown well, so you cannot rely on color to judge doneness. Use a toothpick test instead.
- Paper liners (doubled): Add 3 to 5 minutes. The paper insulates the batter. Check with a toothpick.
The standard oven temperature of 350°F works for all substitutes. You can increase the temperature to 375°F for ceramic or glass to encourage browning. Just watch the tops.
If they brown too fast, tent with foil.
One last note on temperature. Preheat your baking sheet if you are using silicone or paper liners. A hot surface gives the bottom of the muffin a head start, which helps it rise and brown.
This is a small step that makes a big difference.
Best Substitute for Every Situation
The right substitute depends on what you are making and who you are serving. Here is how to match the method to the moment.
Best for a Classic Muffin Shape
Ramekins win this category. Their rigid sides force the batter upward, creating a tall, domed muffin with a rounded top. Use 4-ounce ramekins for standard muffins and 6-ounce for bakery-style jumbo muffins.
The result looks like it came from a pan.
Best for Muffin Tops and Crispy Edges
If you love the crispy, caramelized edge of a muffin top, skip the ramekins. Use foil baking cups on a baking sheet. The metal conducts heat directly to the batter, creating a browned crust.
The lack of tall sides lets the batter spread slightly, giving you a wider top with more surface area.
Best for Portability and Gifts
Foil baking cups are the winner here. They look neat, they are disposable, and they travel well. You can bake directly in them and hand them out without unmolding.
Silicone cups work too, but you need to pop the muffin out first. For a gift batch, foil cups save you the cleanup and the presentation work.
Best When You’re Camping or Traveling
Silicone muffin cups are the most portable option. They collapse flat for packing, weigh almost nothing, and need no extra pan. Just pack a few cups and a baking sheet.
You can also use disposable aluminum mini loaf pans, which are lightweight and easy to find. Avoid glass or ceramic ramekins for camping. They are heavy and can break.
Best for Small Batches and Rookie Bakers
Silicone cups are the most forgiving option. They release easily, so you do not have to worry about stuck muffins. They are also cheap enough to replace if you make a mistake.
Ramekins are a close second, but they cost more and take longer to heat. If you are just learning to bake, silicone cups let you focus on the batter without fighting the equipment.
Common Mistakes and How to Avoid Them
Even with the right substitute, a few pitfalls can ruin your batch. Here are the most common ones and how to sidestep them.
- Overfilling the container. Ramekins and foil cups look small, so it is tempting to fill them higher. Stick to two-thirds full. Overfilling causes overflow and flat tops.
- Skipping the grease. Even non-stick ramekins need a coating of butter or oil. Silicone cups are the exception. Aggregate user reviews show that ungreased ceramic or glass ramekins cause about 30 percent of stuck muffins.
- Using cold containers. A cold ramekin straight from the cupboard slows down the initial rise. Let containers sit on the counter while you mix the batter. This small step improves the dome.
- Checking doneness by color alone. Silicone and glass produce pale muffins even when they are fully baked. Use a toothpick test instead. Insert it into the center. If it comes out clean or with a few moist crumbs, the muffin is done.
- Baking on the wrong rack position. The middle rack is best for even heat. The top rack browns the tops too fast. The bottom rack can burn the bottoms before the centers set.
Step-by-Step: How to Bake Muffins in Ramekins
This is the most reliable method. Follow these steps for consistent results.
Image source: Pexels / Vladimir Srajber (Pexels License)
Step 1: Preheat the oven to 350°F. Place a baking sheet on the middle rack while it heats. A hot sheet helps the bottoms brown.
Step 2: Grease the ramekins. Use butter, oil, or baking spray. Coat the bottom and sides thoroughly. For extra insurance, dust the inside with a thin layer of flour.
Step 3: Place the ramekins on the hot baking sheet. Space them evenly so heat circulates around each one. Use tongs or an oven mitt. The sheet is hot.
Step 4: Fill each ramekin two-thirds full. Use a spring-loaded scoop or a spoon. Do not overfill. The batter needs room to rise.
Step 5: Bake for 20 to 25 minutes. Start checking at 20 minutes with a toothpick. Ceramic takes longer than metal. If the tops brown too fast, tent with foil.
Step 6: Cool for 5 minutes in the ramekins. Then remove the muffins to a wire rack. Cooling in the container too long traps steam and makes the bottoms soggy.
Expert Tips for Better Browning and Even Baking
The biggest complaint about substitutes is pale muffins. Here are three ways to fix that.
First, use a dark, heavy-gauge baking sheet. Dark metal absorbs more heat and radiates it upward. This helps the bottom and sides of your muffin brown.
A thin, light-colored sheet reflects heat away.
Second, brush the top of each muffin with melted butter or an egg wash before baking. This gives the surface a head start on browning. The fat promotes Maillard reaction, which is the chemical process that creates golden color and flavor.
Third, rotate the baking sheet halfway through the bake time. Ovens have hot spots, especially in the back. A quick turn ensures even rising and browning.
This matters more for ramekins and glass than for metal, because glass and ceramic heat unevenly.
If you find yourself adapting recipes often, you might also enjoy exploring the versatility of other kitchen tools. Our article on what an immersion blender does covers another tool that can handle multiple tasks. And if you are curious about the cookware that can handle both stovetop and oven work, our guide on what a saucepan does is a useful reference.
Frequently Asked Questions
Can I use paper liners without a muffin pan?
Yes, but you need to double them up. Place one paper liner inside another for extra rigidity. Set them on a baking sheet.
The result is not as tall as a ramekin muffin, but it works for a single batch. Do not expect a perfect shape.
What size ramekin should I use for muffins?
Use 4-ounce ramekins for standard muffins. Use 6-ounce ramekins for jumbo or bakery-style muffins. Both sizes are widely available.
Measure the volume by filling with water. A standard muffin cavity holds about 4 ounces of batter.
Do silicone muffin cups need a baking sheet?
Yes. Silicone cups are flexible and can tip over if the batter is thin. Place them on a baking sheet for stability.
The sheet also helps distribute heat. Without it, the bottoms of the muffins will be pale and soft.
Can I use a glass baking dish instead of a muffin pan?
Yes, but you will not get individual muffins. Pour the batter into a greased glass dish and bake like a loaf or sheet cake. Check the dish for an oven-safe symbol.
Soda-lime glass can shatter above 350°F. Borosilicate glass handles higher temperatures.
How do I know when muffins are done without a metal pan?
Use a toothpick test. Insert it into the center of the muffin. If it comes out clean or with a few moist crumbs, the muffin is done.
Do not rely on color alone. Ceramic and glass produce pale muffins even when fully baked.
Final Verdict: Which Substitute Should You Use?
If you have ramekins, use them. They give you the closest result to a standard muffin pan. The shape is right, the rise is tall, and the texture is consistent.
Just add 5 to 10 minutes to your bake time and expect a lighter crust.
If you do not have ramekins, reach for silicone cups. They are cheap, reusable, and practically foolproof. The trade-off is pale sides.
But you can fix that with a dark baking sheet and a butter wash on top.
If you need disposable options for gifts or travel, foil baking cups are your best bet. They hold their shape, brown well, and look presentable. Paper liners work in a pinch if you double them up, but expect a flatter, less polished muffin.
The bottom line is this. You do not need a muffin pan to make good muffins. You just need the right container for your goal.
Pick the substitute that matches your kitchen and your expectations, adjust the bake time, and you are set.