Skip to content
Making your own yogurt at home feels both rewarding and delicious. With a yogurt maker, the process is easier and more reliable than traditional methods. You control the ingredients, flavor, and texture, while also saving money over store-bought options. If you want to eat healthier or simply enjoy fresh yogurt, learning how to use a yogurt maker can change your kitchen routine.
Why Make Yogurt At Home?
Homemade yogurt isn’t just about taste—there are real benefits. You avoid additives, extra sugar, and stabilizers found in many commercial yogurts. You can adjust the sourness, thickness, and fat content to match your preferences. Some studies show that homemade yogurt often contains more live probiotics, which support gut health.
Cost is another factor. Buying high-quality yogurt can get expensive, especially if you eat it often. Making your own usually costs less per serving, even after buying milk and a starter.
Understanding Yogurt Makers
Before starting, it helps to know what a yogurt maker does. These devices keep milk at a steady, warm temperature (usually around 110°F/43°C), perfect for bacterial fermentation. This stable environment is key for turning milk into yogurt.
There are two main types of yogurt makers:
- Electric batch yogurt makers: These have one large container. You pour in your milk and starter, then set the machine.
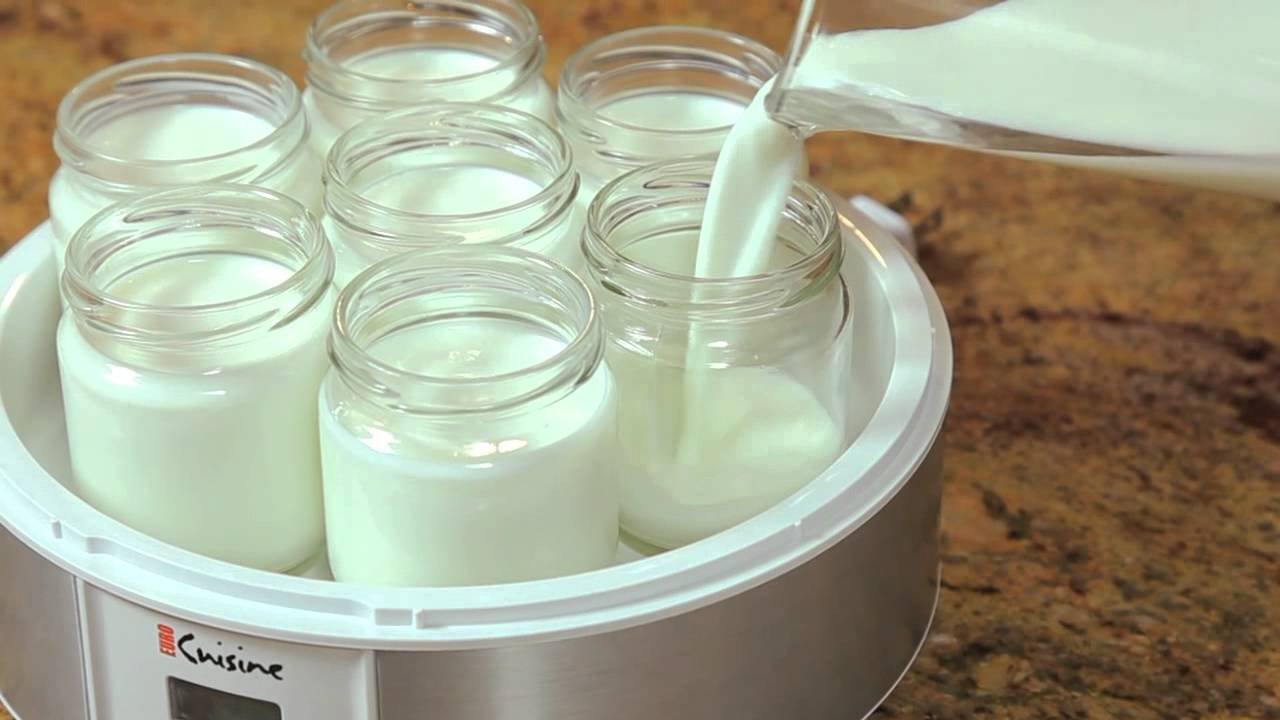
- Electric jar-style yogurt makers: These include several small jars, great for making single servings with different flavors.
Here’s a quick comparison of both types:
| Type | Best For | Pros | Cons |
|---|---|---|---|
| Batch Maker | Families, bulk yogurt | Easy to clean, less prep | Only one flavor per batch |
| Jar-Style Maker | Personal servings, variety | Different flavors, portable jars | More pieces to wash |
Ingredients And Tools Needed
Making yogurt with a yogurt maker is simple, but quality matters. Here’s what you’ll need:
- Fresh milk (whole, 2%, or skim): 4 cups (1 quart) is standard for most machines.
- Yogurt starter: 2 tablespoons of plain yogurt with live cultures, or a commercial starter powder.
- Yogurt maker
- Thermometer (optional but helpful)
- Saucepan
- Whisk
- Measuring cups and spoons
Tip: Use the freshest milk possible for the best texture and taste. Ultra-pasteurized milk isn’t ideal because it sometimes gives runny results.
Step-by-step Guide: Making Yogurt With A Yogurt Maker
Let’s walk through the process, step by step. This method works for most electric yogurt makers.
1. Heat The Milk
Pour 4 cups (1 quart) of milk into a saucepan. Heat it slowly over medium heat until it reaches 180°F (82°C). This step kills unwanted bacteria and changes the protein structure, so your yogurt sets well.
Practical tip: Stir the milk while heating to prevent scorching on the bottom of the pan.
2. Cool The Milk
Remove the pan from heat. Let the milk cool down to 110°F (43°C). This temperature is ideal for the yogurt cultures to grow. Cooling usually takes 30–45 minutes at room temperature. To speed it up, place the saucepan in a bowl of cold water.
3. Add The Yogurt Starter
In a small bowl, mix 2 tablespoons of plain yogurt (with live cultures) with about 1/2 cup of the cooled milk. Stir until smooth. Then whisk this mixture back into the rest of the cooled milk. This step spreads the cultures evenly.
Beginner insight: If you add the starter while the milk is too hot, you can kill the good bacteria. Always check the temperature.
4. Pour Into The Yogurt Maker
Pour the milk-starter mixture into your yogurt maker’s container or jars. Make sure everything is clean to avoid contamination. Seal the container or place lids on the jars.
5. Incubate
Set your yogurt maker to incubate for 6–10 hours. Most people find 8 hours gives a mild, creamy yogurt, while longer times create a tangier taste.
Important: Don’t move or disturb the yogurt maker during incubation. Vibration or shaking can result in watery yogurt.
6. Check And Chill
After incubation, check the consistency. The yogurt should look set and a bit wobbly in the container. Some whey (clear liquid) may be on top—that’s normal.
Move the yogurt to the refrigerator for at least 2 hours. Chilling helps it firm up and improves the flavor.
7. Serve And Store
Your homemade yogurt is now ready. You can eat it plain, add fruit, honey, or use it in recipes.
Store homemade yogurt in the fridge. It’s best eaten within 7 days for the freshest taste and texture.
Customizing Your Yogurt
One of the joys of homemade yogurt is personalization. You can experiment with ingredients and methods for different results.
Milk Choices
- Whole milk: Creamiest and richest yogurt.
- 2% milk: Slightly lighter but still creamy.
- Skim milk: Lean yogurt, best when thickened with milk powder.
A quick look at how milk type changes yogurt:
| Milk Type | Texture | Fat Content | Flavor |
|---|---|---|---|
| Whole | Very creamy | 3.25% | Rich |
| 2% | Creamy | 2% | Balanced |
| Skim | Light | 0% | Mild |
Flavor Additions
Add flavors after the yogurt has set and chilled:
- Stir in honey or maple syrup for sweetness.
- Add vanilla extract or cinnamon.
- Mix in fresh fruit, berries, or jam.
Pro tip: If you add sugar or fruit before incubation, it can interfere with the cultures. Always add these after chilling.
Making Greek Yogurt
To make Greek-style yogurt, strain your finished yogurt through cheesecloth or a fine sieve for 2–3 hours. This removes extra whey, making the yogurt thicker and richer in protein.
Common Mistakes And How To Avoid Them
Making yogurt is simple, but a few mistakes can lead to disappointing results.
- Using ultra-pasteurized milk: It sometimes gives thinner yogurt. Regular pasteurized milk works better.
- Adding starter to hot milk: High heat kills the cultures. Always cool the milk first.
- Not incubating long enough: Yogurt needs time to set. If it’s too runny, try incubating longer next time.
- Disturbing the yogurt during incubation: Movement can break the curd and cause watery yogurt.
- Unclean equipment: Any leftover soap or bacteria can spoil your yogurt. Rinse everything well before starting.
Credit: www.youtube.com
Storing And Using Homemade Yogurt
Homemade yogurt lasts up to a week in the refrigerator. Store it in a clean, airtight container. If you see extra whey on top, just stir it in or pour it off.
You can use homemade yogurt in many ways:
- As a breakfast with fruit and granola
- In smoothies
- As a base for dips like tzatziki
- Swirled into soups for creaminess
- For baking (substitute for buttermilk or sour cream)
Beginner insight: Save a few tablespoons of your homemade yogurt as a starter for your next batch. After 4–5 generations, start fresh with a new commercial starter to keep the cultures strong.
Health Benefits Of Homemade Yogurt
Yogurt is known for its health benefits, especially when it’s full of live cultures. Regularly eating yogurt can support:
- Better digestion, thanks to probiotics
- Stronger bones, due to calcium and vitamin D
- Immune system support
- Weight management, as yogurt is filling and protein-rich
Some people with lactose intolerance find homemade yogurt easier to digest, as the bacteria break down much of the lactose.
Recent research shows that homemade yogurt often has more active cultures than most store-bought yogurts. This is because you can control incubation time and temperature, which helps the bacteria multiply. For more about yogurt’s health effects, check out this Wikipedia article on yogurt.

Credit: candleinthekitchen.com
Yogurt Maker Vs. Other Methods
People sometimes ask why they need a yogurt maker. Couldn’t you just use an oven or Instant Pot? Here’s a quick comparison:
| Method | Ease of Use | Consistency | Monitoring Needed |
|---|---|---|---|
| Yogurt Maker | Very easy | Excellent | Little to none |
| Oven Light | Moderate | Varies | Yes |
| Instant Pot | Easy | Good | Some |
| Thermos | Manual | Inconsistent | Yes |
A yogurt maker is purpose-built. It keeps the temperature perfect for the bacteria, so you get reliable, creamy yogurt every time. It also frees you up to do other things while it works.
Frequently Asked Questions
How Long Does Homemade Yogurt Last?
Homemade yogurt stays fresh for about 7 days in the refrigerator. Always use a clean spoon to avoid contamination. If it smells sour or develops mold, discard it.
Can I Use Non-dairy Milk In A Yogurt Maker?
Yes, you can use soy, almond, or coconut milk. Results vary, and you usually need to add a thickener (like agar, pectin, or tapioca starch) to get the right texture. Use a starter with live cultures for best results.
Why Is My Yogurt Runny Or Watery?
Yogurt can turn out runny if the milk wasn’t heated enough, the incubation time was too short, or the starter wasn’t active. Next time, try a longer incubation or use a fresh starter. Straining also helps create thicker yogurt.
Can I Flavor My Yogurt Before Incubating?
It’s best to add sweeteners, fruit, or flavors after the yogurt is done and chilled. Adding them before incubation can affect the bacteria and create inconsistent texture or taste.
How Do I Know If My Yogurt Maker Is Working Properly?
Check that the device heats to and maintains around 110°F (43°C) during incubation. If your yogurt consistently fails to set, test the machine with a thermometer. Some older models may lose accuracy over time.
Making yogurt with a yogurt maker isn’t just simple—it’s an easy way to eat healthier, reduce waste, and enjoy food you made yourself. Once you get the basics, you can experiment with flavors, textures, and recipes. Soon, you’ll wonder why you ever bought yogurt at the store.

Credit: www.luvele.com