Roasting coffee beans at home is a rewarding experience. You can create unique flavors, save money, and learn more about the world’s favorite drink. Many people think you need expensive machines to roast coffee. But you can do it easily with a simple pan on your stovetop.
If you’re curious about how to roast coffee beans in a pan, this guide will walk you through every step, from choosing beans to storing your finished roast.
Let’s explore how to turn raw green coffee beans into a fresh cup of home-roasted coffee.
Why Roast Coffee Beans At Home?
Roasting your own coffee gives you freshness, control, and custom flavor. Freshly roasted coffee tastes better and smells stronger. You can adjust the roast to suit your preference—light, medium, or dark. Home roasting also lets you experiment with different origins and blends. According to industry data, roasted coffee loses much of its flavor within two weeks. By roasting at home, you always have the freshest beans.
Another benefit is price. Green coffee beans cost 30–50% less than roasted ones. For example, 1 pound of green beans might cost $6, while roasted beans can cost $10–$15. Roasting yourself saves money in the long run.
What You Need To Roast Coffee In A Pan
You don’t need fancy equipment. Here’s what you’ll need:
- Green coffee beans: Buy from a trusted supplier. Choose Arabica or Robusta depending on your taste.
- Sturdy pan: A thick, flat-bottomed pan is best. Cast iron or stainless steel works well.
- Stovetop: Gas or electric both work, but gas gives better heat control.
- Wooden spoon or spatula: For stirring beans.
- Colander or mesh sieve: For cooling beans.
- Oven mitts: The pan gets very hot.
- A bowl: To collect chaff (thin skin from beans).
- Timer: To track roast time.
- Kitchen scale: Optional, but helps measure beans accurately.
Choosing The Right Coffee Beans
The type of bean you choose shapes the flavor. Most home roasters start with Arabica beans, which are known for their smooth taste and mild acidity. Robusta beans are stronger and more bitter, with higher caffeine.
Here’s a comparison of common bean types:
| Bean Type | Flavor Profile | Caffeine (%) |
|---|---|---|
| Arabica | Smooth, mild, sweet | 1.2 |
| Robusta | Strong, bitter, earthy | 2.2 |
| Liberica | Floral, fruity, smoky | 1.5 |
Look for beans from Ethiopia, Colombia, or Brazil for classic flavors. Avoid beans that look broken or uneven. Fresh green beans should have a grassy smell.
How To Roast Coffee Beans In A Pan: Step-by-step Guide
Roasting coffee in a pan takes about 20–30 minutes. Here’s how to do it:
1. Prepare Your Workspace
Clear your kitchen space. Open windows or turn on a fan. Roasting coffee produces smoke and chaff. Gather all your tools and measure out the beans—most pans fit 100–200 grams (3. 5–7 ounces) at a time.
2. Heat The Pan
Place your pan on the stove. Turn the heat to medium-high. Let the pan heat up for 1–2 minutes. It should be hot but not smoking.
3. Add The Beans
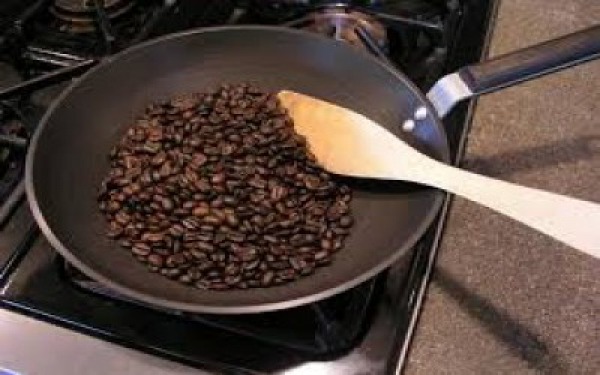
Pour the green coffee beans into the pan. Spread them out so they form a single layer. Beans should not be crowded. This ensures even roasting.
4. Stir Constantly
Use a wooden spoon or spatula to stir the beans. Keep them moving. Constant stirring prevents burning and helps beans roast evenly. You’ll see the beans change color from green to yellow, then to light brown.
5. Watch For First Crack
After 5–10 minutes, the beans will start to pop. This is called first crack. It sounds like popcorn. First crack means the beans are reaching a light roast. If you like mild coffee, stop here.
6. Decide Your Roast Level
Keep roasting and stirring. The beans get darker and the popping slows. Here’s a comparison of roast levels:
| Roast Level | Color | Flavor | Time (min) |
|---|---|---|---|
| Light | Pale brown | Bright, acidic | 10–12 |
| Medium | Medium brown | Balanced, sweet | 12–15 |
| Dark | Dark brown | Bold, smoky | 15–20 |
If you want a medium roast, keep going for another 2–3 minutes after first crack. For a dark roast, wait until the second crack, which sounds softer.
7. Remove From Heat
Once you reach your desired roast, quickly pour the beans into a colander or sieve. Shake them to cool. Cooling stops the roasting. Beans keep roasting from their own heat, so act fast.
8. Remove Chaff
Chaff is the thin skin that comes off during roasting. Shake the beans in the colander. Blow gently to remove chaff. It’s safe but messy.
9. Let Beans Rest
Freshly roasted beans need to rest. Wait at least 12–24 hours before grinding. This lets gases escape and flavors settle.
10. Store Properly
Put cooled beans in an airtight container. Keep them in a cool, dry place. Use within 2 weeks for best taste.

Credit: www.youtube.com
Tips For Better Pan Roasting
Roasting coffee in a pan is simple, but a few tips can help you get better results:
- Use a thick pan: Thin pans heat unevenly and burn beans.
- Don’t overcrowd: Roast small batches for best flavor.
- Stir all the time: Beans burn quickly if left still.
- Watch the color and smell: Beans change color and smell as they roast. Trust your senses.
- Ventilate: Smoke can build up quickly. Open windows or use a fan.
- Try different beans: Experiment with origins and blends for new flavors.
- Keep notes: Write down roast times, bean types, and results. This helps improve future batches.
- Avoid water: Don’t use water to cool beans—it ruins flavor.
Common Mistakes Beginners Make
Many beginners face these problems:
- Burning beans: Usually from too much heat or not stirring.
- Uneven roast: Not spreading beans out or stirring well.
- Stopping too late: Beans roast faster near the end. Be ready to remove them quickly.
- Poor storage: Using open containers makes beans lose flavor.
- Skipping resting: Grinding beans right after roasting makes coffee taste harsh.
How Pan Roasting Compares To Other Methods
You may wonder how pan roasting stacks up against other popular methods. Here’s a comparison:
| Method | Cost | Ease | Flavor Control | Batch Size |
|---|---|---|---|---|
| Pan Roasting | Low | Easy | Good | Small |
| Oven Roasting | Low | Moderate | Average | Large |
| Home Roaster Machine | High | Easy | Excellent | Medium |
Pan roasting is cost-effective and gives good control over flavor. It’s ideal for beginners and those who want to try small batches. Machine roasting is easier for big batches, but costs more.
How To Grind And Brew Your Fresh Beans
After resting, grind your beans just before brewing. Use a burr grinder for even results. The grind size depends on your brewing method:
- French press: Coarse grind
- Drip coffee: Medium grind
- Espresso: Fine grind
Always use fresh beans and clean water. For more brewing tips, visit National Coffee Association.
Credit: vinbarista.com
Non-obvious Insights For Better Home Roasting
Most beginners miss these important details:
- Ambient temperature: If your kitchen is cold, roasting may take longer. Warm kitchens help beans roast faster.
- Bean moisture: Some green beans have more moisture. If you see lots of steam at first, extend the roasting time slightly.
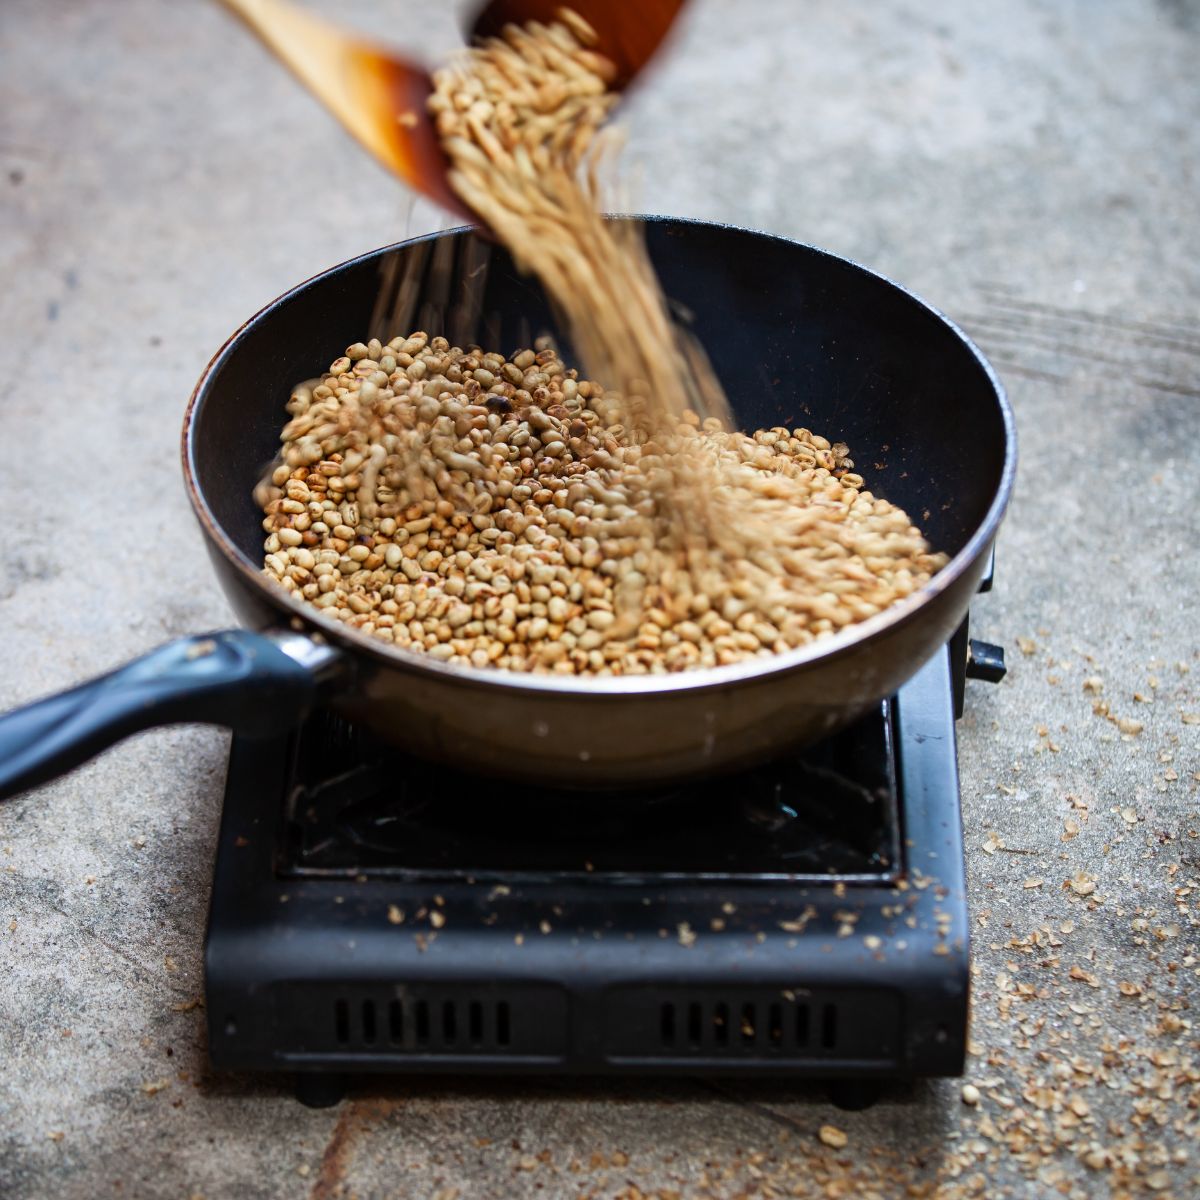
- Chaff management: Roasting outdoors or under a range hood makes cleanup easier, as chaff can create a mess.
Safety Precautions
Roasting coffee gets very hot. Always use oven mitts and keep children away. Never leave the pan unattended. Watch for smoke—if it gets too thick, stop roasting and ventilate.
Credit: stokescoffee.com
Frequently Asked Questions
What Pan Is Best For Roasting Coffee Beans?
A cast iron pan is ideal. It retains heat well and distributes it evenly. Stainless steel pans also work, but avoid non-stick pans as high heat can damage the coating.
How Much Coffee Can I Roast At Once?
Most pans fit 100–200 grams (3.5–7 ounces) at a time. Overcrowding leads to uneven roasting. Start with smaller batches to learn the process.
How Do I Know When The Beans Are Done?
Watch for color change and listen for cracks. Light roast ends after first crack. Medium roast is a few minutes after. Dark roast is after second crack. Use your senses—smell, color, and sound.
Why Should Beans Rest After Roasting?
Resting lets carbon dioxide escape and flavors develop. Grinding beans too soon makes coffee taste bitter and harsh. Wait at least 12–24 hours.
Can I Roast Coffee Beans Without A Thermometer?
Yes. You don’t need a thermometer. Trust your senses. Watch the color, listen for cracks, and smell the aroma. Experience helps you get better over time.
Roasting coffee beans at home in a pan is simple, fun, and gives you control over your favorite drink. With practice, you’ll learn what roast level you love most. Try different beans, take notes, and enjoy the process. Home roasting is not just about making coffee—it’s about creating flavor, learning, and sharing.