If you’ve ever tried to puree hot soup in a countertop blender, you already know the drill: wait for it to cool, transfer it in batches, then hold the lid on like a ticking bomb. So, what is an immersion blender used for? It’s the handheld tool that blends, purees, and emulsifies food directly in the pot, bowl, or cup you’re already using.
No transfer, no waiting, no mess.
Most immersion blenders run between 200 and 800 watts, while cordless models typically provide 15–30 minutes of runtime per charge. That power range matters, because it decides whether your machine can handle thick mashed potatoes or only delicate soups. Let’s walk through exactly what this tool can do and where it falls short.
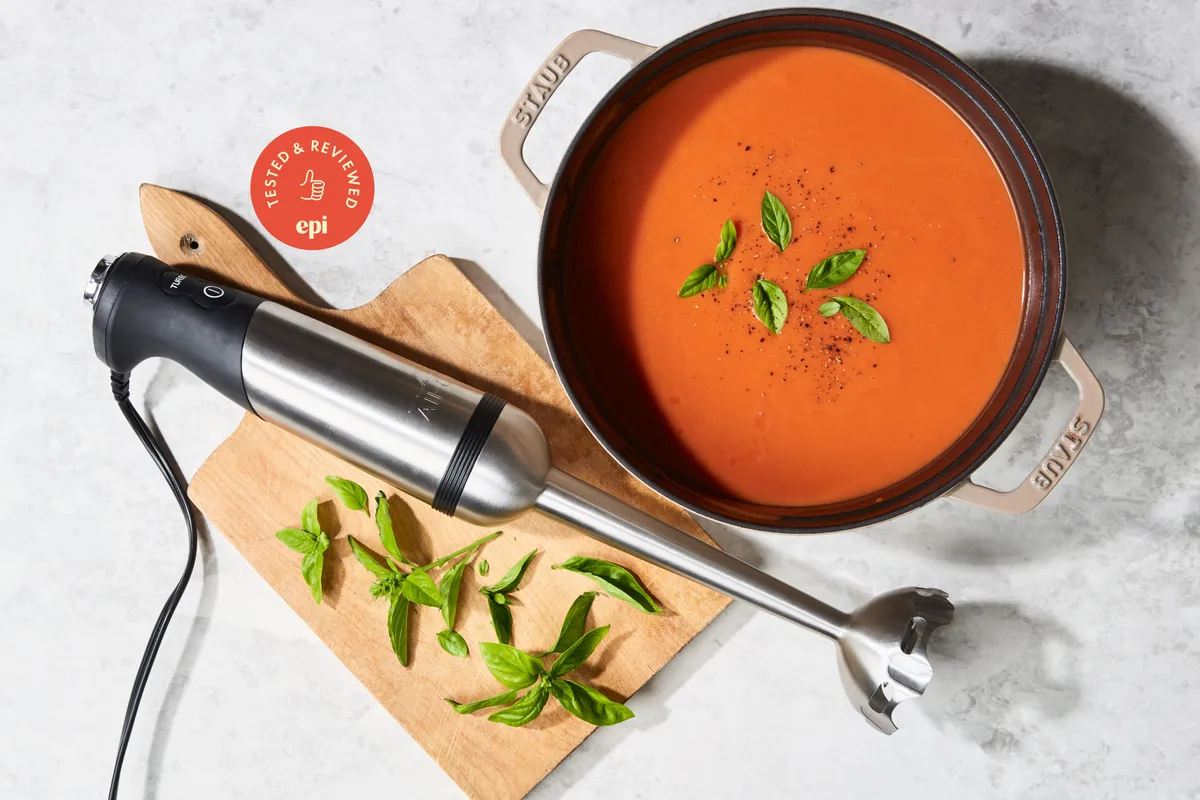
Image source: Web (Bing) / jodysbakery.com (Web image (fair-use with source credit))
Quick Answer
What is an immersion blender used for? It’s a handheld tool for blending, pureeing, and emulsifying food straight in the pot. Soups, sauces, mayonnaise, smoothies, and small-batch prep are its sweet spot.
Since it works in the cooking pot itself, it’s safer for hot liquids. It’s also easier to clean.
Do You Actually Need an Immersion Blender?
The answer depends on your cooking habits, not the hype. If you regularly make soups, curry bases, or pureed vegetables, an immersion blender saves you a step every single time. If you mostly mix cake batter or whip cream, a hand mixer does that job better.
Think about your average week. A pot of tomato soup means blending in batches with a countertop blender, risking hot splashes and a giant mess. An immersion blender lets you blend the soup right in the pot, usually in under a minute.
That convenience matters more as you cook more often.
Signs an immersion blender genuinely earns its place:
- You make soups, sauces, or purees more than a few times a month.
- You like smoothies but hate cleaning a bulky blender jar.
- You cook for one or two and want small-batch prep.
- You’d rather rinse a shaft under the tap than scrub a food processor bowl.
If none of those fit, skip it. A countertop blender and a whisk can cover most bases. Just don’t expect them to match the stick blender’s zero-transfer workflow.
That’s the whole point.
What an Immersion Blender Is Used For: The Short Answer
The short answer is that an immersion blender handles five core tasks exceptionally well. Each one leans on the same design: a motor on top, a blade on the bottom, and no extra container required.
| Job | Why it works |
|---|---|
| Hot soups and purees | Blend directly in the pot, no cooling or transfer needed. |
| Emulsions and sauces | The included whisk turns oil and vinegar into stable sauces. |
| Smoothies and shakes | Blend in the glass or jar you’ll drink from. |
| Small-batch chopping | The chopper cup handles herbs, nuts, and onions. |
| Whisking and frothing | Whip cream, eggs, or froth milk in seconds. |
Those five jobs cover most home cooking needs. The blade spins at high speed while the guard around it controls splatter. That’s why it’s so effective for tasks that would normally require two or three different appliances.
How an Immersion Blender Works (and Why It’s Different)
The motor lives inside the handle. It drives a long shaft that ends in a small, sharp blade. A bell-shaped guard surrounds that blade, keeping food from spraying everywhere and stopping the blade from scraping your pot’s bottom.
That guard is the secret. It creates a small gap between the blade and the cooking surface, so you can press the blender to the bottom of a non-stick pot without worrying about scratching it. In our research, stainless steel shafts last longer than plastic ones, and a removable shaft makes cleaning far simpler.
The other big difference is where the blending happens. A countertop blender needs you to pour hot liquid into its jar. With a stick blender, the food stays in the pot, and the pot stays on the stove.
That lowers the risk of burns from transferring hot soup, which is why the USDA’s food safety guidance emphasizes careful handling of hot liquids.
Because the blade is fully enclosed while submerged, you also get less aeration than a countertop blender produces. That’s important for creamy soups. Too much air mixed in can make your soup thin and frothy instead of velvety.
Your Use Case, Matched: The Main Jobs It Nails
Different tasks call for different techniques. Here’s how to match each job to the right approach.
Hot Soups and Purees
This is the immersion blender’s claim to fame. Blend the soup directly in the pot, moving the blender in slow sweeps along the bottom and edges. For a chunky texture, pulse a few times.
For a silky puree, hold the blender still and let the blade do the work.
Emulsions, Sauces, and Whisking
Making mayonnaise from scratch almost requires a stick blender. Use the whisk attachment, pour your oil in slowly, and watch it come together in about 30 seconds. The same attachment whips cream, froths milk, and smooths out hollandaise without breaking.
Smoothies, Shakes, and Single-Serve Drinks
Blend directly in the glass or a tall jar. The key is to keep the blade fully submerged before you pull the trigger. If you lift it while the blade is spinning, you’ll splatter the kitchen and add unwanted air to your drink.
Small-Batch Chopping and Grinding
Many models come with a mini chopper cup. It’s perfect for herbs, garlic, nuts, or a single onion. It won’t replace a full food processor, but for small amounts it saves you from dragging out a bigger machine.
If you cook for one or two, that’s a real win.
When the Stick Blender Isn’t the Right Tool
An immersion blender is versatile, but it has limits. It won’t crush ice for frozen drinks. It struggles with thick dough and large batches.
And for some textures, a bigger machine simply does a better job.
Countertop Blender vs Immersion Blender
A countertop blender wins when you need raw power. It handles ice, frozen fruit, and fibrous greens without stalling. It also blends bigger batches, which matters if you regularly feed a family or meal-prep for the week.
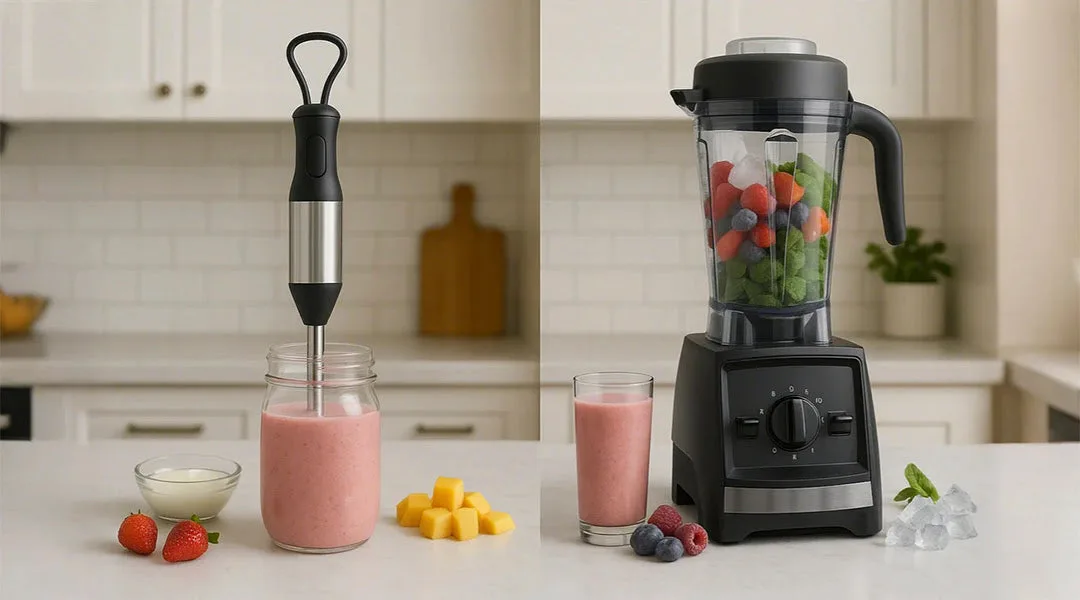
Image source: Bing (Web (fair-use with source credit))
The immersion blender answers with convenience. No transferring hot soup between containers, no extra jug to wash, no waiting for anything to cool down. Hot liquid in a sealed countertop blender can create pressure and blow the lid off.
USDA guidance on handling hot foods emphasizes caution with liquid transfer. The stick blender skips that risk by blending in the open pot.
For a two-quart pot of soup, the immersion blender is clearly better. For a two-gallon batch of smoothie base, the countertop machine takes the lead.
Food Processor vs Immersion Blender
A food processor shreds, slices, and kneads. An immersion blender purees and emulsifies. They’re not substitutes.
Each one has its own lane in the kitchen.
| Task | Immersion Blender | Countertop Blender | Food Processor |
|---|---|---|---|
| Hot soups | Best, blends in pot | Risky, needs transfer | Poor, small batches only |
| Frozen drinks | Poor | Best | Not suited |
| Mayonnaise | Best, about 30 seconds | Good, finicky | Fair |
| Chopping herbs | Fair with chopper cup | Not suited | Best |
| Bread dough | Not suited | Not suited | Best |
Making pesto is one area where a food processor clearly has the edge. Its larger bowl and wider blades create a more even chop, giving herbs, nuts, and cheese a consistent texture. An immersion blender, even with a chopper attachment, tends to produce a less uniform result. If you make pesto or other chopped sauces often, a food processor is the better choice.
Signs You Need the Bigger Machine
- You crush ice or make frozen drinks more than a few times per year.
- You blend more than two liters of liquid in one go.
- You want even texture for salsas, salads, or chunky sauces.
- You knead dough or mix stiff batters.
If those sound like your typical cooking tasks, a countertop blender or food processor is the better fit. If not, an immersion blender can handle many everyday blending jobs while taking up far less storage space. The right choice depends on what you cook most often and how you prefer to work in the kitchen.
How to Use an Immersion Blender the Right Way
Using an immersion blender isn’t complicated, but the technique decides the result. Work with the physics, not against it, and you’ll get smooth soup or a perfect emulsion every time.
The single most important rule is to fully submerge the blade guard before you start. Turning it on above the surface splatters hot food everywhere and pulls air into your mixture. Start on low speed, then increase gradually if the texture needs it.
Move the blender in slow, gentle up-and-down sweeps along the bottom and edges of the pot. That motion pulls food into the blade instead of letting it push away. For a chunky texture, pulse a few times.
For a silky puree, hold the blender steady and let the blade spin.
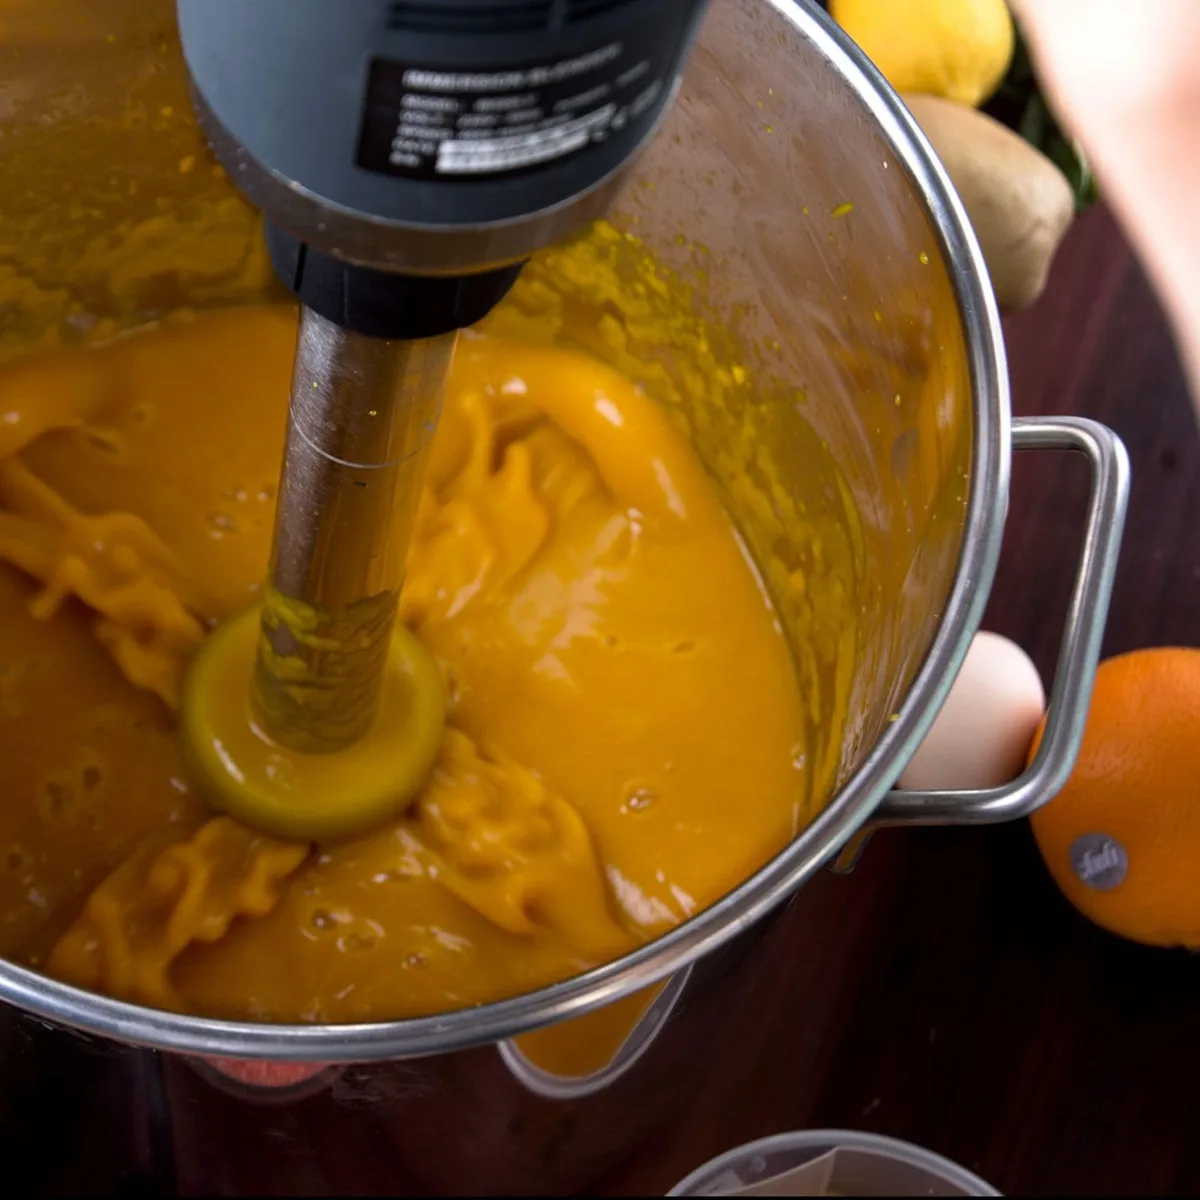
Image source: Web (Bing) / manuals.plus (Web image (fair-use with source credit))
Each time you lift the spinning blade to the surface, you drag in air. Too much air makes soup frothy and thin. Keep the blade underwater until you switch the motor off completely.
Give the blade a moment to stop spinning before you raise it from the pot.
Common Mistakes That Waste Food and Burn Out Motors
Two things ruin immersion blenders: heat and overwork. Most models aren’t built for continuous operation. Manufacturer manuals typically recommend running them in short bursts of 60 to 90 seconds, then letting the motor cool down.
Blending too long in one spot creates friction and heats the motor. That can warp plastic shafts and burn out the motor windings. It also over-processing your food, turning chunky salsa into baby food.
Work in pulses and move around the pot.
Scraping the bottom of a non-stick pot is another common mistake. The blade guard protects the coating to a point, but pressing hard still causes scratches. Let the blade do the work.
Gentle downward pressure is all you need.
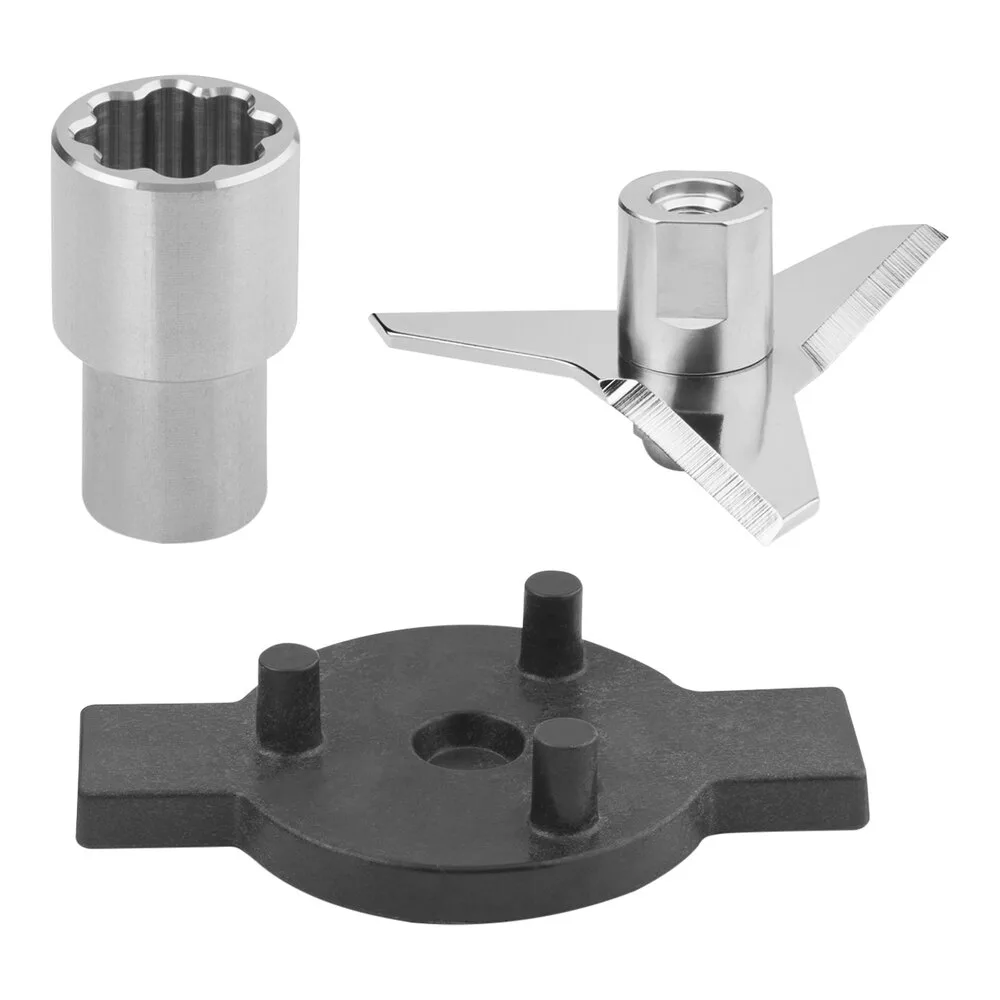
Image source: Web (Bing) / webstaurantstore.com (Web image (fair-use with source credit))
Overloading thick ingredients stalls the motor. Stiff potato mash or heavy nut butters can stop the blade entirely. If that happens, add liquid in thin streams until the mixture turns.
Or switch to a countertop blender or food processor for seriously dense textures.
Corded vs Cordless: Which One Fits How You Cook?
The biggest buying decision isn’t brand or wattage. It’s whether to go corded or cordless. Each one solves a different problem.
| Feature | Corded | Cordless |
|---|---|---|
| Power | Continuous, consistent | Limited by battery |
| Runtime | Unlimited | Usually 15 to 30 minutes |
| Weight | Heavier, but steady | Lighter, easier to handle |
| Best for | Large batches, thick soups | Quick tasks, no outlet nearby |
| Charging | Not needed | 2 to 3 hours for full charge |
Corded models are the safer bet for most home cooks. You get full power from the moment you plug in, and you never worry about a dead battery mid-recipe. Our research shows most basic corded units run between 200 and 400 watts, with higher-end models reaching 600 to 800 watts.
Cordless models shine in specific situations. If you blend fresh herbs in the garden, froth milk at the table, or cook in a small kitchen with limited outlets, battery power feels liberating. Just know the runtime trade-off.
A cordless unit handles quick soups and drinks, but it struggles with large batches or thick mixes.
What to Look For When Buying an Immersion Blender
Focus on the features you’ll actually use. A stainless steel shaft is more durable, resists stains, and works safely with hot soups. A removable shaft also makes cleanup much easier.
Choose the motor based on your cooking style. Around 200–300 watts is enough for soups, smoothies, and sauces, while 500–600 watts or more handles thicker mixtures like mashed potatoes and nut butter with less effort.
Look for variable speed control instead of a single-speed model. It gives you better control over delicate sauces and helps reduce splatter.
Finally, consider the attachments. A whisk is useful for cream and mayonnaise, while a mini chopper is handy for herbs, garlic, and nuts. If you won’t use the extras, there’s no need to pay for them.
For most home cooks, a mid-range immersion blender priced between $50 and $100 offers the best balance of power, durability, and versatility.
Cleaning and Care: Keep It Running for Years
An immersion blender takes about 30 seconds to clean. The trick is doing it right after each use, before food dries onto the blade.
Unplug the unit first, always. Then rinse the shaft under warm running water to remove the bulk of the food. For stubborn residue, blend a cup of warm soapy water for a few seconds.
That clears the blade guard without any scrubbing.
Remove the shaft and wash it by hand with dish soap. Many shafts are dishwasher-safe, but check your manual first. Machine washing can dull the blade over time.
Meanwhile, wipe the motor housing with a damp cloth. Never submerge the motor unit in water.
Dry every part fully before storing. Trapped moisture around the seal can cause rust and build up bacteria. Store the blender upright on a dry shelf or in a drawer with the blade guard attached.
Regular cleaning only takes a minute and helps keep your immersion blender performing at its best for years.
The 30-Second Decision Guide: Should You Buy One?
If you make soup, pureed sauces, or smoothies more than twice a month, buy one. If you cook for one or two and hate cleaning big appliances, buy one. If none of these sound like you, skip it.
An immersion blender is a practical choice if you value quick cleanup, compact storage, and the ability to blend directly in the pot. It won’t replace every kitchen appliance, but it excels at the tasks it was designed for.
It’s about what you cook.
| You should buy | You should skip |
|---|---|
| You make soups every few days | You rarely blend anything |
| You want minimal cleanup | You use a blender weekly |
| You cook small portions | You make huge batches |
| You want fast emulsions | You don’t care for sauces |
A decent immersion blender costs about the same as a couple of takeout meals. If you cook at home, it pays for itself fast.
FAQs You Might Still Have
Can it crush ice?
Not well. Most immersion blenders lack the power and the jar design for ice. A countertop blender crushes ice properly.
Some high-wattage models with a chopper cup handle small amounts, but the result is uneven. Use the right tool for frozen drinks.
Can you use it in a glass container?
Yes, but keep the blade off the bottom. Glass jars can shatter if you press down hard. Use a pot or a wide-mouth jar instead.
The bell guard touches the surface, so the blade stays safe. Pressure on glass is still risky.
Is it worth buying a cheap one to start?
A basic model around $30 is fine for soups and sauces. It will have a plastic shaft and fewer speeds. If you find yourself using it weekly, upgrade later.
A cheap one proves the habit before the investment.
Can it replace a food processor?
No. An immersion blender purees and blends, but it won’t slice, shred, or knead dough. The mini chopper attachment handles herbs and nuts in small amounts.
For serious prep, a specialized slicer covers more ground.
Why does my soup turn frothy?
You’re aerating it. The blade is pulling in air from the surface. Keep the blade submerged until the motor stops.
Blend at a lower speed and pulse instead of holding steady.