Making your own butter can feel like magic. With just heavy cream and a mason jar, you can create fresh, creamy butter at home. You don’t need special machines or fancy skills—just a bit of energy and curiosity. Whether you want to enjoy old-fashioned kitchen fun, teach kids about food science, or just taste real homemade butter, this simple method is surprisingly rewarding. Let’s explore how to make butter in a mason jar, what you’ll need, why it works, and how to get the best flavor and texture.
Why Make Butter In A Mason Jar?
There are many reasons people love homemade butter. First, it’s an easy way to control what goes into your food—no hidden ingredients or preservatives. Fresh butter tastes richer and more natural than most store-bought kinds. Plus, making butter this way is a hands-on activity.
It’s a great learning experience for kids and adults alike.
Another benefit is cost. While heavy cream can be a bit pricey, homemade butter often ends up less expensive per ounce than premium brands. You also get fresh buttermilk as a bonus, which is perfect for pancakes, baking, or even marinating chicken.
Lastly, making butter this way connects you with food traditions. People used to churn butter for centuries. The mason jar method is a modern, simple twist on an old process.
What You Need To Get Started
Making butter in a mason jar requires only a few basic items:
- 1 pint (16 oz) mason jar with tight-fitting lid
- 1 cup heavy cream (cold or room temperature)
- Strainer or cheesecloth
- Bowl
- Cold water
- Salt (optional, for taste)
- Spatula or small spoon
You can scale the recipe up or down, but one cup of cream is perfect for beginners. A mason jar of 16 ounces is best, but any jar that leaves enough space for shaking will work.
Step-by-step Guide: How To Make Butter In A Mason Jar
Let’s break down the butter-making process so you know exactly what to do.
1. Prepare Your Ingredients
Pour 1 cup of heavy cream into your clean mason jar. If you want salted butter, add about 1/8 teaspoon of salt now, or you can add it at the end. Make sure the lid is tightly sealed.
2. Start Shaking
Begin shaking the jar up and down. Use both hands and shake with moderate force. After about 2-3 minutes, you’ll notice the cream thickening. It will turn into whipped cream and stop sloshing.
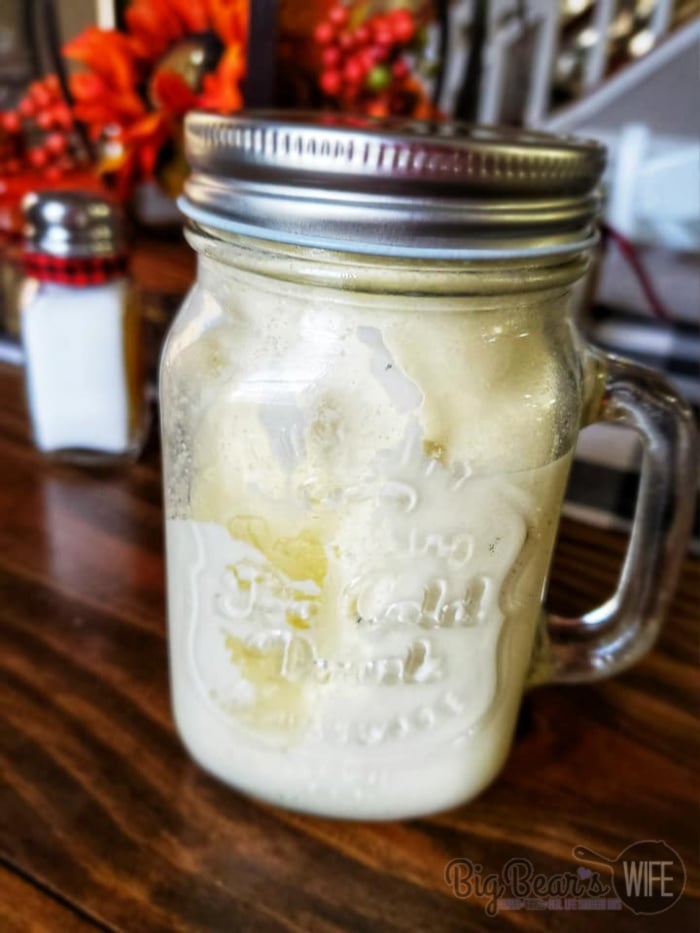
Keep shaking. After another 3-5 minutes, the cream will start to separate. You’ll see a clump of yellow butter forming and a thin, milky liquid (that’s buttermilk). This is when you know you’re almost done.
Tip: If your arms get tired, switch hands or ask a helper to take over. Young kids can help, but it’s a workout!
3. Check And Strain
Once the butter has formed and separated from the buttermilk, open the jar. Pour off the liquid (save it if you want to use buttermilk for baking). Gently squeeze the butter with a spoon or spatula to release more liquid.
4. Wash The Butter
Rinse the butter under cold water in the jar or a bowl. Gently press and fold it with a spoon or spatula, draining the water and repeating until the water runs clear. This step removes leftover buttermilk, which helps your butter last longer and keeps it from going sour.
5. Add Salt And Store
If you haven’t added salt yet, mix a pinch into the butter now. Shape the butter with a spoon or spatula. Store in a covered dish in the refrigerator for up to 1 week. Homemade butter has no preservatives, so use it while it’s fresh.
How It Works: The Science Of Butter Making
Butter making is a fun example of food science in action. When you shake cream, you’re forcing tiny fat droplets to bump into each other and stick together. After enough shaking, these droplets clump up and form solid butter, leaving behind buttermilk.
Here’s a simple comparison of what happens at each stage:
| Stage | What You See | What’s Happening |
|---|---|---|
| Heavy Cream | Liquid, sloshes easily | Fat droplets suspended in milk |
| Whipped Cream | Thick, fluffy, doesn’t slosh | Air whipped in, fat still separate |
| Butter & Buttermilk | Yellow lumps, watery liquid | Fat clumps together, separates from liquid |
Choosing The Right Cream
The most important ingredient is heavy cream. Not all creams are equal. Here’s what to look for:
- Fat content: Choose heavy cream with at least 36% milk fat. Lower-fat creams (like half-and-half or light cream) won’t make good butter.
- Freshness: Use cream before the “best by” date. Older cream won’t whip as easily.
- No additives: Some ultra-pasteurized creams have stabilizers or thickeners. These can slow butter formation.
- Flavor: Organic or grass-fed creams often taste better. Try different brands to see what you like best.
Here’s a quick comparison of cream types:
| Cream Type | Milk Fat % | Suitable for Butter? |
|---|---|---|
| Heavy Cream | 36-40% | Yes |
| Whipping Cream | 30-35% | Yes, but less yield |
| Light Cream | 18-30% | No |
| Half-and-Half | 10-18% | No |
How Much Butter Will You Get?
From 1 cup of heavy cream, you can expect to make about 1/3 cup of butter and 2/3 cup of buttermilk. The exact amount depends on the cream’s fat content.
Here’s a yield estimate:
| Cream Used | Butter Produced | Buttermilk Produced |
|---|---|---|
| 1 cup | ~1/3 cup | ~2/3 cup |
| 2 cups | ~2/3 cup | ~1 1/3 cups |
Non-obvious insight: The higher the fat percentage in your cream, the more butter you’ll get. Also, the colder the cream, the longer it will take to separate—but the butter will be firmer and taste fresher.
Flavor Variations And Add-ins
Homemade butter is delicious on its own, but you can add flavors for something special. Try mixing in:
- Herbs: Chives, parsley, dill
- Spices: Garlic powder, smoked paprika
- Sweetness: Honey, maple syrup, cinnamon
Add these after washing and draining the butter. Mix in gently with a spoon or spatula. Homemade herb butter is perfect for bread, corn on the cob, or grilled meats.
Common Mistakes And How To Avoid Them
- Using the wrong cream: If your cream is too low in fat, it won’t turn into butter. Always check the label.
- Skipping the rinse: Not washing out the buttermilk will make your butter spoil quickly.
- Shaking too gently: You need strong shaking to force the fat together. If it’s not working, shake harder.
- Over-salting: If you add salt, start with a small pinch. You can always add more, but you can’t take it out.
- Not storing properly: Homemade butter needs to be kept cold in a sealed container. Exposure to air or heat causes spoilage.
Non-obvious insight: If your butter feels greasy or melts quickly, your kitchen may be too warm. Work in a cool place or chill your jar and cream before starting.

Credit: thestayathomechef.com
Comparing Mason Jar Butter To Store-bought
Homemade butter and store-bought butter have key differences:
- Taste: Homemade butter is fresher and can be tailored to your taste.
- Texture: Homemade tends to be softer and less uniform.
- Shelf life: Store butter lasts longer due to added preservatives.
- Nutrition: Both are similar, but homemade has no additives.
- Cost: Store butter is convenient, but homemade is often cheaper if you buy cream in bulk.
Many people enjoy the process and flavor of homemade, even if the store version is more consistent.
How To Use Buttermilk Leftover
Don’t throw away the buttermilk! It’s not the same as cultured buttermilk from the store, but it’s perfect for:
- Pancakes or waffles
- Biscuits or scones
- Marinating chicken
- Adding to bread recipes
Store leftover buttermilk in the fridge and use within 2 days for the best flavor.

Credit: frugalfun4boys.com
Tips For Getting Kids Involved
Making butter in a mason jar is a fun way to teach kids about food. Let them help with:
- Pouring the cream
- Adding salt or herbs
- Shaking the jar (with supervision)
It’s a mini science experiment that ends with a tasty reward.
Cleaning Up
After you finish, rinse your mason jar and utensils with hot water and soap. Butter can leave a greasy residue, so make sure everything is clean before storing.
Credit: www.bigbearswife.com
Extra: How To Store Homemade Butter
Homemade butter should be kept in a covered dish or wrapped in wax paper. In the fridge, it will last about 1 week. For longer storage, wrap tightly and freeze for up to 2 months. Defrost in the fridge before using.
Frequently Asked Questions
How Long Does It Take To Make Butter In A Mason Jar?
It usually takes 8–10 minutes of shaking, depending on the temperature and strength used. Warmer cream may separate faster, but the butter will be softer. Cold cream takes longer but gives firmer butter.
Can I Use Non-dairy Milk Or Cream?
No, only real dairy cream with at least 36% milk fat will turn into butter. Non-dairy alternatives won’t separate in the same way.
Is The Leftover Buttermilk The Same As Store-bought?
Not exactly. Store-bought buttermilk is cultured (fermented), while the byproduct here is fresh, sweet buttermilk. You can still use it for baking or pancakes, but it won’t taste as tangy.
How Do I Make Whipped Butter?
After washing and draining your butter, you can whip it with a fork or electric mixer. Add a small amount of milk or cream to make it lighter and easier to spread.
Where Can I Learn More About Butter-making?
The Wikipedia page on butter offers more history, science, and advanced techniques if you want to go deeper.
Making butter in a mason jar is simple, satisfying, and delicious. Once you try it, you may never see store-bought butter the same way again. Enjoy your homemade treat—on warm bread, with fresh vegetables, or as a special kitchen project with family and friends.